


This guide is part of our series on the basics of 3D art and animation. Here, you’ll learn how to create stunning scenes using only free tools like Blender and Photoshop. No fancy plugins or paid models required—just ingenuity and some foundational techniques. Let’s dive into the process of crafting a fantasy castle scene, focusing on simplicity and technique. Designing these imaginative structures is both an imaginative and rewarding endeavor.
Building basic forms for a solid start in castle creation
To kick things off, tackle the blank page by building foundational blocks for your scene. Use a reference image, like a castle from Wikipedia, and recreate it with simple geometric shapes. Think of it like assembling a structure with wooden toy blocks to understand the shape and form language, crucial for creating intricate structures.
Organizing your asset library
Create a collection of assets by categorizing them into big, medium, and small sizes. Include elements like terrain and small houses from your reference in simplified forms. Ensure each piece scales correctly to maintain realistic proportions—compare windows across different structures to perfect your approach.

Texture preparation with Photoshop
In Photoshop, assemble a collage or trim sheet of textures for specific asset groups, such as walls and roofs. Use techniques like photobashing, overpainting, and applying filters to achieve a painterly look. For details like windows and columns, consider directly painting them onto plain walls.

Applying and editing textures
Import textures into Blender’s Shader Editor by connecting them to the Base Color of the Principled BDSF node. Set Roughness to 1. In the UV Editor, ensure proper texture layout by resetting model scale and projecting UVs to avoid texture stretching, which is essential for accurately crafting detailed textures.

Evolving models with texture details
Use your textures as a guide to model intricate details. Begin with basic forms; then, extrude visible details like chimneys or balconies. This technique enhances realism and adds depth to your structures, making your efforts more immersive.

Bringing the pieces together
Apply the same principles to terrain and rock features. Photobashed textures can be overpainted onto planes, creating realistic representations of trees. Utilize the ‘Decimate’ modifier to maintain simple structures and manage polygon count efficiently.

Final scene setup in Blender
Open a new Blender file to compile your final scene. Organize your workspace by having a large area for assembling, a section for textures, and a viewport for the camera view. Maintain a clutter-free view for a clear composition.

Experiment with your assets
Copy assets into the scene and experiment with different arrangements. Adjust the sun’s direction and camera angles until you’re satisfied. This exploration can yield unique results, encouraging creativity in your journey.

Enhancing atmosphere with additional assets
Add atmospheric elements like clouds using Noise Texture and fog with a Principled Volume node. A photo of clouds can enhance effects when connected to Emission in texture settings.
If you’re interested in blending mysticism with digital art, Liminal Bloom’s enigmatic AI landscapes push the boundaries of fantasy and creativity.

Composing the final image
Use all your resources to enhance composition. Area Lights can highlight focal areas, while planes with Emission and Transparency strengthen foreground, midground, and background distinctions. These techniques replicate overpainting stages in Photoshop.

Fine-tuning with Blender’s Compositor
The Compositor in Blender is essential for post-processing, allowing alterations like color correction and lens effects. Add warmth to highlights or subtle vignettes for a polished result. Change ‘Disabled’ to ‘Always’ in Viewport Shading for dynamic updates.

Efficient Photoshop workflow
Set up a secondary window in Photoshop to maintain an overview of your project. Keep essential tabs accessible for quick adjustment and retouching. Zoom in as needed to identify areas requiring rework or re-rendering.

Photobashing and overpainting refinements
Overlay your render with real-world images, utilizing Adjustment Layers for seamless integration. Mixer brushes and erasers help blend photo edges. Repeat this layering to maintain consistency and enhance the illustration‘s depth.

Refining the finished illustration
Evaluate every detail as you finalize the artwork. Question any element that doesn’t clearly contribute to the composition. If it’s important, refine until every part is easily understood and enhances the overall image of your project.

This technique-focused guide aims to equip you with skills to create compelling 3D scenes using basic tools. Remember, practice is key in mastering the art of creating these elaborate designs. For more tips and inspiration, download the Creative Bloq app for iOS.
For a deeper look into the artistic side of 3D design, explore dark illustrations by Michal Dziekan for inspiration and unique styles.
Source: creativebloq.com
Frequently asked questions
How do I start creating a fantasy castle in Blender?
Begin by building foundational blocks for your scene using reference images and simple geometric shapes to understand shape and form language.
What techniques can I use for texture preparation in Photoshop?
In Photoshop, assemble a collage or trim sheet of textures using photobashing, overpainting, and applying filters to achieve a painterly look.
How can I enhance the atmosphere in my Blender scene?
Add atmospheric elements like clouds using Noise Texture and fog with a Principled Volume node to create a mystic and immersive atmosphere.
More in
Education
All Education


More like this
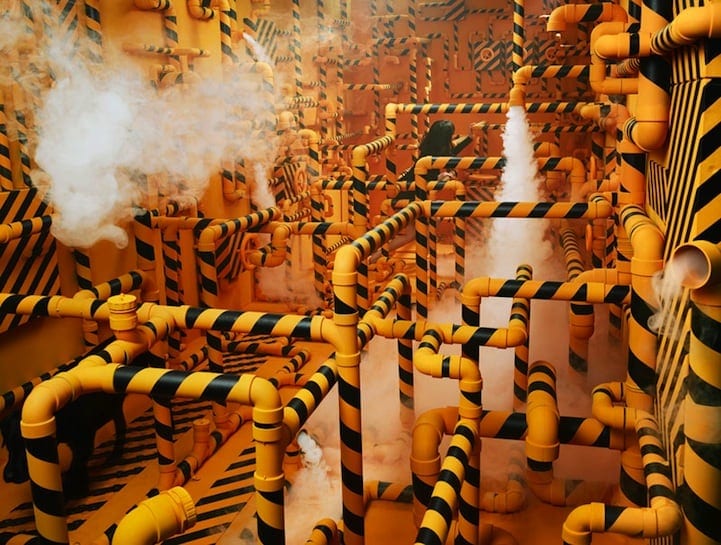
Artist JeeYoung Lee Creates Elaborate Non-Photoshopped Scenes in Her Tiny Studio
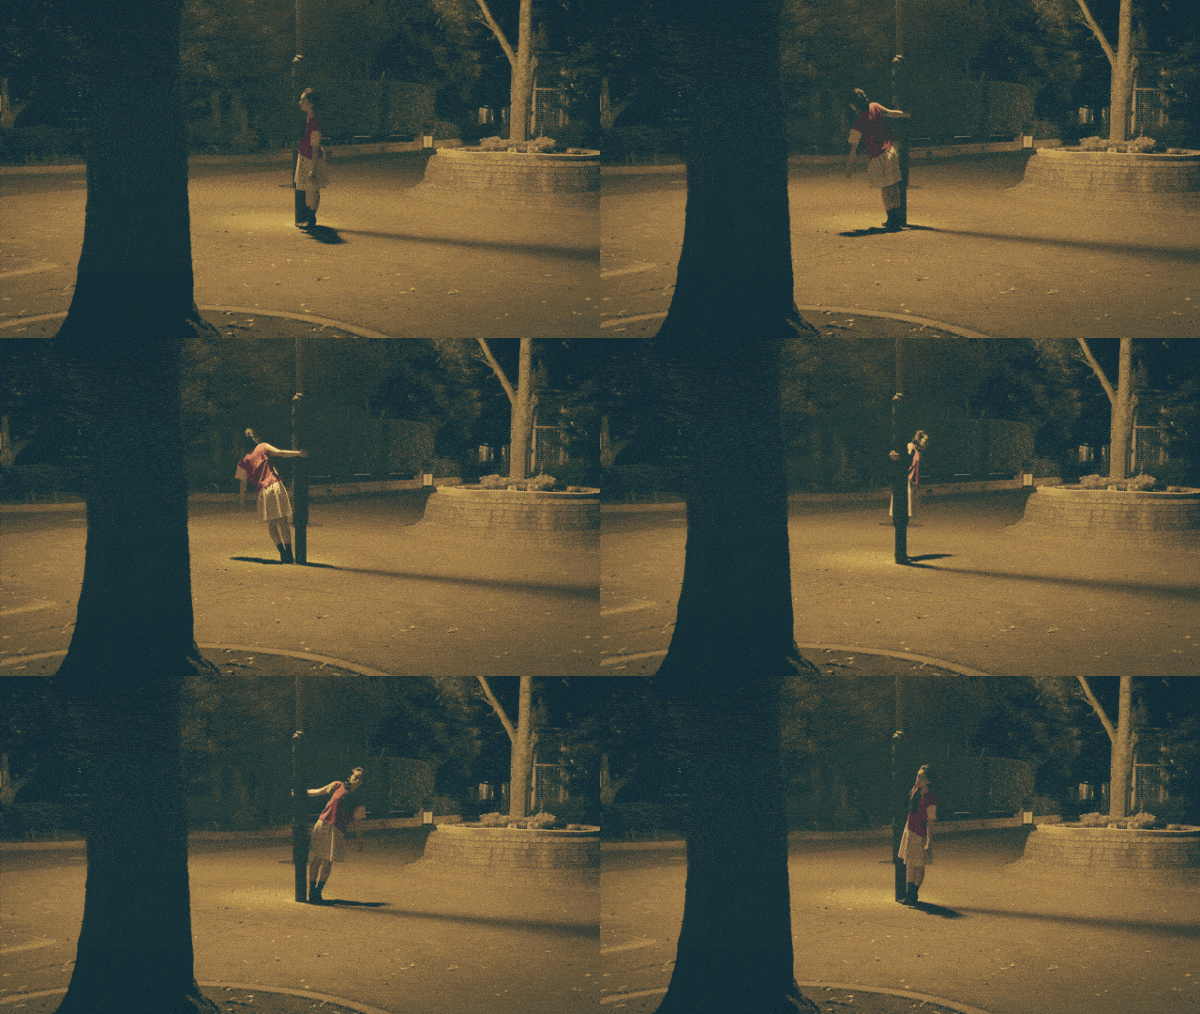
Gif-images by RRRRRRRROLL

Inside the Making of "Danse Macabre": Masterful Compositing Brings Animated Symphony to Life

The Best Photo Editor Apps For Bloggers

Jaehyun Kim: Creating narrative worlds through art
