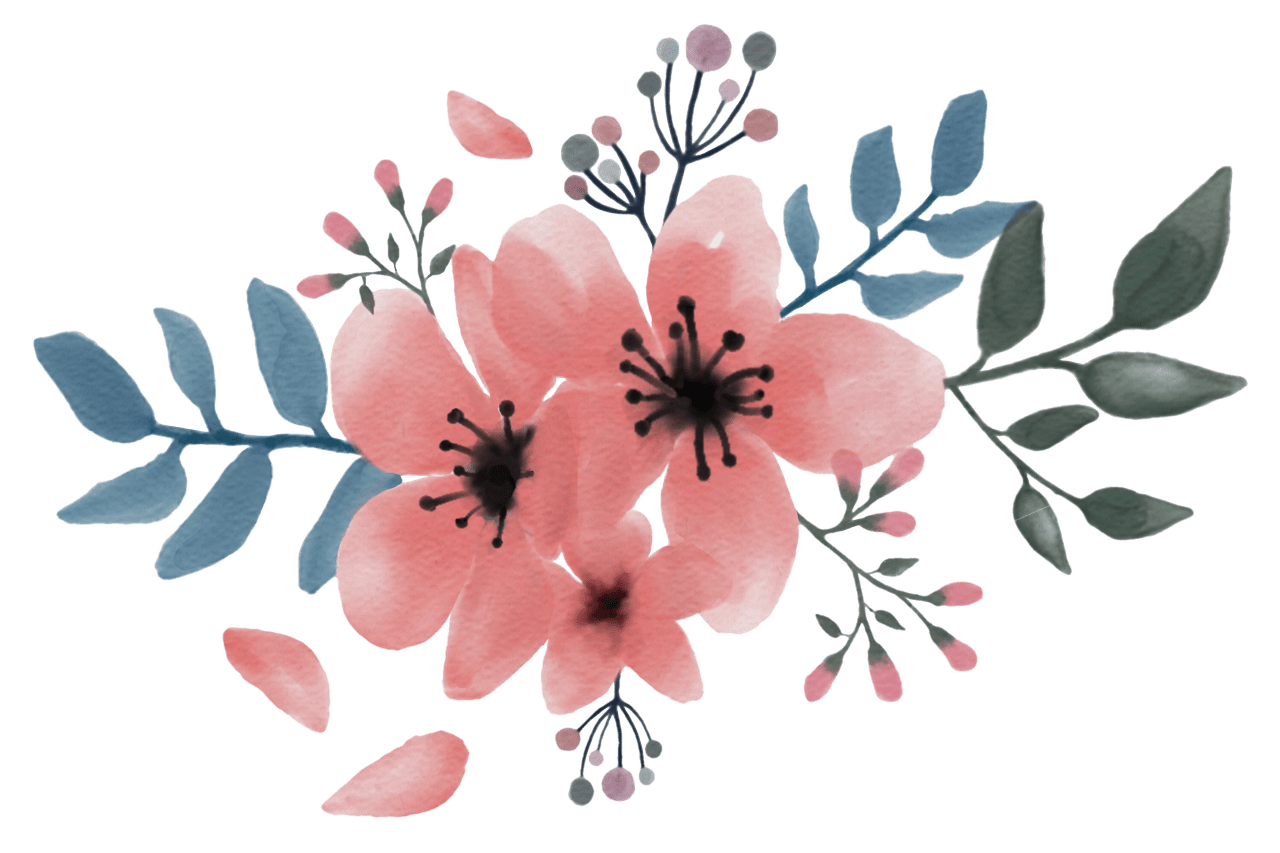
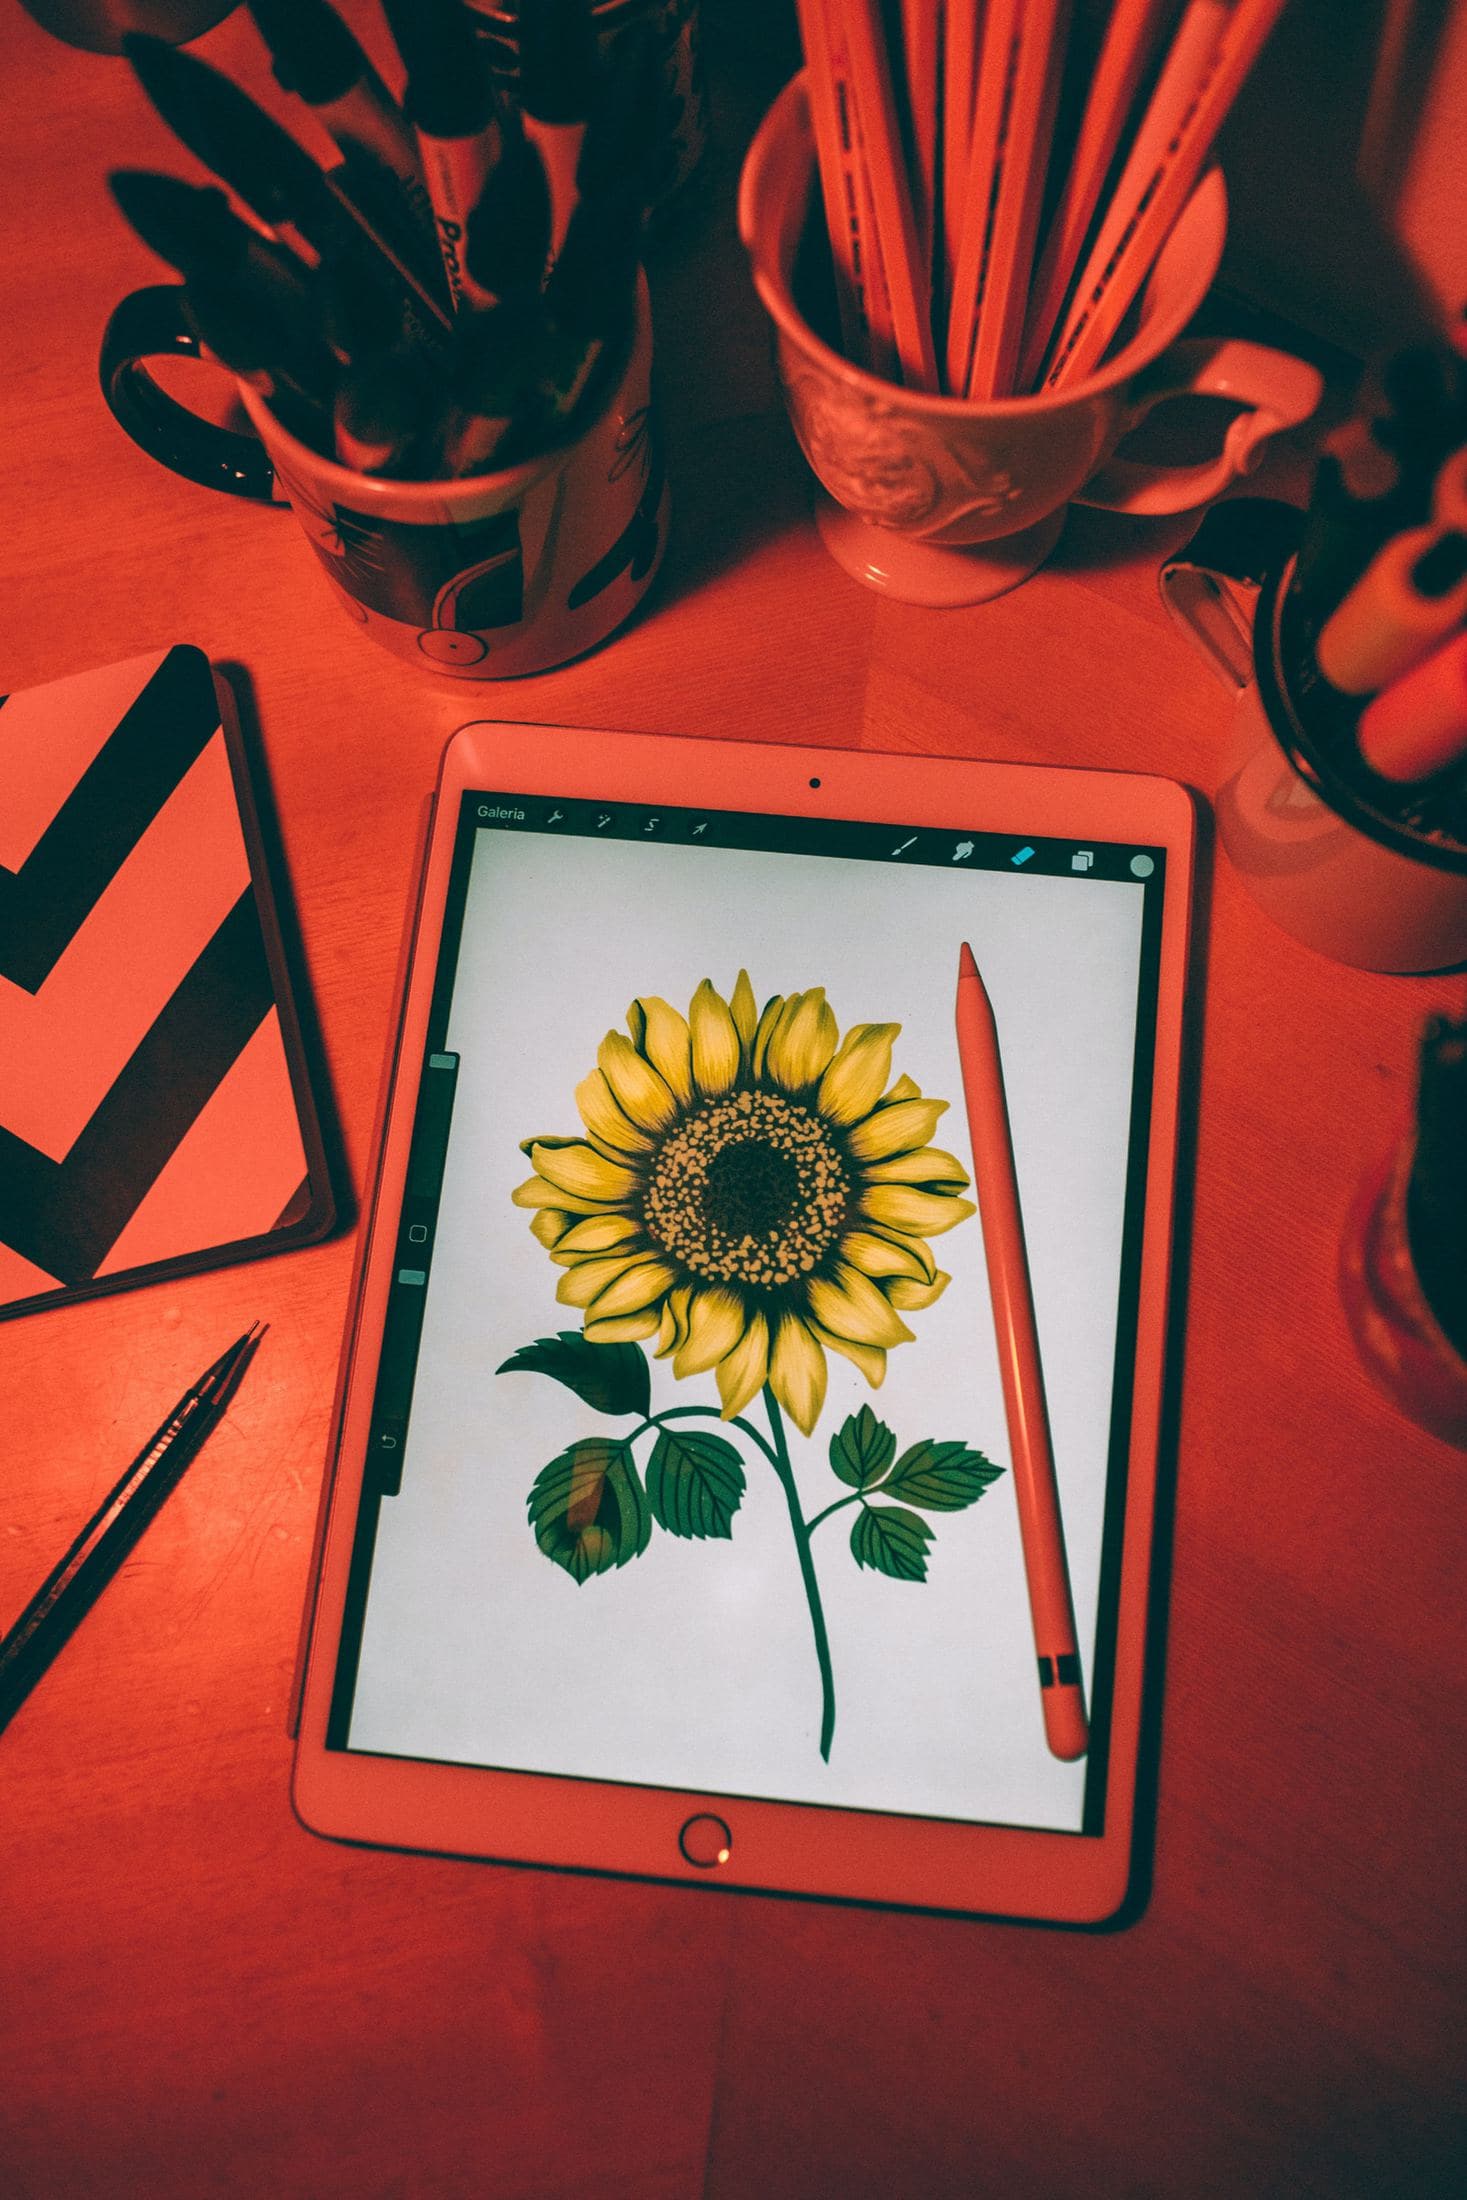
Are you interested in drawing flowers but don’t have much experience? You can use Procreate to create beautiful art.
Read on to discover a step-by-step guide to draw flowers in Procreate and design them as well. So, get your Procreate ink brush bundle to let’s start drawing.
Draw the Pistil
The pistil is in the middle of the flower, and its outline is what we will be drawing first. When you draw your Procreate flowers from the center, you’ll find it easier to space the flower and achieve correct petal placement.
Draw the inner petals
Now that you’ve drawn your pistil in the center of your Procreate flower, proceed to sketch the outlines of the flower’s two inner petals. Place the petals at the bottom and top of the pistil. Draw the bottom petal as a half to create an effect that isn’t flat.
Draw the outer petals
Proceed to draw the outlines of the two outer petals. Ensure to place them on the left and right and make sure they flare out more than the inner petals did when you drew them.
Draw the Stamens
The poppy flower stamens should resemble lines that have oval shapes on them. You will be drawing the stamens around the pistils. Make sure they are somewhat close to the pistil and don’t make them too big.

Add details to the outline
Now that you have completed the outline of your poppy flower, the next step is to add more lines to your drawing, especially on the pistil. However, you can skip this step and go straight to coloring your Procreate flower.
Color the flower
Use two shades of yellow and red to color your pistil. You can use dark red for the inner petals and a lighter shade of red for the outer ones.
Since the flowers can come in several colors, including purple and pink, you can experiment with any other color that suits poppies instead of red.

Shade the poppy flower
If you want to give your Procreate flower more texture and depth, you can add some shading to the petals. You can shade with markers, crayons, or paint.
One vital tip to help you shade your flower right is to imagine the angle the sunlight is coming from and shade the right place. A light source helps to ensure that you don’t shade your Procreate flower in the wrong places.
Add highlights to the drawing
Now that you’re almost done with all the steps to draw your flower in Procreate, do some final touchups. This touchup entails adding highlights to the petals.
You can achieve this when you use the same shading method you used. Take note of the light source again and add highlights to the areas on the petal where the light reflection rests. The light will most likely reflect on the rims or edges of the petal.
