At present, you don’t necessarily need lots of fancy equipment to shoot movies. The quality of video and audio shots allows more and more artists, content creators, and film directors to use mobile devices when creating their products. In fact, even such famous movies as Tangerine (2015) or Unsane (2018) were completely shot on iPhone! Needless to say, these facts make smartphones the future of movies, so you can literally write a script, get an iPhone and start filmmaking.
In this article, we’ll cover the most effective practices of how to make a movie on your Apple smartphone and introduce the main iPhone features that come at hand for film shooting. Following these simple tips for professional videos will certainly help you to create eye-catching movies like a pro!
Shooting a Pro-Quality Videos on iPhone: Best Features to Use
Year by year, Apple’s iPhone boasts one of the best cameras presented on the smartphone market. Each time developers add advanced camera configurations, various shooting modes, and fancy filters. And, the better you master them all on your iPhone, the higher quality of your final product will be, no matter whether it’s shot on iPhone11 or 13 Pro.
So, if you’re wondering how to make a movie, it’s essential to start with learning your camera features.

Gridlines
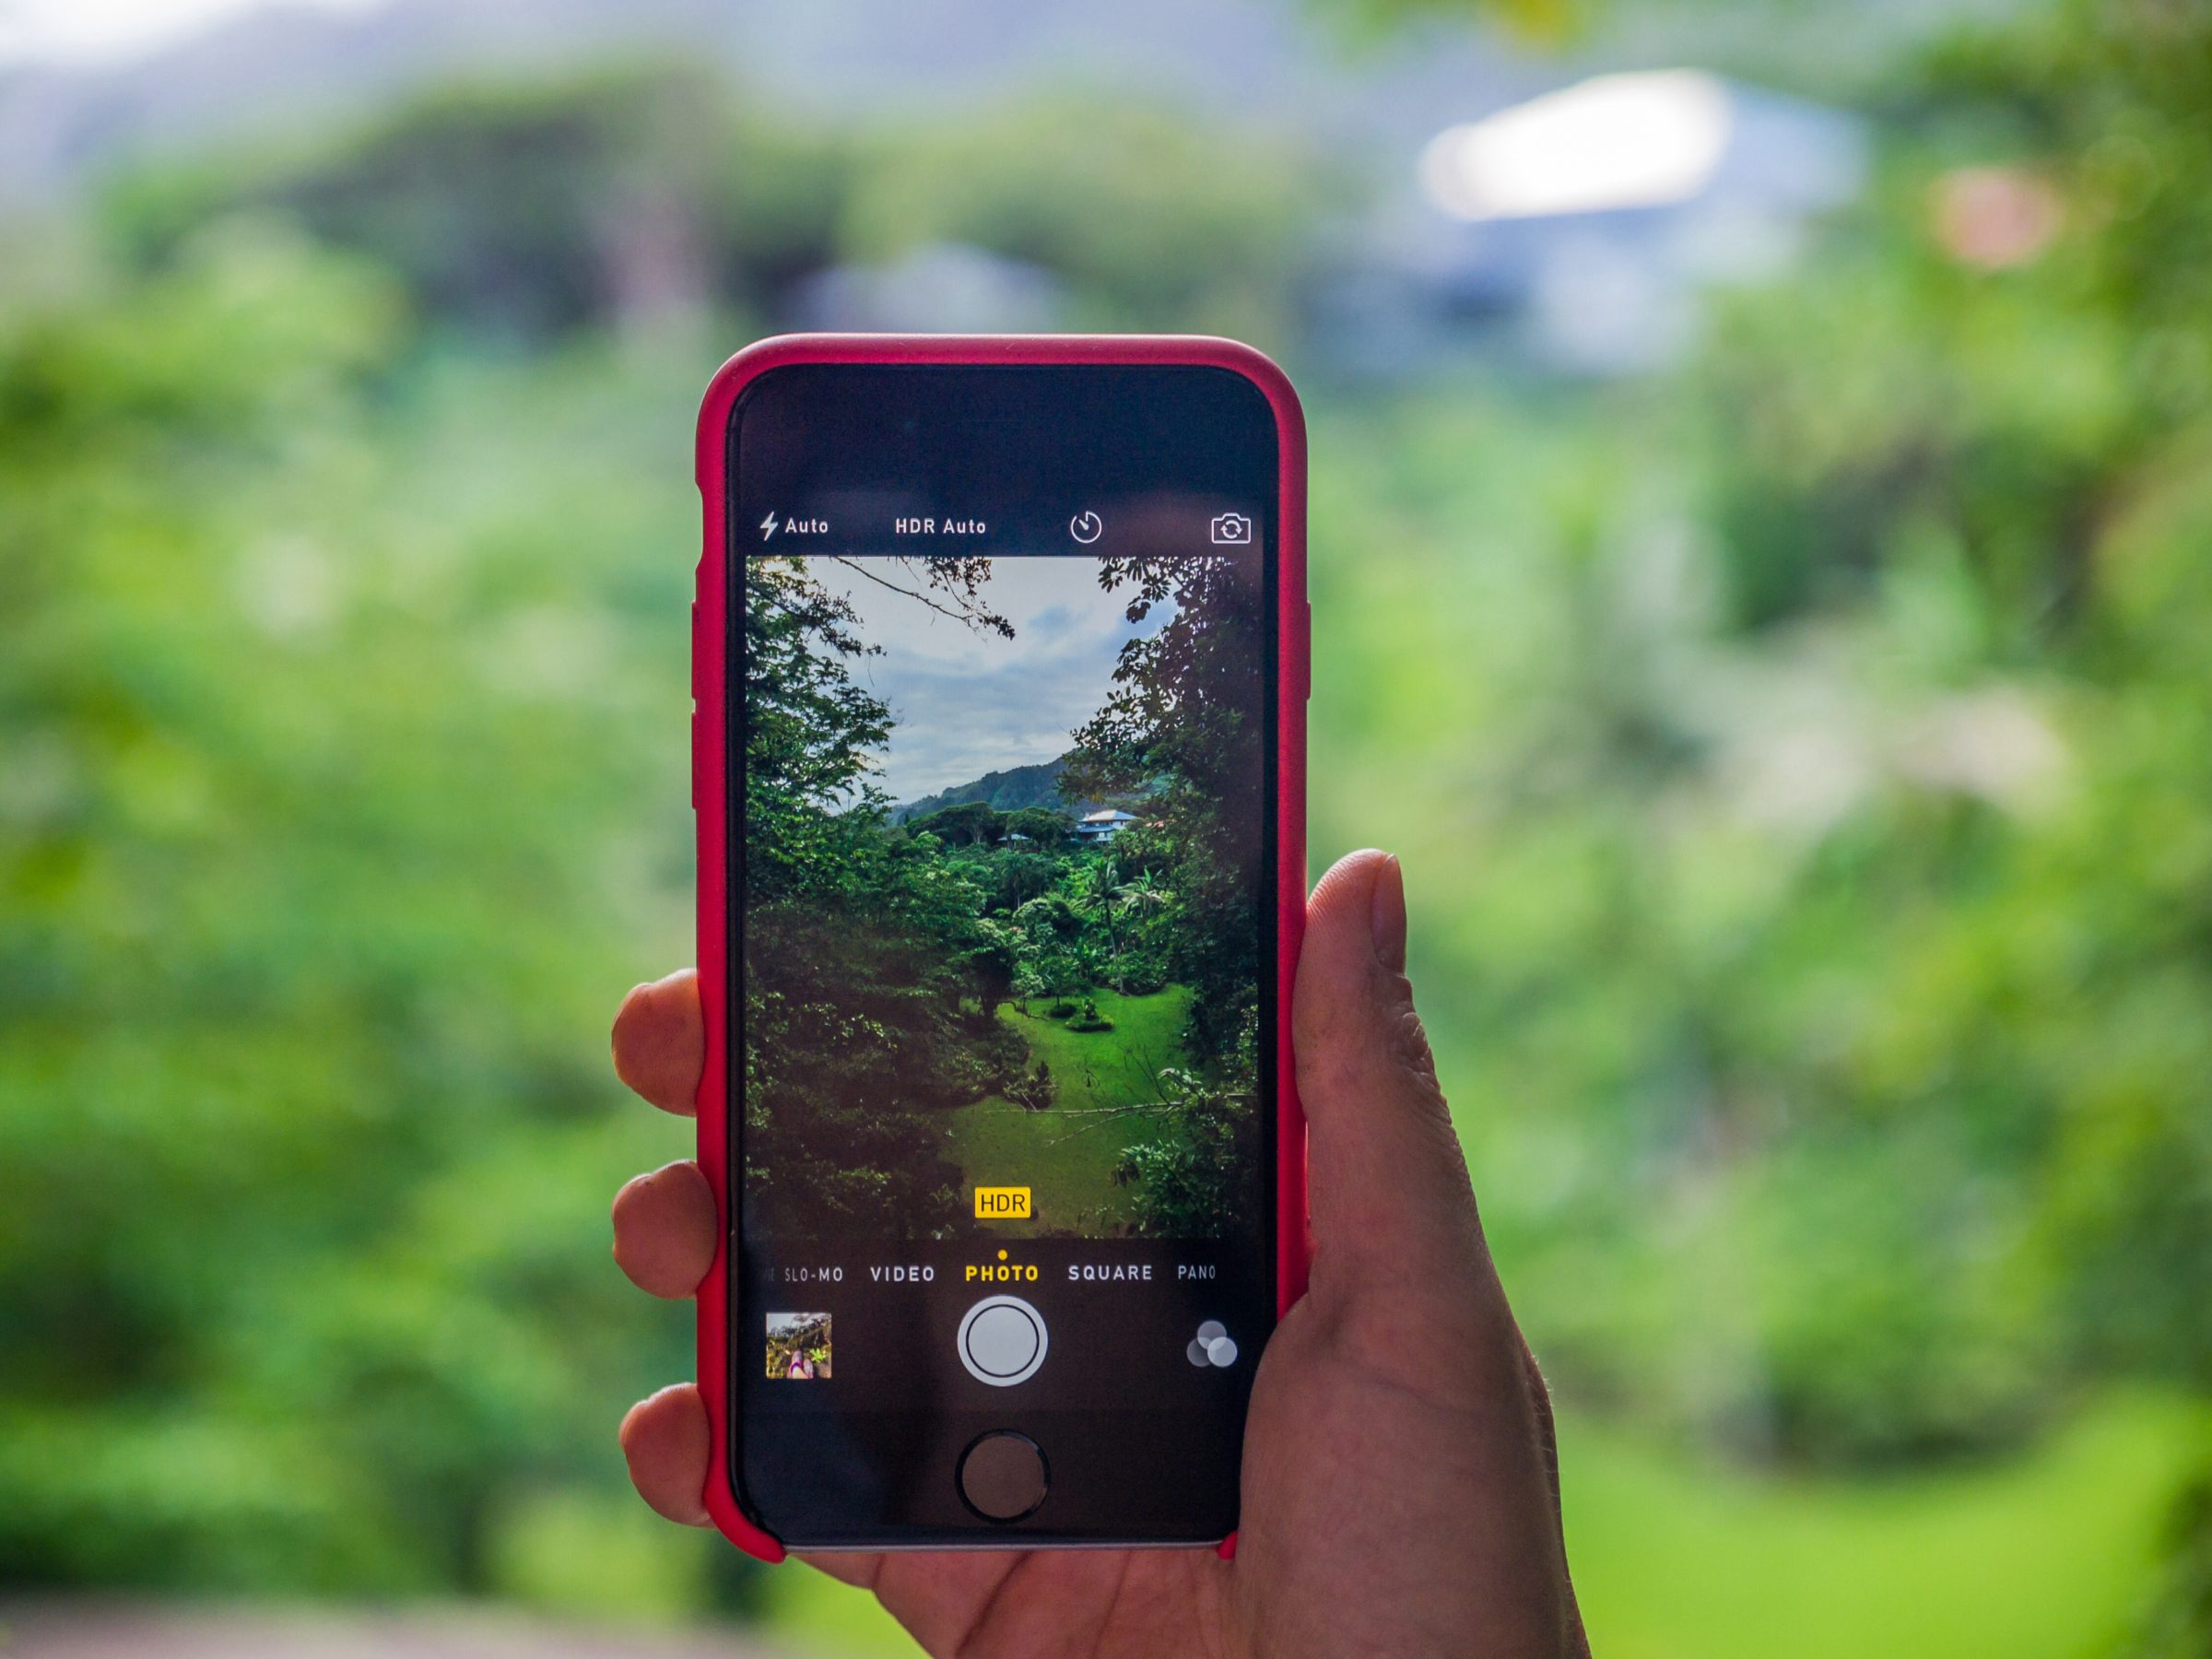
One of the essential features nearly anyone uses for content making is gridlines overlay. And the moviemaking industry is not an exception. They remain invisible on the actual images or shots but can significantly improve the shooting quality and save up lots of time in the post-production editing stage.
In general, gridlines allow you to set up a proper composition for your video shots and achieve better focusing on subjects in front of your iPhone, DSLR camera, or other mirrorless cameras. Thus, filmmakers can make use of the rule of thirds and create dramatic and eye-catching video shots. Furthermore, it’s significantly important for shooting the landscapes without a camera tripod, as you can adjust the horizon point to a suitable horizontal grid line.
Burst Mode
If you need to capture the fast-moving subjects, the iPhone’s burst mode can be a thing. It allows you to capture ten photos per sec and get the best shot of any action. This mode is on as long as your finger remains on the button, that’s really simple, easy, and time-effective!
To browse the image series, you can go to “Albums” in the Photos app and find the “Bursts” folder to browse all the shots taken.

Video Stabilization
Instead of figuring out which iPhone has the best camera, it’s much better to consider the ways you can work with the other qualities of your shot, like video stabilization. In fact, this aspect can ruin the efficiency even of the most modern professional film cameras, not to mention the iPhone.
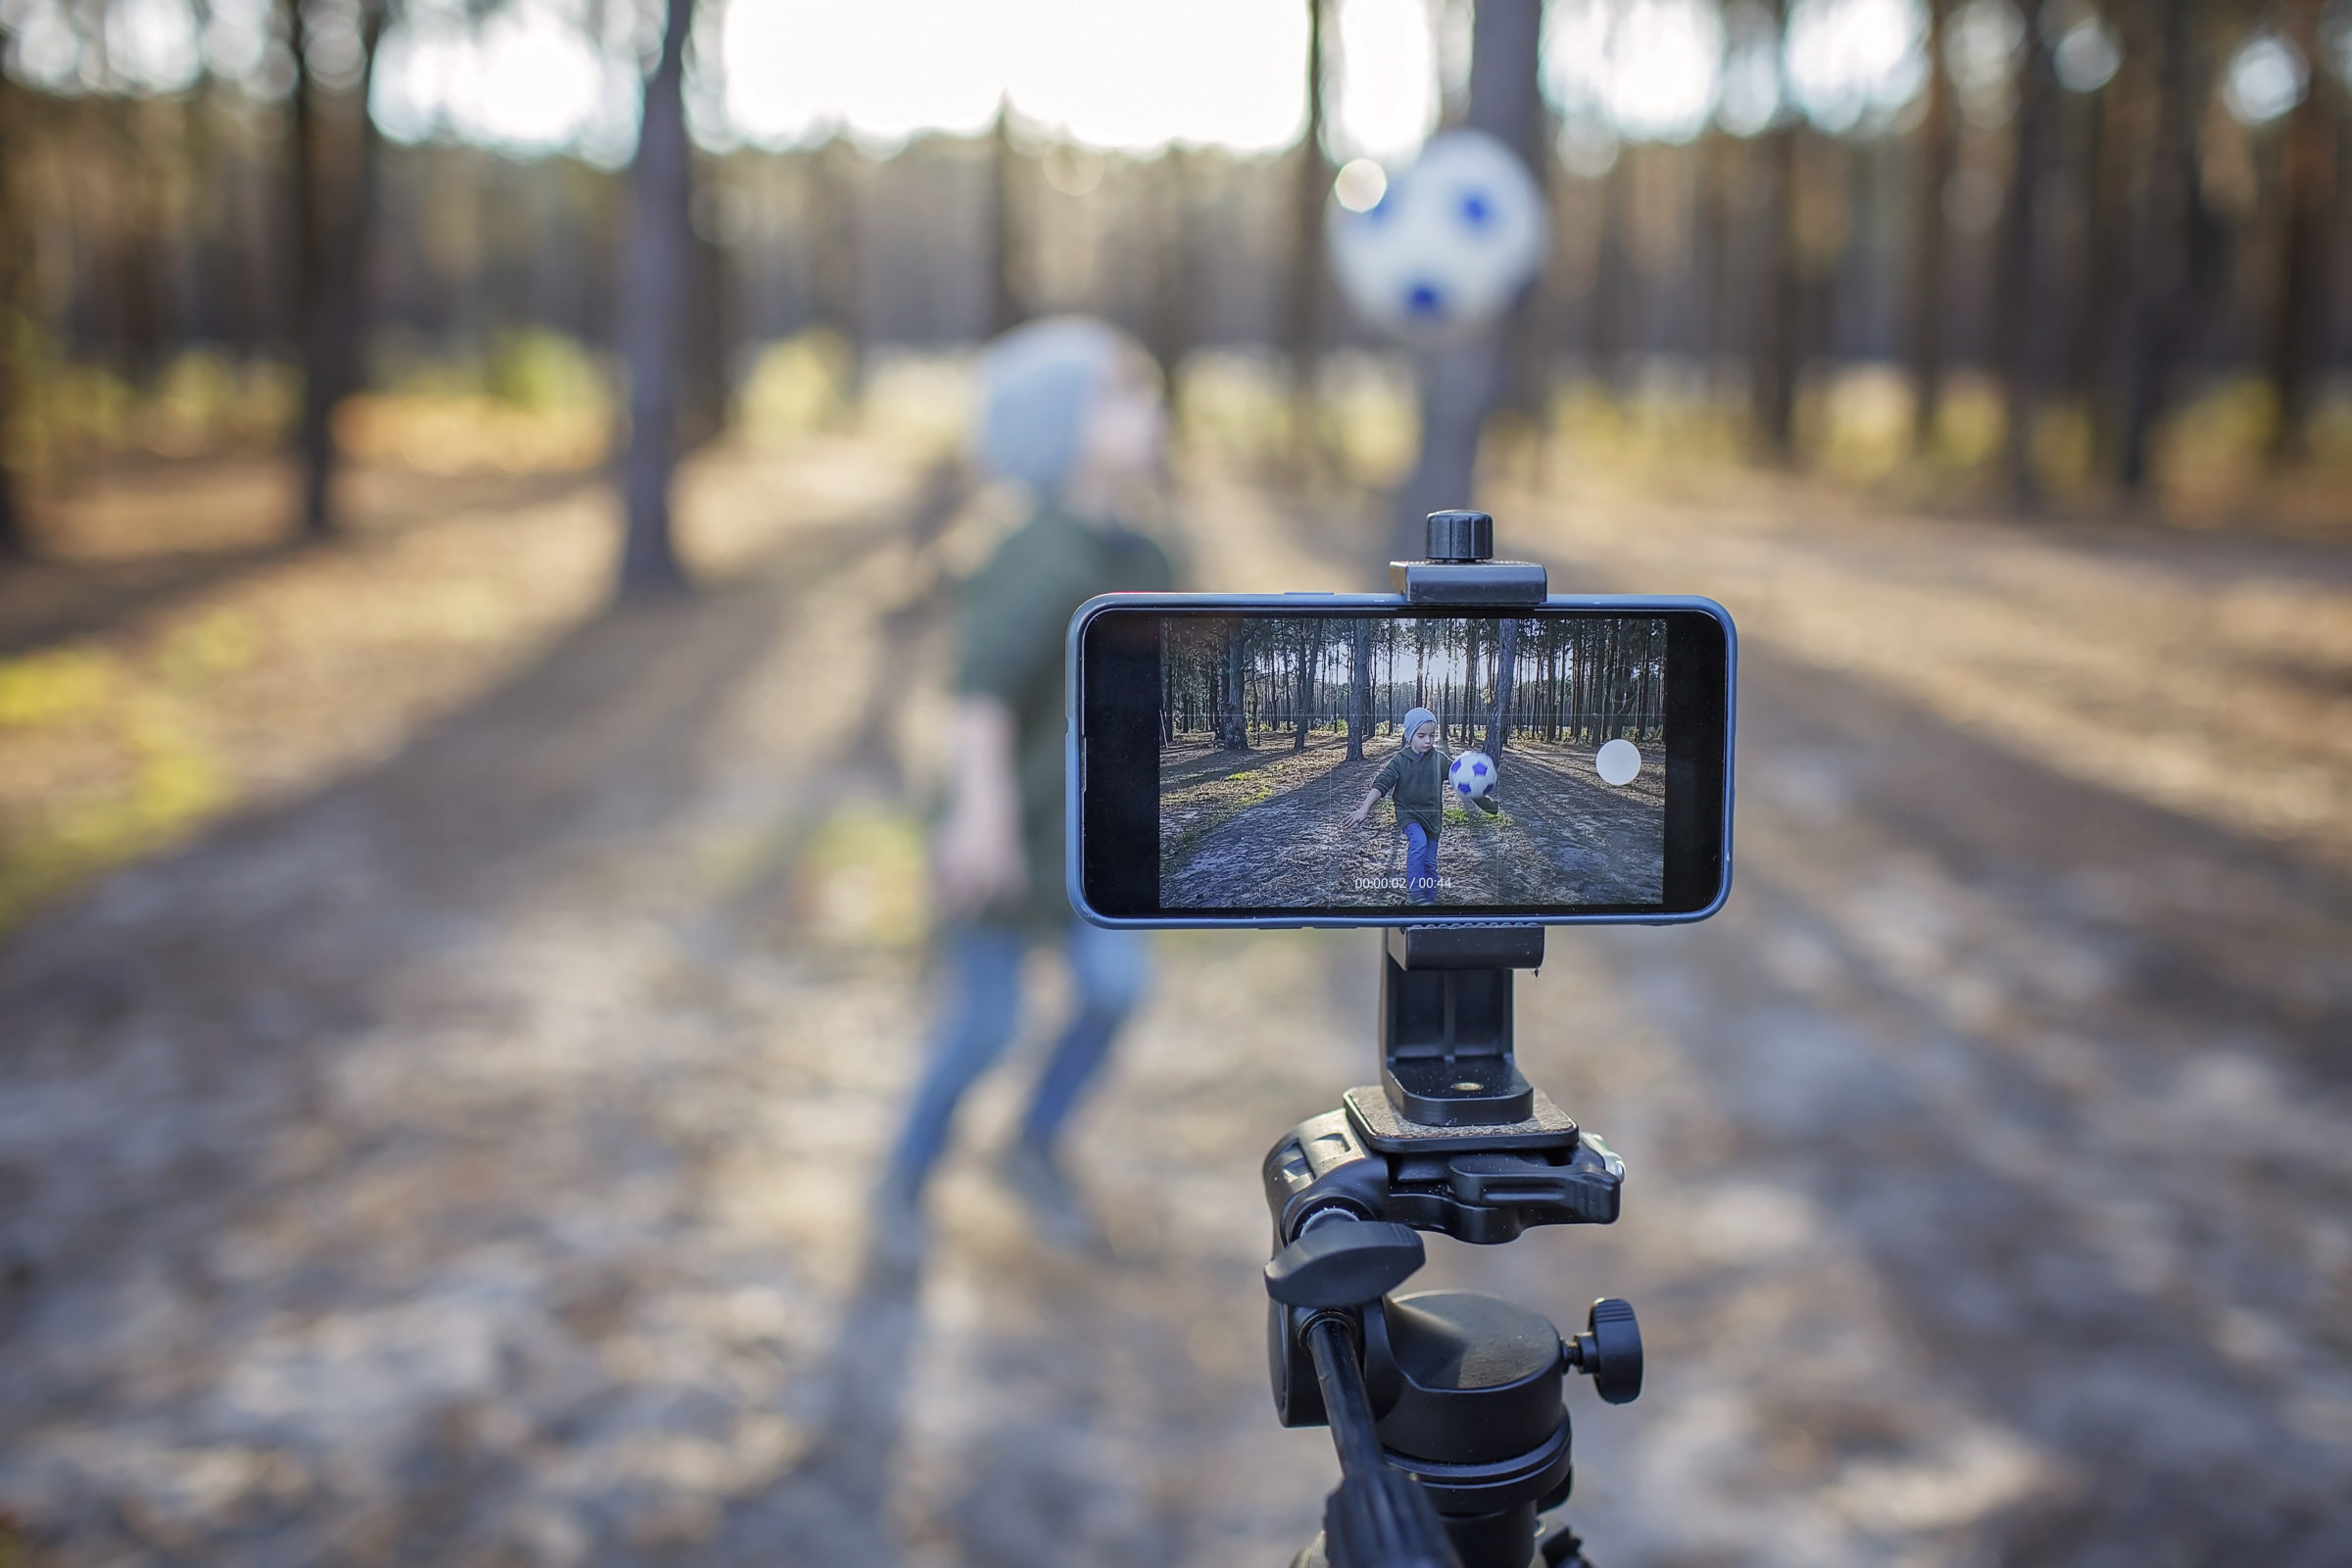
In this case, there are two options to choose from: using a physical stabilizer to get the smartphone fixed at a specific point or giving video stabilization software a try. It can eliminate any sorts of instability issues at the post-production. In fact, the second way seems more effective if you’re working with dynamic shots, as you’re not limited in moves and can change the shooting place anytime.
Exposure Settings
Your iPhone camera also features the exposure settings – those responsible for how bright the light source in your shot is displayed. These camera settings allow you to control how bright or dim you want the footage to be and are introduced by three main exposure aspects: shutter speed, aperture, and ISO. The so-called exposure triangle can significantly boost the camera settings and control the brightness level of your shot, which shows the exact picture you want to have on videos.
Frame Rate Adjustment
The FPS or frames per second refers to the camera setting used to make the video recording, which is traditionally made up of plenty of individual images matched together. If you’re planning to include slow-motion shots into your film, there’s a great chance of adjusting the frame rate of your iPhone video.
This option can be found under “Record Slo-mo” in your iPhone camera settings.
Royalty-Free Music
Also, nearly all professional films use plenty of different sounds and music soundtracks in their movies to make the best impression on the audience. As an example, you can use royalty-free music – the licensed music that is free for use after the one-time payment. Thus, if you want to use it later for some other film projects, you won’t be charged for the track added again.

Video Editing Software
Last but not least, pay attention to the post-production processes when shooting a film on your iPhone. This stage has a huge impact on the final movie you’ll present for your audience. And, if the film lacks visual effects, has lots of confusing scenes the sense of which the audience can’t understand, you’re more likely to fail.
For this purpose, it’s a great idea to start practicing with free editing software like Apple video editor or the trials by popular video editing apps like Movavi or Cinelerra. This method can help you learn more about the editing processes and leaves lots of opportunities for experiments!

Conclusion
As you can see, creating a film on your iPhone is not a joke anymore, it’s the real future of the filmmaking industry. The tips introduced here can also be used for other models of smartphones as well, including the latest ones by Samsung, Google, Huawei, and more. Also, you should pay attention to the software and features used for post-production shot editing. This will help your movie look more professional and draw more audiences as a result.
So, being inspired by your new movie idea, as well as knowing all these essential tips for movie making, it’s time to start your new film project! Are you still here?
Turn on your creativity and get it started right away!


