Good video production is a labor of love. It takes time to produce and can sometimes feel like it’s never going to end, but you’ll be rewarded for your hard work in the long run if that’s what you want out of life. If you dream about creating highly engaging content people are addicted to consuming (and who doesn’t?), then I’m here with some tips on how best to get started!
Pre-Production
To make your video more interesting, creative, and engaging, it is crucial to know what you want the end product of your project to look like before production even starts. There are a number of considerations that need to be made in order for the best possible final result will happen, such as budgeting time and money according to all aspects of pre-production so that everyone involved sees their needs met.
The most important part of filmmaking is pre-production: from storyboarding ideas through deciding on shots or locations based on designing scenes around specific sounds – everything falls into place when this process begins!
Pre-production, or the planning and logistics phase of a video project, is where most people don’t realize how much creativity goes into it. Pre-production can be long before you even hit “record” in your production studio when everything needs to come together in order for things to go smoothly. A good pre-planning will save time as well as money because, more often than not, there are multiple creatives on board who need guidance from their client so that they know what kind of end goal they’re going after with this one big idea/project creation process.

Pre-production is where most of the magic happens. It’s when you get to plan and prepare for your shoot before it starts, ensuring that no detail goes overlooked in order to produce a knockout video project. The planning stage often requires plenty of time upfront – but don’t worry! You’ll save yourself both time and money by prepping early on with our tips below:
- Make sure all parts are accounted for — this includes equipment, employees (if applicable), actors/models/volunteers if needed… anything else? Consider what might be useful or necessary during filming, so nothing gets left out at any point along the way. And make a note of who will need access to them, too; there may come a day where something isn’t where it should be, and you’ll want to know who might have had access that day.
- You will save yourself time by creating a checklist of filmmaking equipment, supplies, and personnel as well as the resources needed for your project – this way, everything is accounted for in advance, so there are no surprises during production! Keep track of what each person has been given responsibility for, too; they may forget or leave something behind at some point which then needs to be quickly remedied when nobody can find it… orderliness goes a long way here! Plan ahead with these filmmaking tools: filmmaking equipment checklist template, filmmaking supply list templates, filmmaking crew member questionnaire template.
- Actors/models/volunteers? Make a list of actors/models/volunteers needed and who will be in charge of scheduling. Planning is key here to ensure that you have enough staff for whatever the production needs are!
- What about location scouting? There may come a time where someone asks whether or not they should shoot on set, outside, or somewhere else entirely. You’ll want to know which areas need to be scouted ahead so you can plan accordingly with filmmaking location checklist templates – it’s better than scrambling when everything falls into place too late in the game, and things become difficult because we weren’t prepared! Checklist templates include filmmaking locations tasks (scouting) template as well as filmmaking equipment inventory template.
What is your end goal?
What will your video do for you? Before even beginning to plan, make sure that you have a solid understanding of the objectives behind this project. A goal is something very specific and measurable; it needs direction from minute one in order for any success to follow suit. In other words, what are you trying to achieve with your video content—and why? What does each audience member need from the end product in order not only to like it but find value too?

The SMART methodology can help answer these questions:
Specificity (make goals clear and concise)
Measurability (create quantifiable measurements so progress may be tracked)
Achievement (oriented goals relevant to your audience)
Relevant (make sure goals are both coherent and complementary to one another)
Time-bound (set deadlines so as not to get stuck in endless, ineffective brainstorming sessions!)
Who is your audience?
A successful video provides what the viewer is looking for. It may already be apparent to you what group of people you are targeting, but if not, you need to research them. Some questions that will help are: What are their most common problems? Questions and interests? Who do they connect with the best? Do some interviews – ask for feedback on social media pages as well!

Understanding who you are creating a video for is important because it will provide the foundation for decisions throughout the production process.
Build a video strategy
So you want to produce a video strategy? Well, first you need to know what kind of budget and deadline will work for your needs. You also have the option of making this content into many different types of videos, so it gets seen by more people in more ways.

So now we’ve laid down some groundwork about budgets and deadlines: too big or small can cost us an ultimately successful campaign because they set expectations before any type of production has begun – just one little mistake could be costly if not dealt with early on in the process (don’t forget those ROI ideas!). And speaking from experience, sometimes allocating time upfront will save you a lot of time later when things are well underway. A good video strategy is vital to your success with the videos you produce. You don’t need to get it perfect on the first attempt, though. Instead, aim for a clear framework that’ll allow you to create videos in a sustainable way and stay within budget — this will make them more successful in the future.
Write a video production brief
A production brief is a summary of the information you’ve compiled so far and should serve as a guide throughout the process to keep everyone on track. It should cover your video objectives, target audience, core message, budget and deadline.
Be sure to include what success looks like—how you will achieve an ROI for this video with these criteria in mind.
Establish your creative approach?
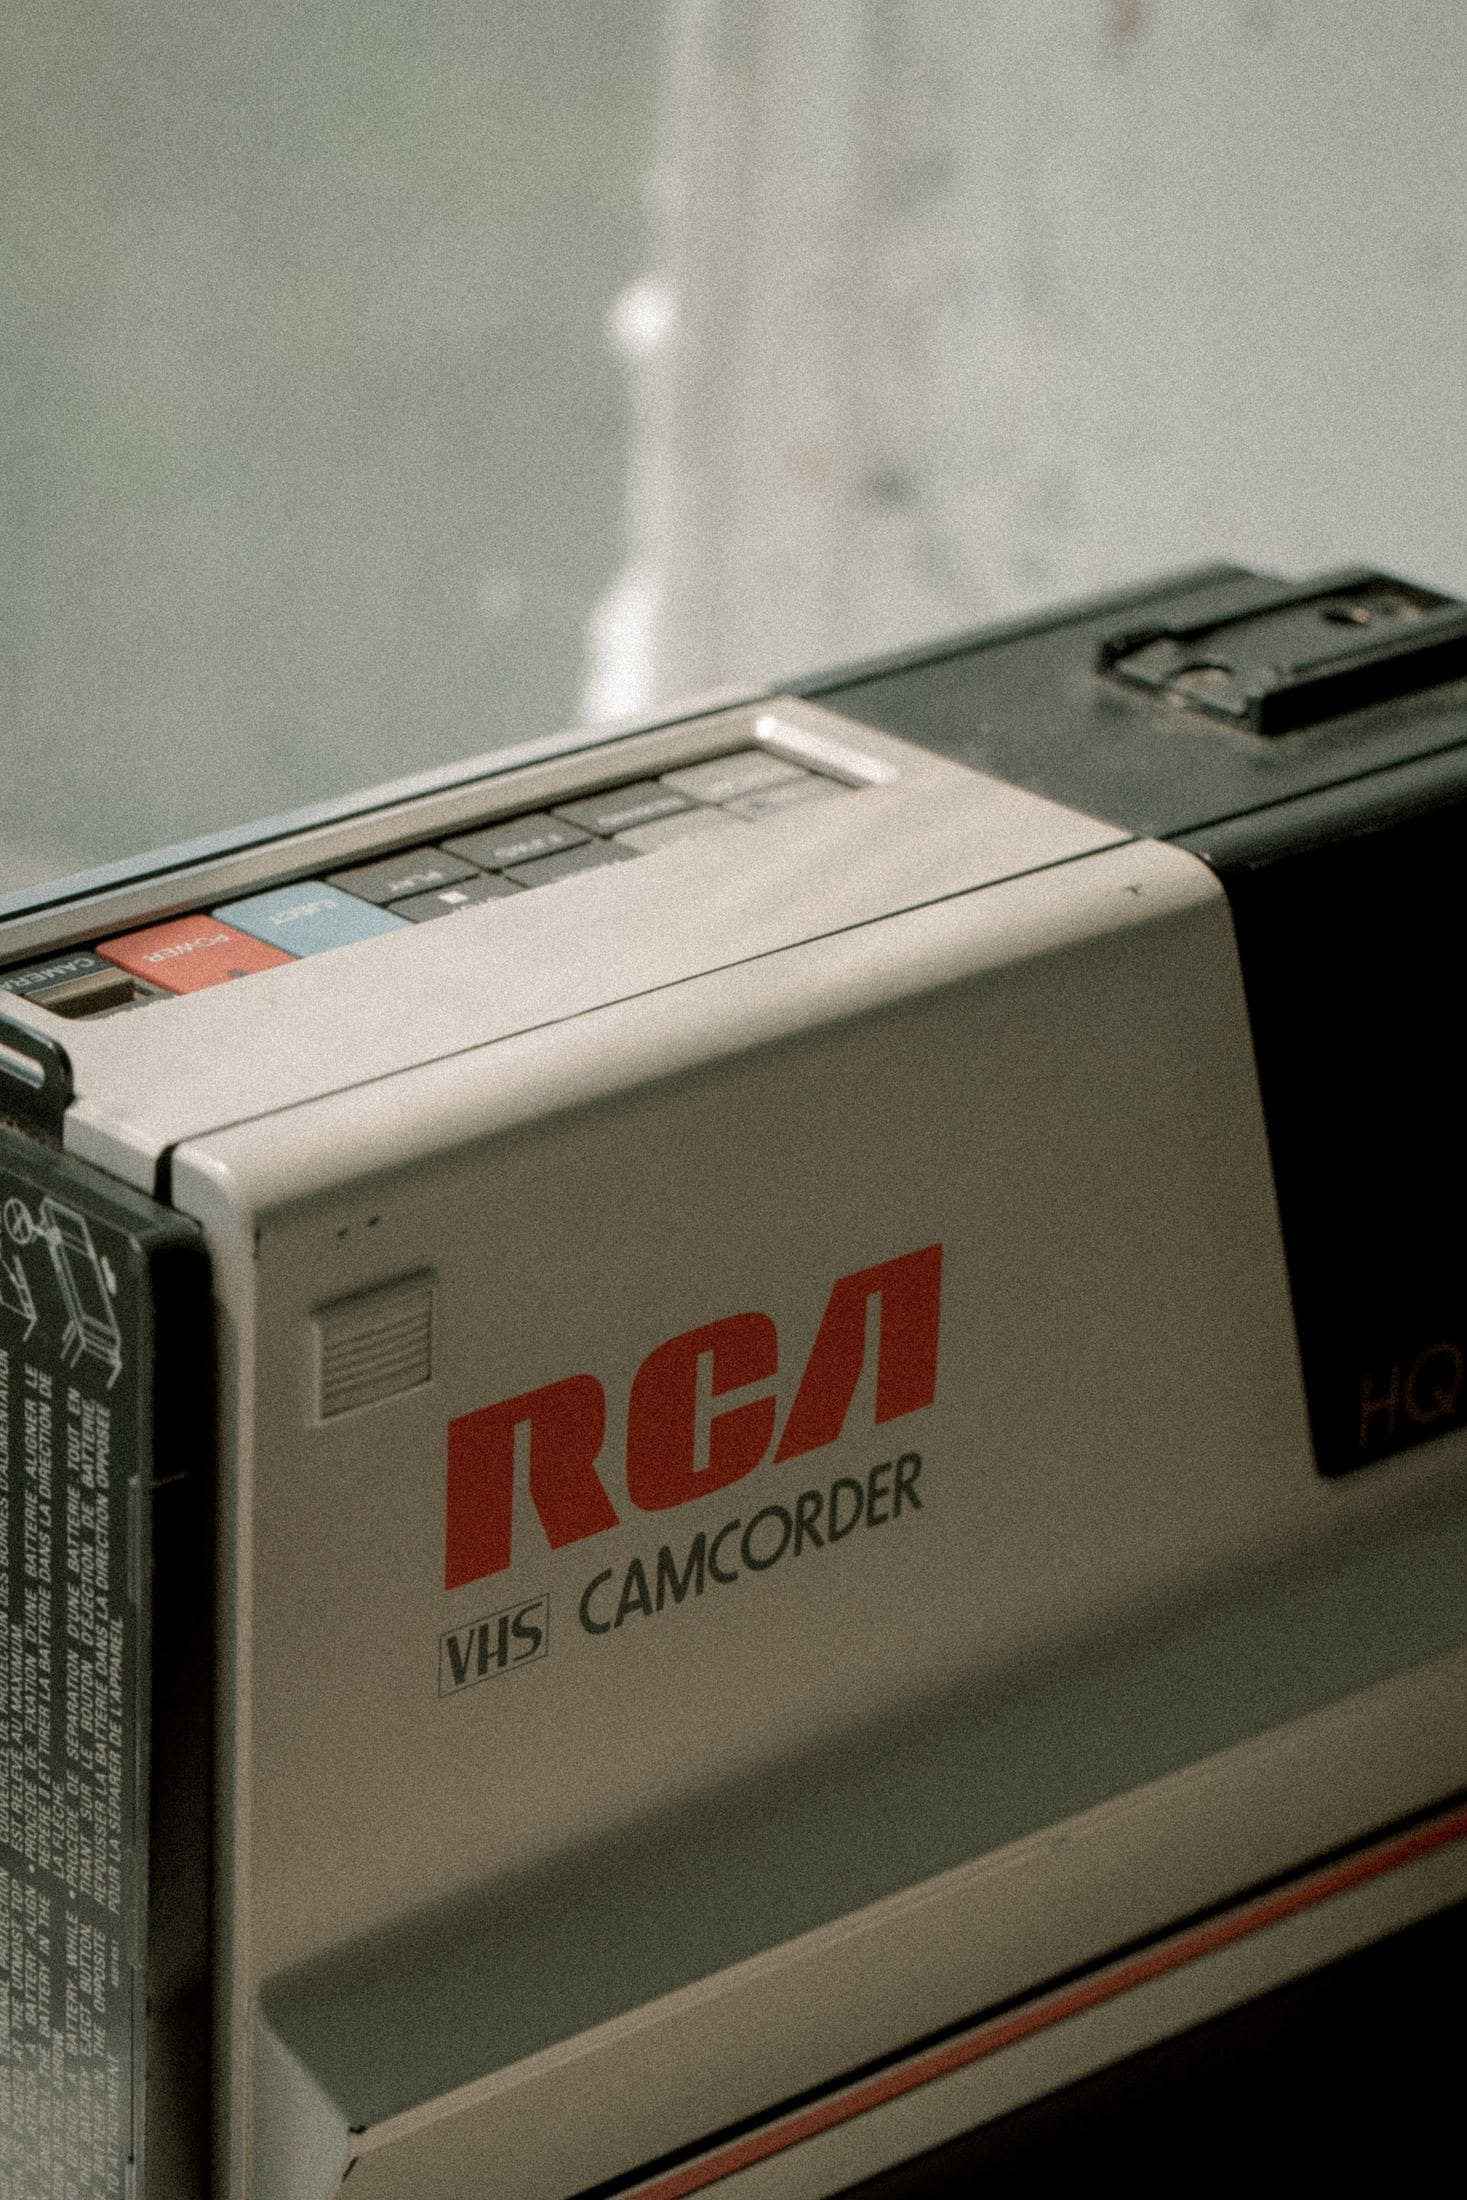
Now that you have your concept, it’s time to start brainstorming what the video needs. What do people want? Ask yourself this question and come up with a list of things they need. Look to other videos and take inspiration from what they’ve done. Try watching your competitors’ content in order to find out how you can be more creative with the same material, or try looking at videos that have been really effective for others (and see if there’s something different about them). Draw on these inspirations as well as anything else you might come up with just by thinking alone until a plan emerges – one which should include all of this information. You may find visual aids like footage from VHS tapes helpful in getting them across clearly while making sure there are no misunderstandings about content or message either! There are two main ways on how to transfer VHS to computer: Walmart, Costco, and Walgreens offer this service – all you need to do is visit a store or send your VHS tapes.
Alternatively, you can take the second approach of finding an online service that will help you store your files on their cloud storage.
Work on your script
When developing your video script, consider the tone and style of voice that will best fit with what you want to communicate. Who is going to be reading it? Will they need any special information or instructions for their performance? You can also have them involved in writing the script so that there’s a better chance at successful execution. Be sure not too long but descriptive enough where appropriate; shorter videos are more likely watched than longer ones because people usually don’t like spending time on material if they’re uncertain about its quality (especially when watching something online).

With this strategy, make sure you’re using easy-to-understand language targeted towards an audience who needs convincing – rather than just fluffing off generalities or facts without providing value. There’s a lot of videos out there with this type of content that doesn’t work because they’re not targeted enough to the audience they are trying to reach – you want your video to be different and stand out, so if it takes an extra effort here then it may just pay off in the end!
Create your storyboard
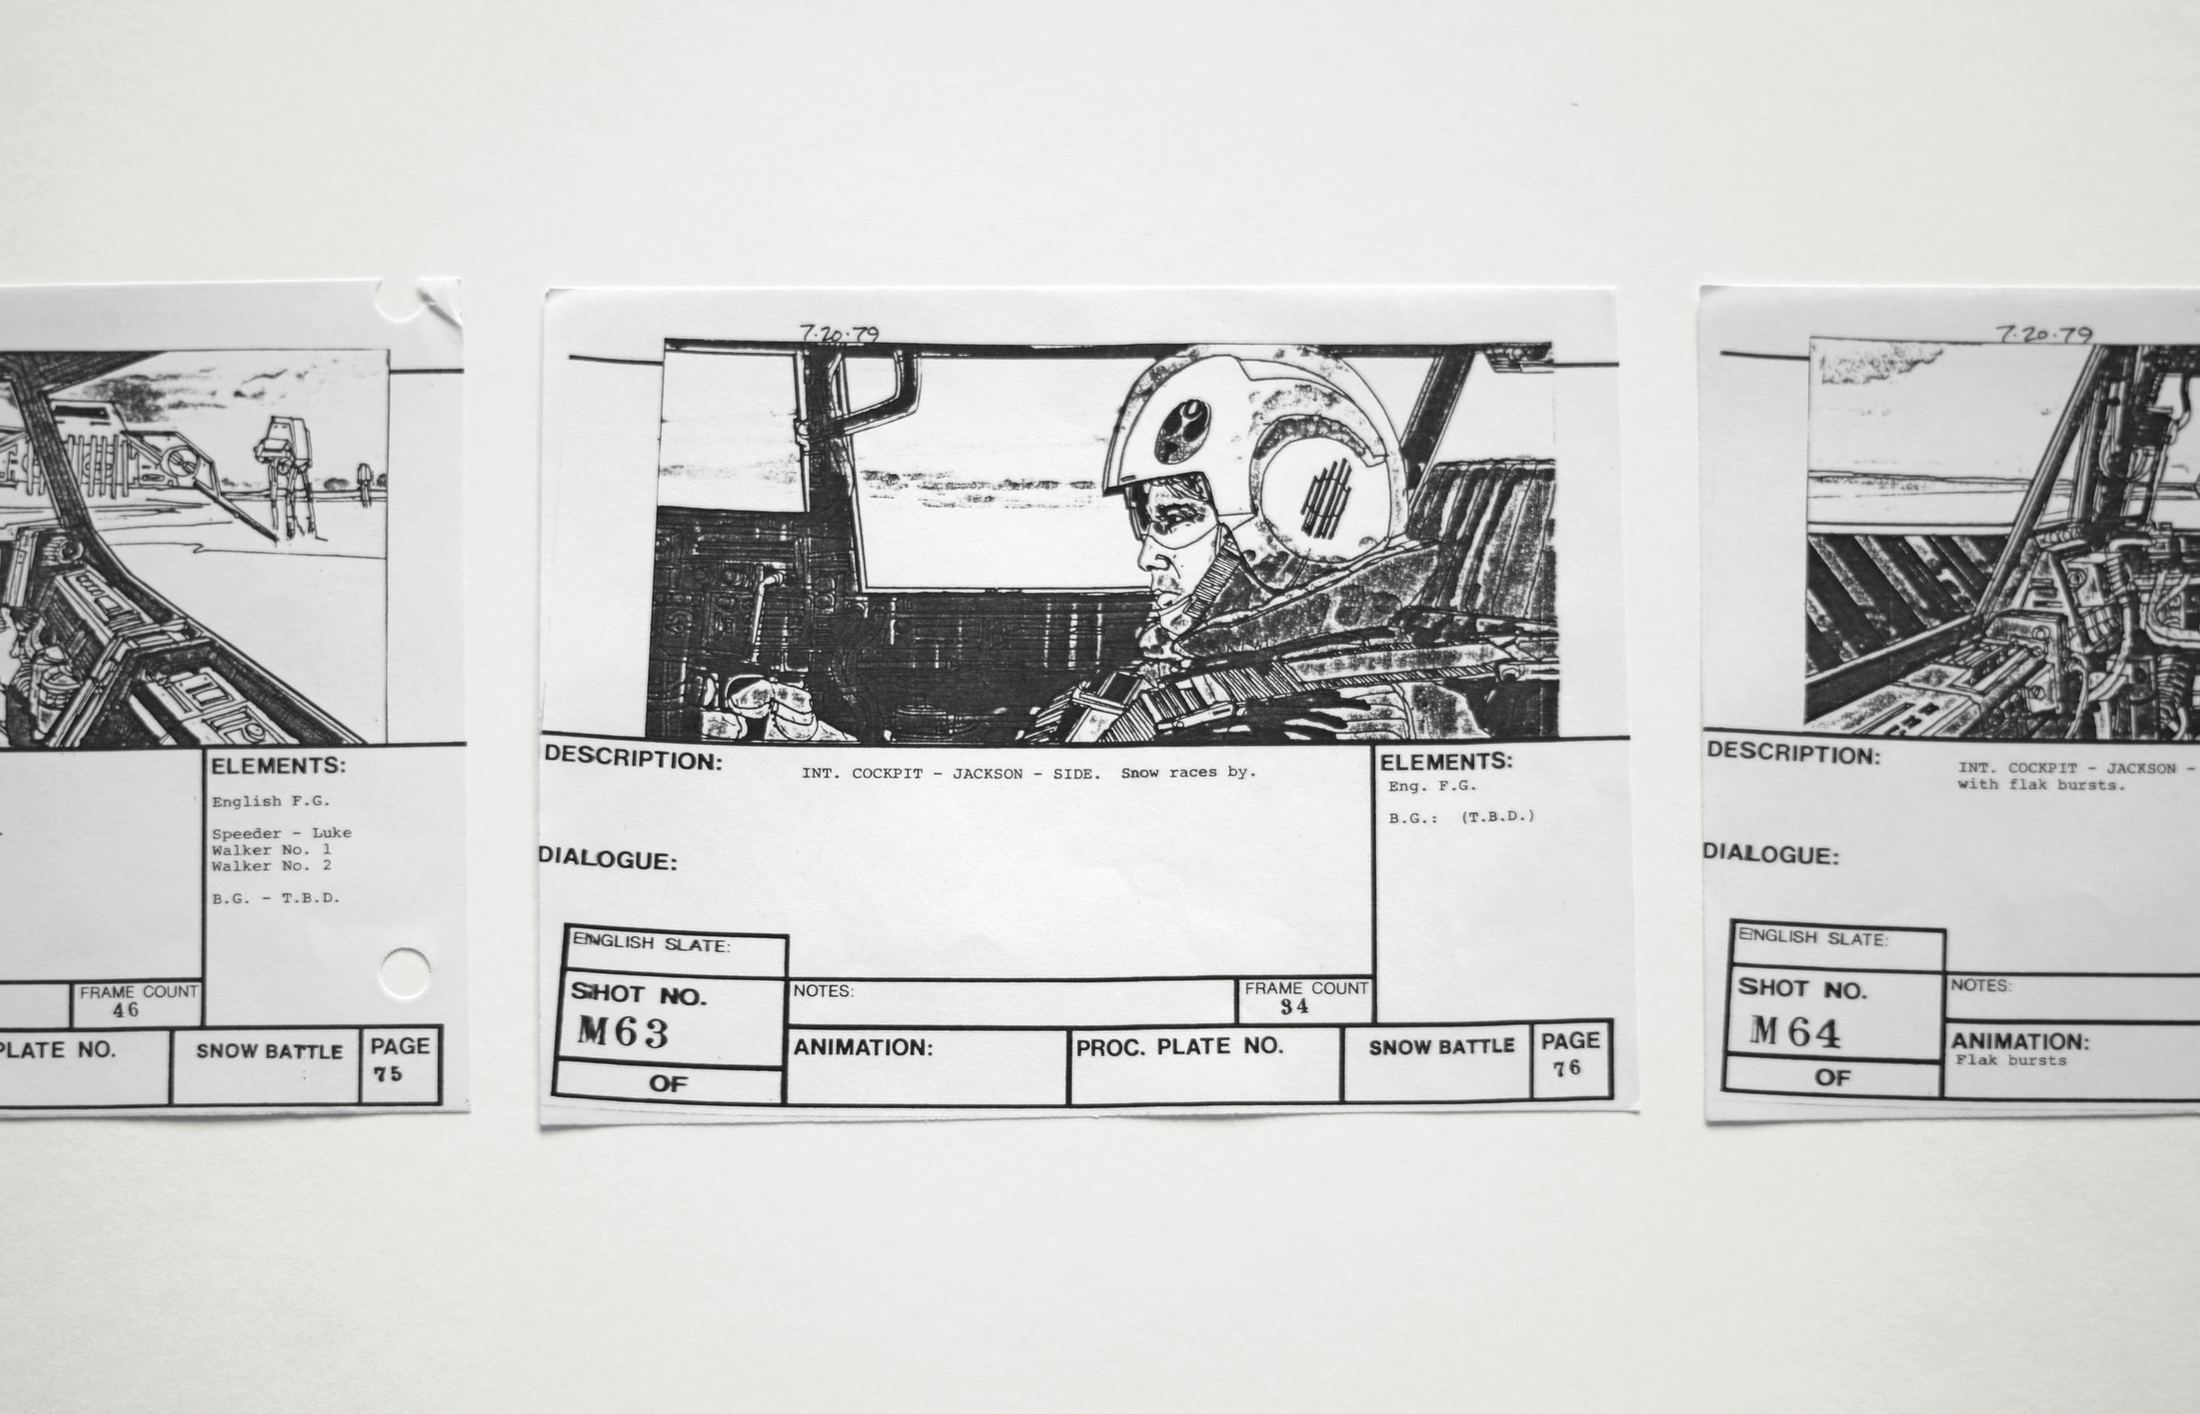
Storyboards are a great way to visualize how your video will be shot, and what you’ll need for animation or sourcing footage. It’s important that the storyboard is tight with parts of the script so it can help translate ideas in one’s head into tangible visual goals aligned closely with scenes in the screenplay. Detail as much about these shots as possible—what subjects should inhabit each scene? What type of lighting do they require? How about coloring or framing considerations…? Sometimes an artist may only sketch out rough sketches called scamps which show types of shots they like using screenshots from other videos, movies, etc., but most importantly use reference material!
Location scouting
Does your video need a specific location? If you’re working with a budget, locate the cheapest places to shoot within an hour of driving from where you live. Filming a live-action video can be tricky when you don’t have the right location. You’ll need to find an office space or other room with plain walls, but if that’s not what your scene calls for then it might take some convincing and permission from the owner of whatever building stands in your way! Otherwise, if there’s not much in-house filmmaking equipment available, get creative and improvise!

What tools will you use for this project?
Now that we’ve covered all the basics about what goes into making an engaging video, let’s dive right into what it takes to make one happen on camera. There are various ways filmmakers can accomplish different tasks in post-production depending on their skill level or resources:
Filmmakers who cannot afford expensive cameras but still want good quality footage may wish to rent them as they would any other piece of filmmaking equipment; alternatively, they may be able to borrow them from a filmmaking club, their university, or other filmmaker friends.
If you want the best possible footage but can’t afford any gear at all then there’s still hope as it is now easier than ever for beginners to shoot and edit videos with an iPhone thanks to apps like Filmic Pro. However, this will likely not give you HD quality video so keep that in mind!
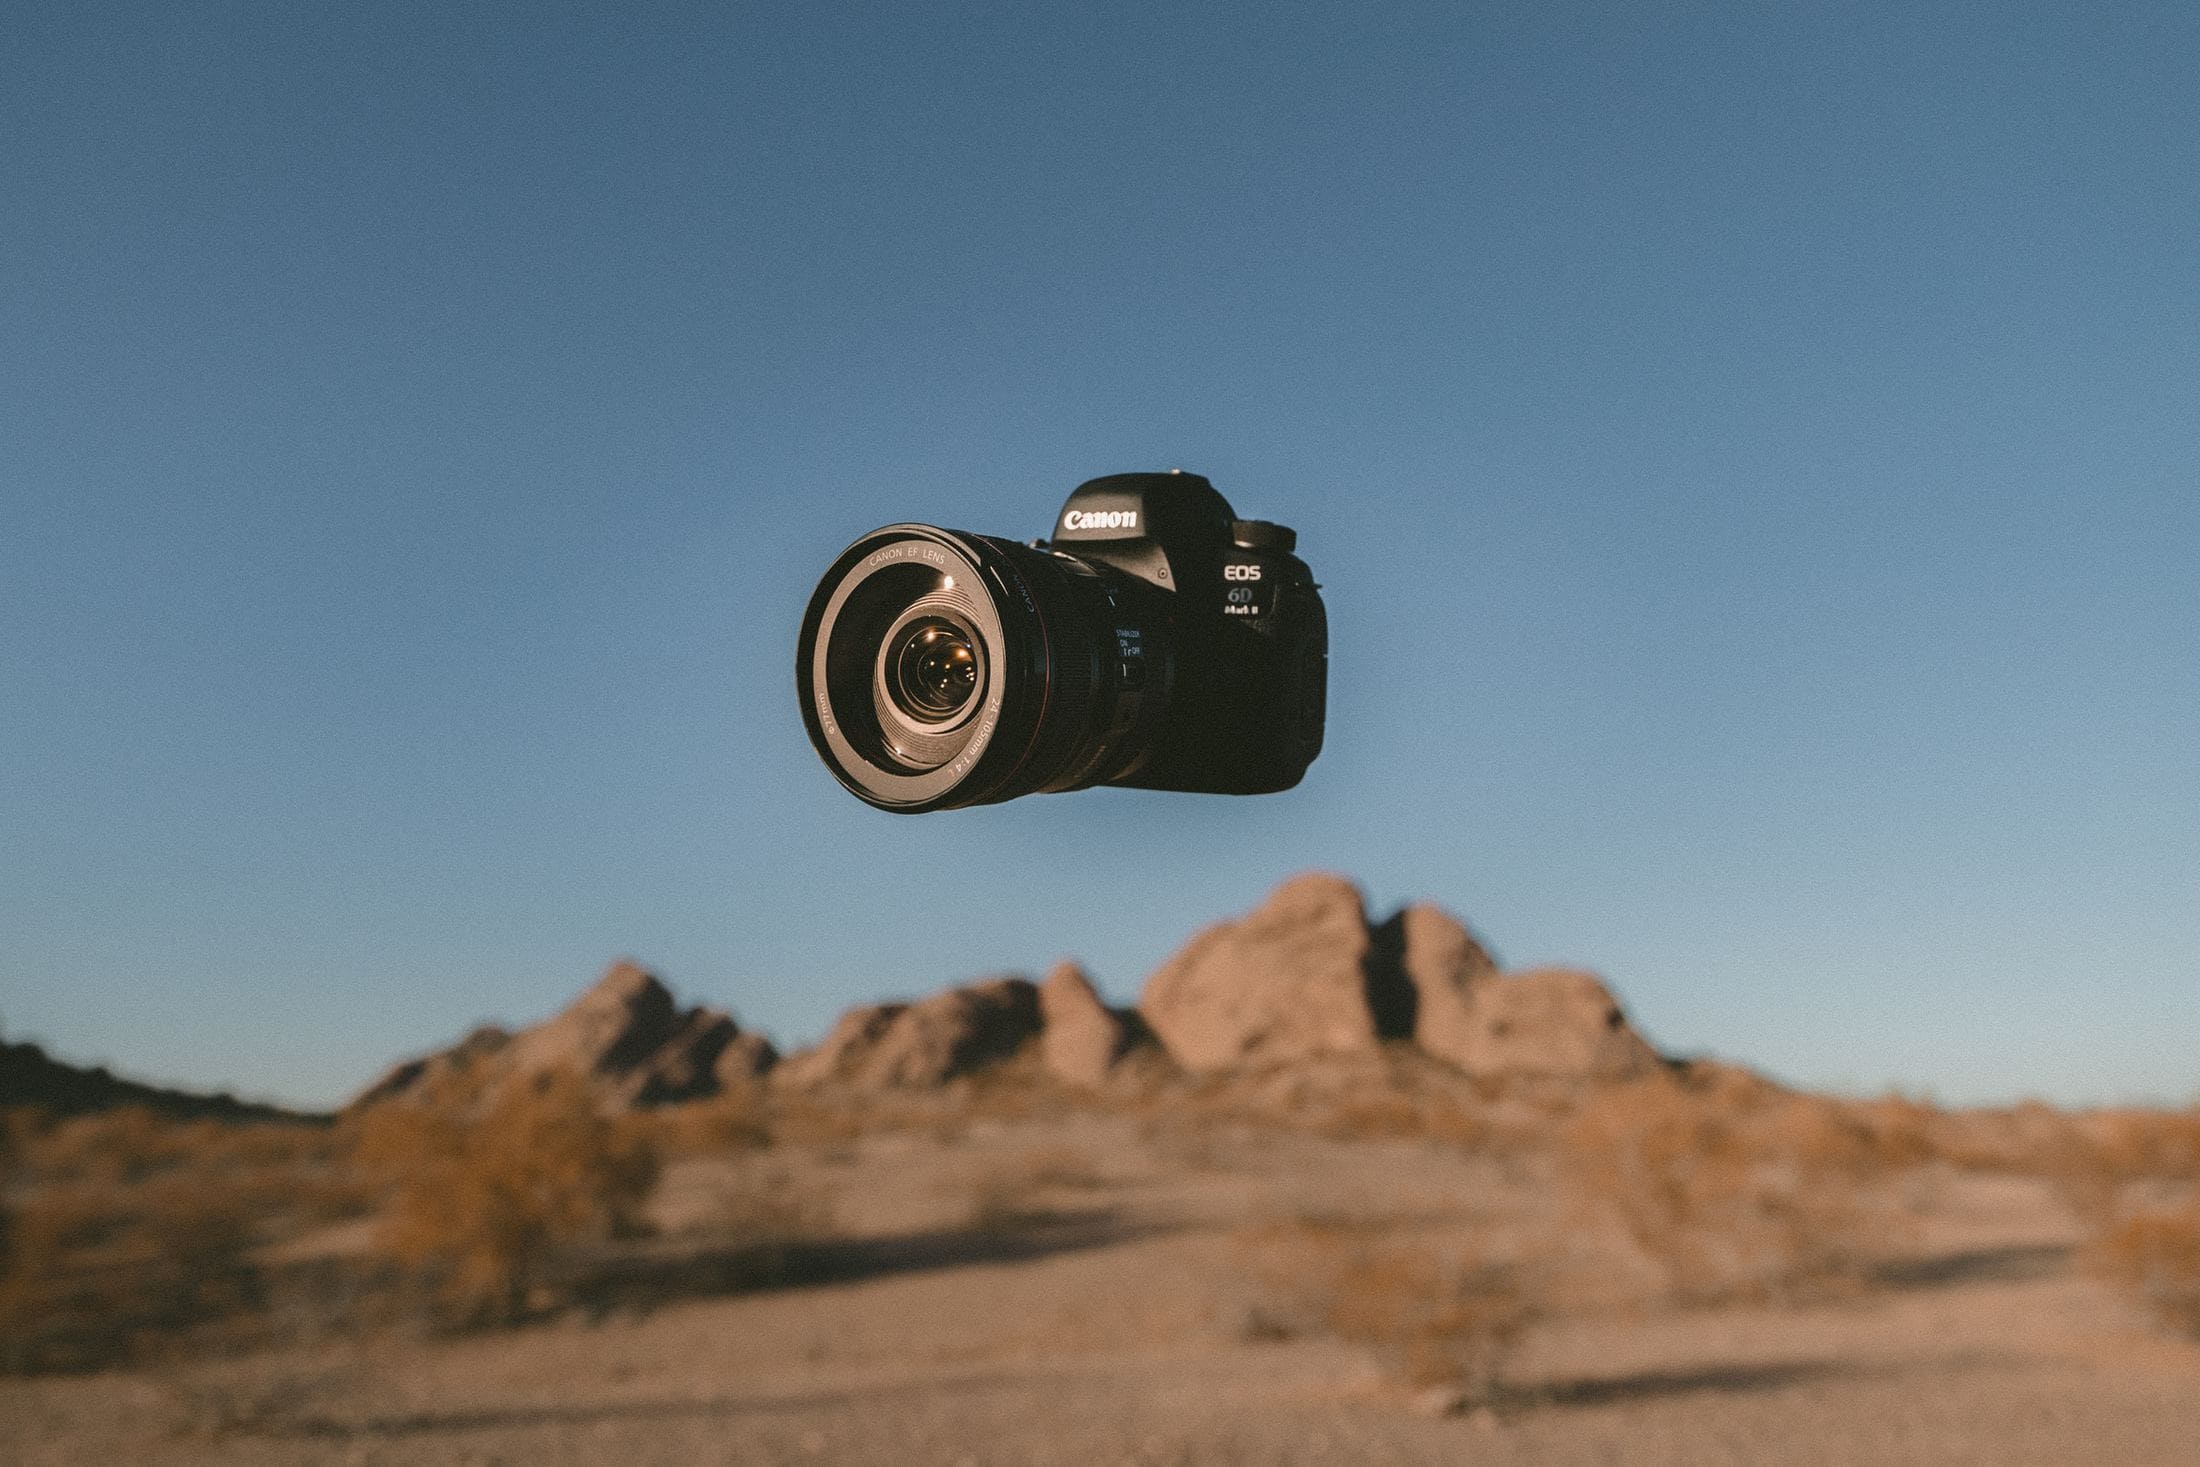
Others may decide on using DSLR cameras which are great options because they’re much more versatile in terms of what shots they’ll allow filmmakers to take while also giving better color depth and/or higher resolution when compared to cheaper devices. If filmmaking isn’t your full-time job but rather something fun that amounts to only hours spent a week, then a DSLR camera is the best option for filmmaking on an amateur budget.
If you’re invested in filmmaking as your full-time job and have both significant skills with filmmaking equipment and money to spend on this type of gear, that would be recommended since it will give users more freedom in terms of what shots they can take – but also come at a much higher price tag.
Drones are popular among filmmakers who want to shoot footage from different angles or creative perspectives without putting themselves too close to danger (or breaking any laws!). This is often used by photographers looking for aerial photography jobs such as real estate agents or construction companies; however, there’s no need for one if you just plan to use drones strictly within the scope of filmmaking.
When you’re filming on a set, filmmaking equipment is often built in to the space. For instance, if you plan to film something else outdoors and then use green screen footage for one of your shots – the area where the green screen stands will likely have filmmaking equipment built-in already (often an outdoor camera) so that it’s easier to shoot scenes with different sets nearby without having all of your gear spread out across town or state lines.
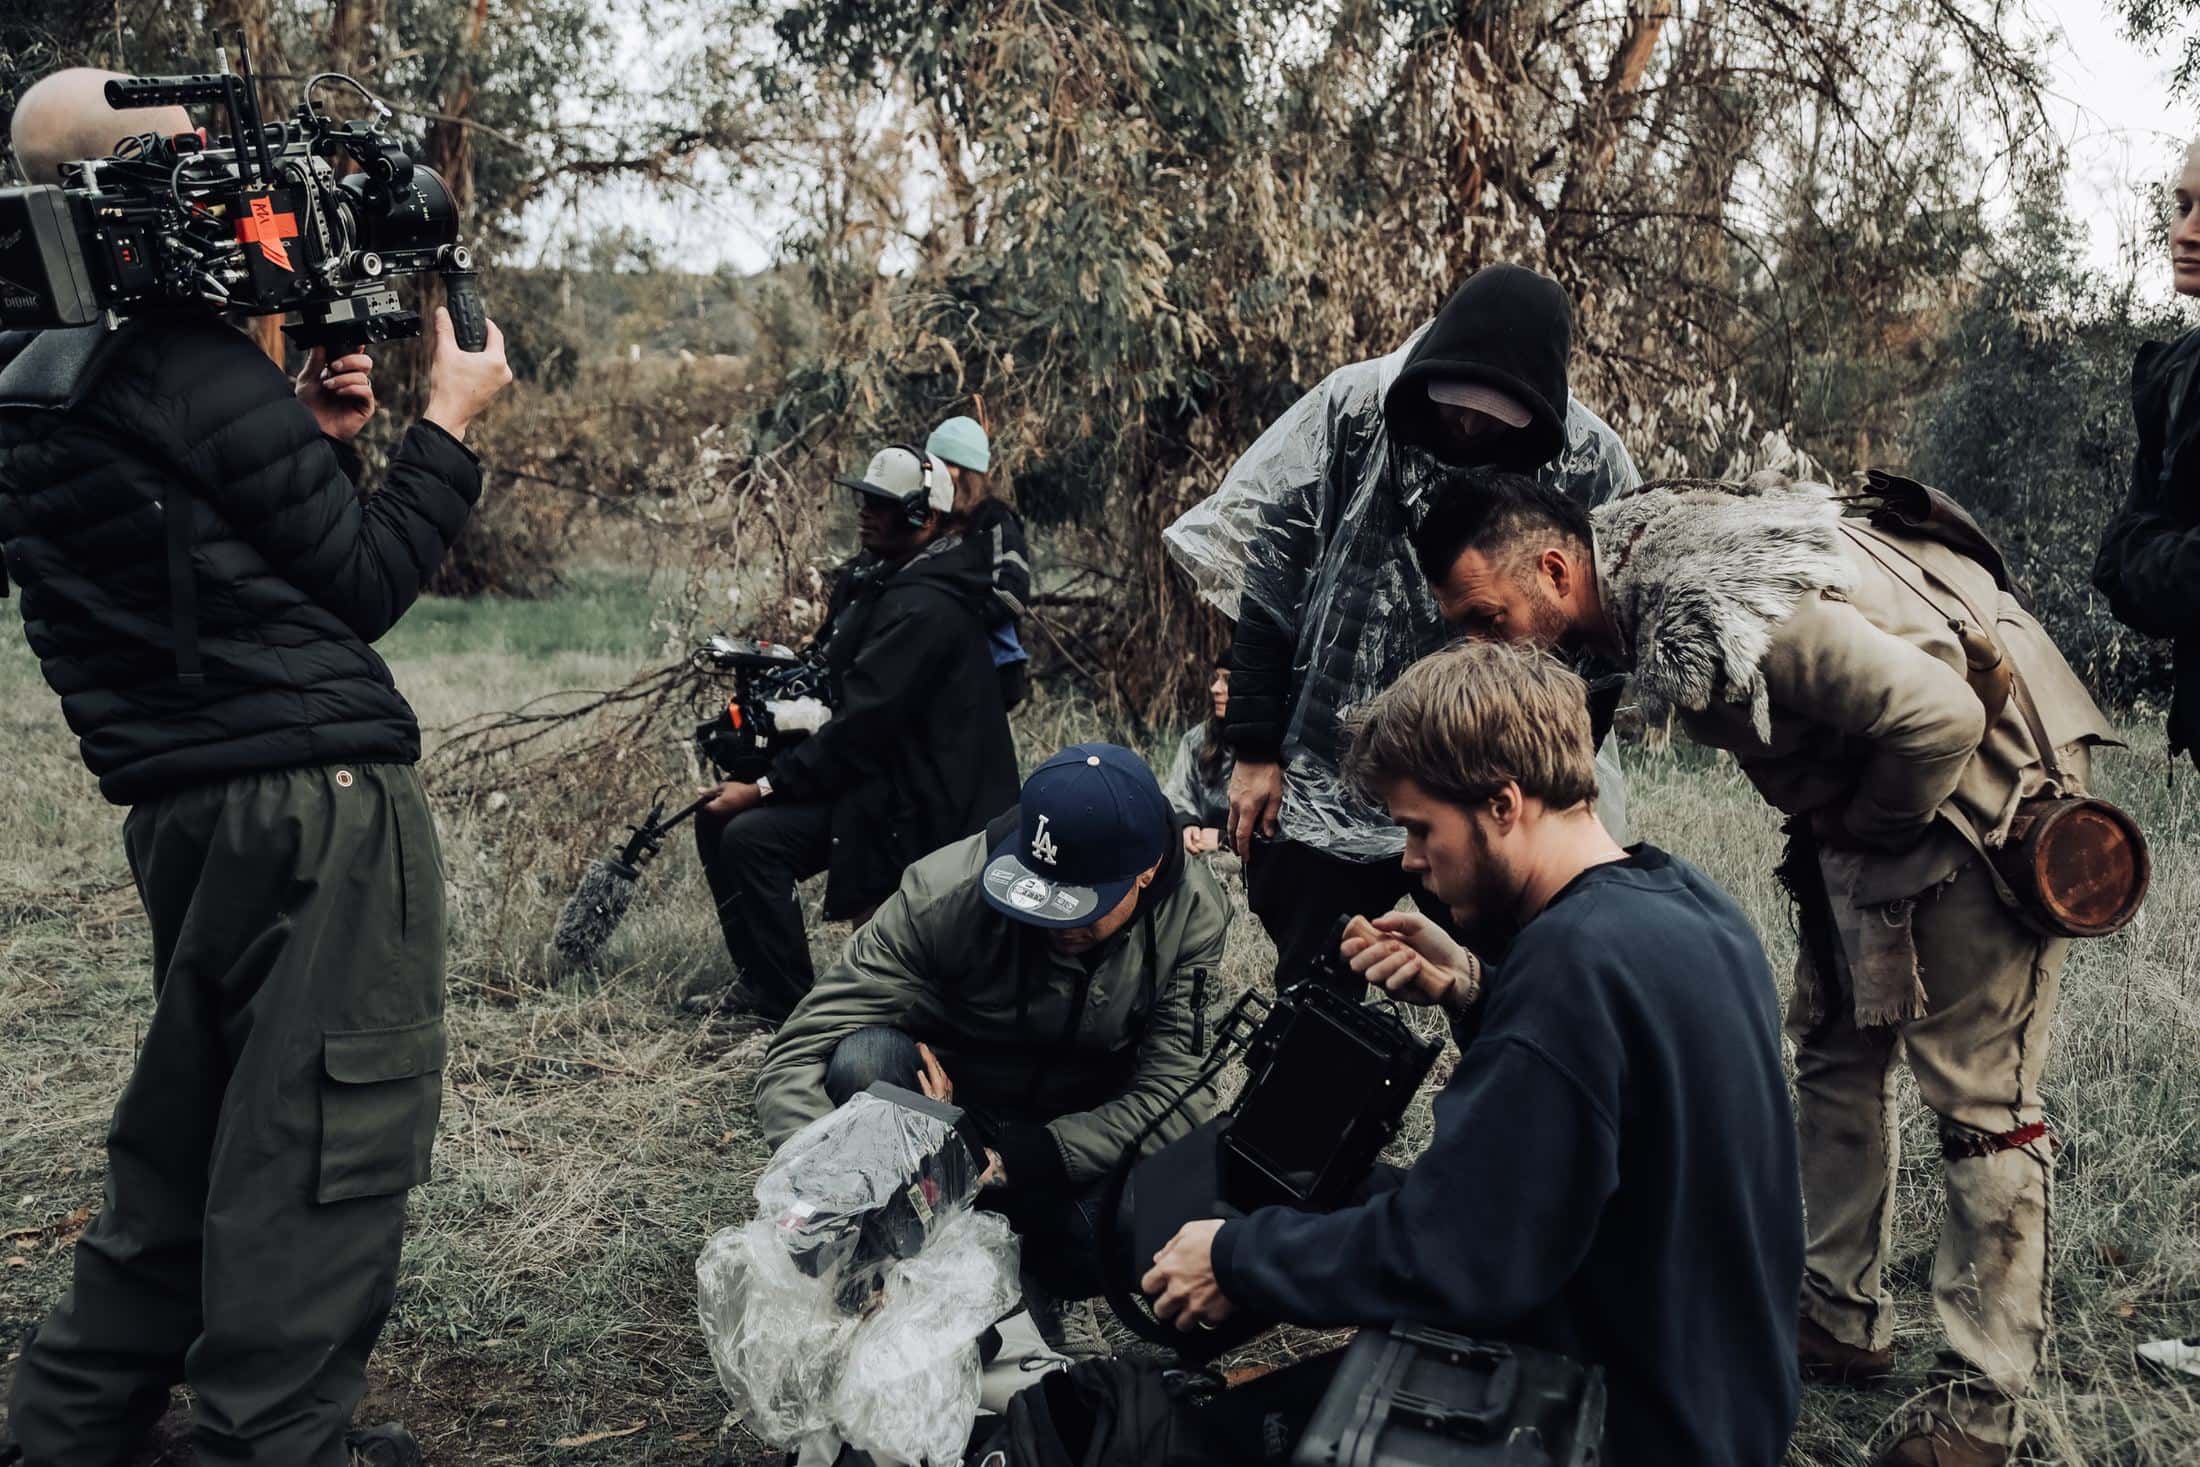
Shooting on location: get permission from landlords/owners beforehand; know what type of lighting you’ll need depending on time of day and desired effect
If shooting indoors: work with natural light or artificial light based on how much money renters are willing to spend! If renting studio spaces that already have filmmaking equipment installed, there is a wider variety of options for lighting that you can use – and so space will likely be more expensive.
If shooting on location: make sure to plan out your shots ahead of time-based on what type of filmmaking equipment you’ll need
Pro Tip: get an assistant! It’s often overlooked but it is possible to shoot good quality videos on your own with just one DSLR camera (though this takes much longer) while also having someone nearby who can help set up shots or hold lights, etc. This isn’t always feasible depending on the subject matter/type of filmmaking project being worked on; however, it does free up filmmakers from doing things they don’t find as enjoyable like those tasks that require more physical labor.
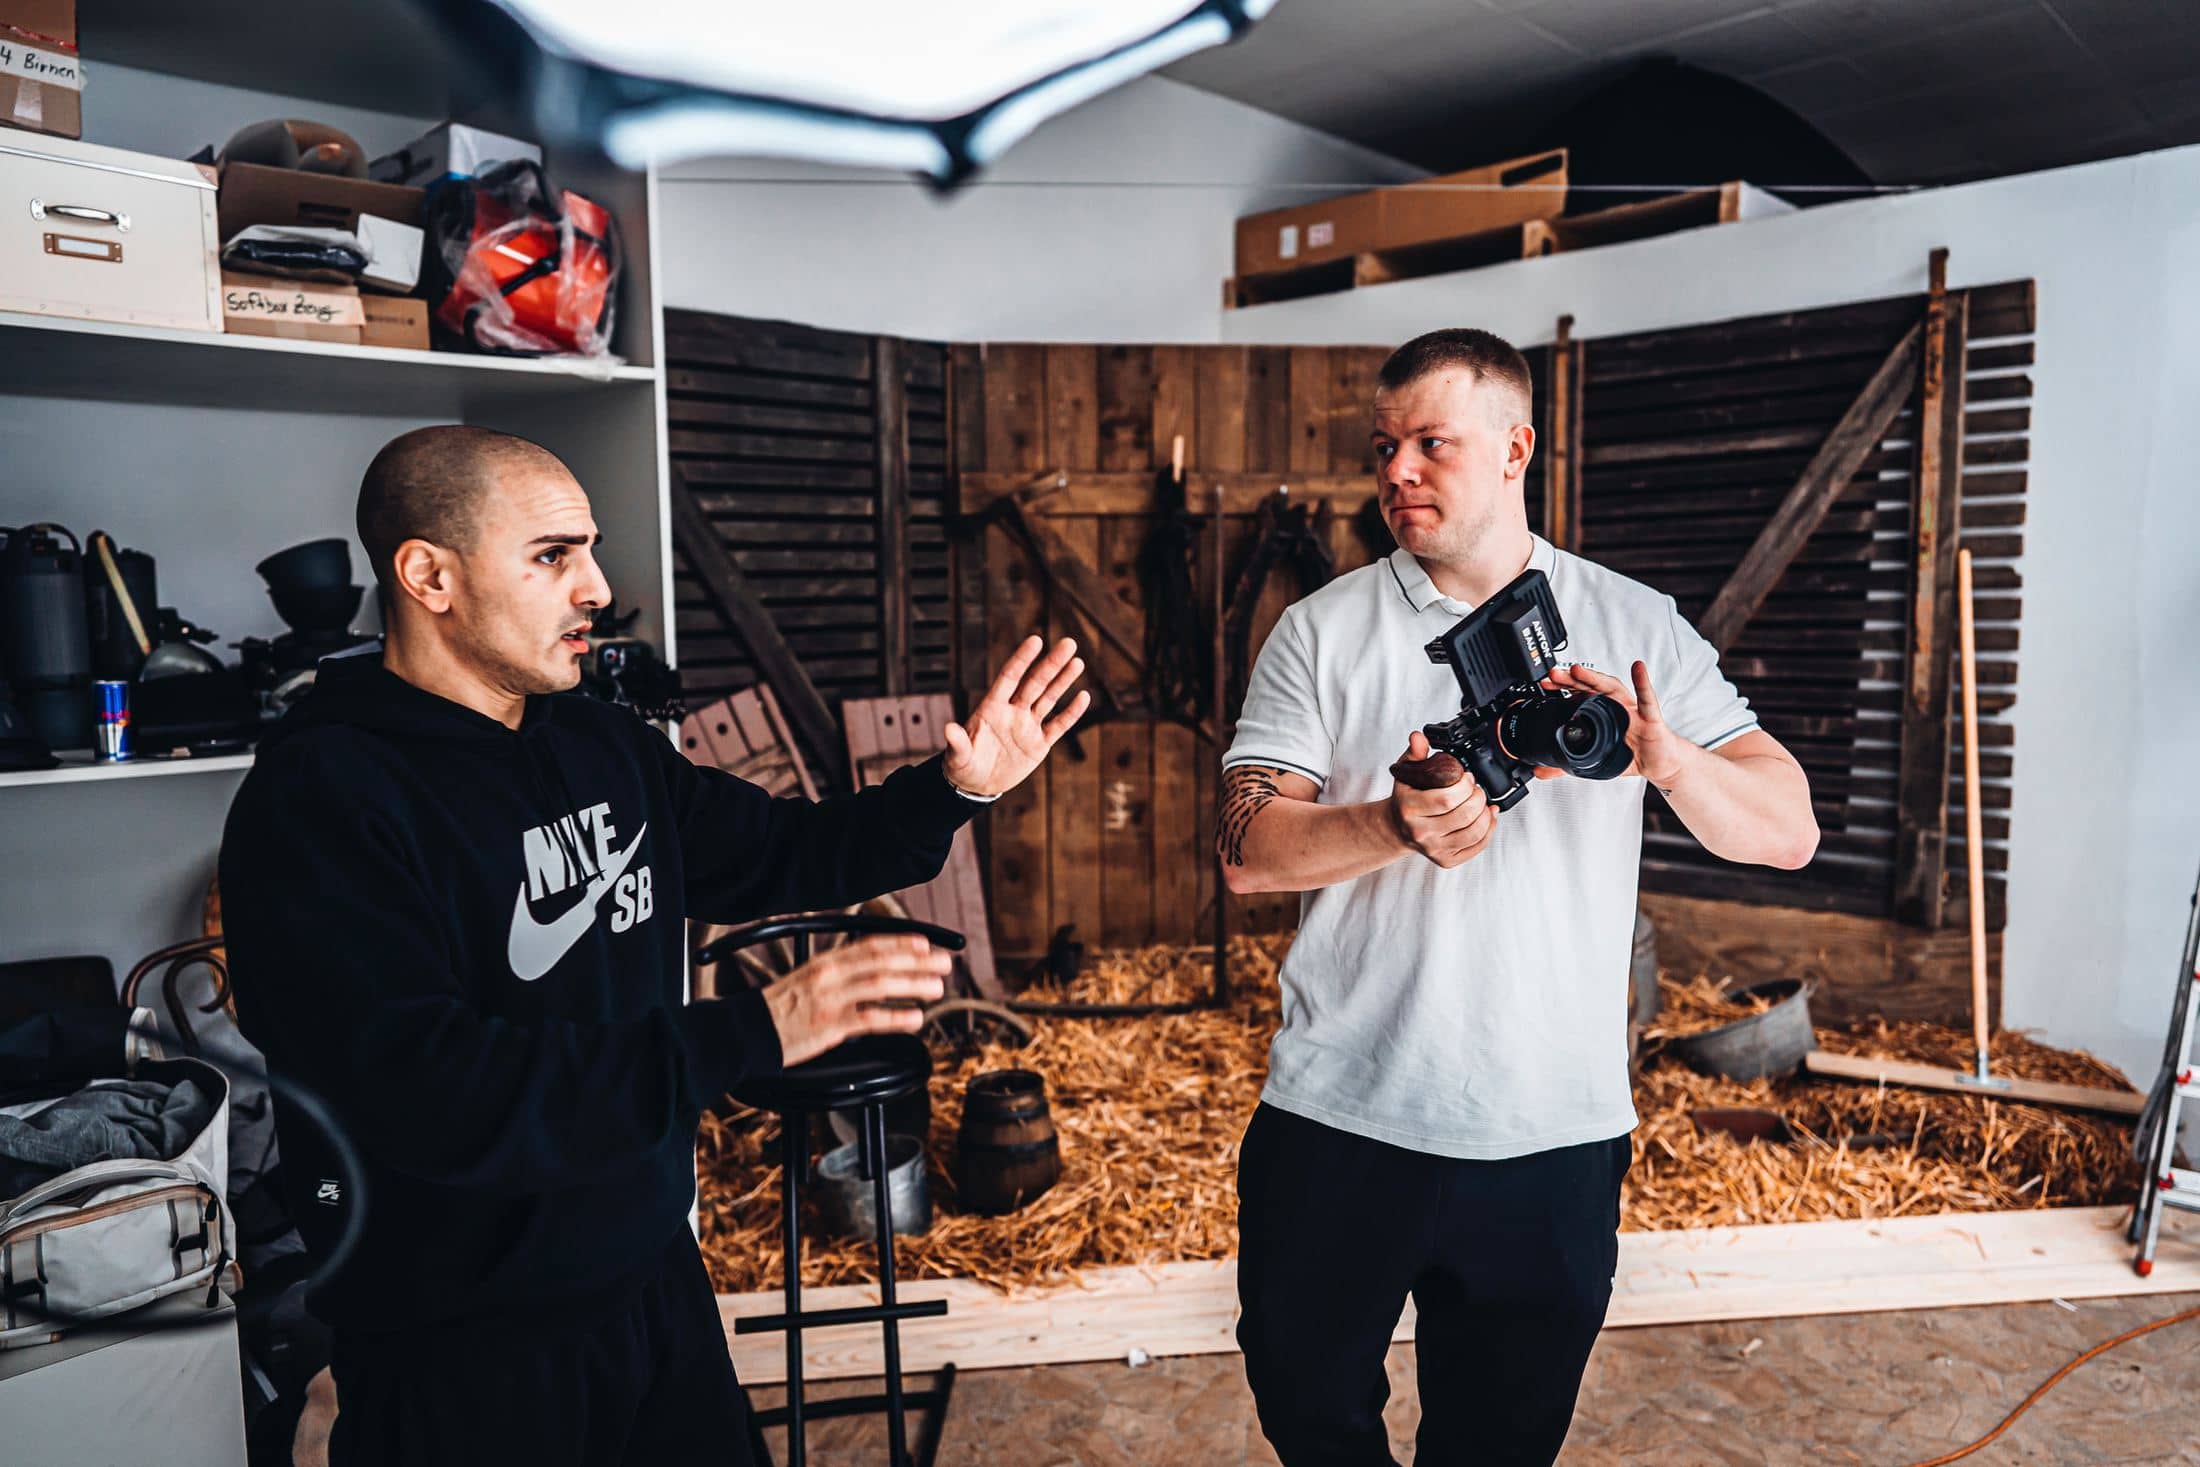
To make filmmaking a sustainable process, you need to have a plan in place for what type of filmmaking equipment you’ll use and how much money it will cost before filming starts so that there are no surprises along the way! Once filmmakers know this information ahead of time, they can better budget their filmmaking projects – and avoid going into debt because they forgot about one major or minor expense involved with filmmaking (like renting studio space).
This is an important step since many people underestimate the costs associated with filmmaking which leads them to go deeply into debt when trying to get their first project off the ground. The best advice we have for anyone looking at starting up a business centered around video production: start saving as soon as possible – particularly if filmmaking will be your full-time job.
The filmmaking process is different depending on the type of business or project you’re working on, but there are some basic steps that everyone who wants to produce videos should follow: brainstorm creative ideas and collaborate with team; plan out shots in advance based on what equipment will be used/what type of filming needs to happen for this specific video; shoot footage and incorporate reshoots as needed (this may take a day or two); edit footage into one cohesive whole – make sure the transitions between scenes look seamless so viewers don’t get distracted from storyline.
Scope out talent
By this stage, you should have a fair idea of what type of video you’re making and whether or not you need to cast talent.
Funny videos are the most popular these days because they can be played on Facebook/Twitter feeds etc., but if your content is more serious, it’s important to think about how best to convey that with voiceover. If there’s someone in-house who has an appropriate tone for reading scripts, then go ahead and give them a shot! Otherwise, search freelancers online – we’ve got some recommendations over here.
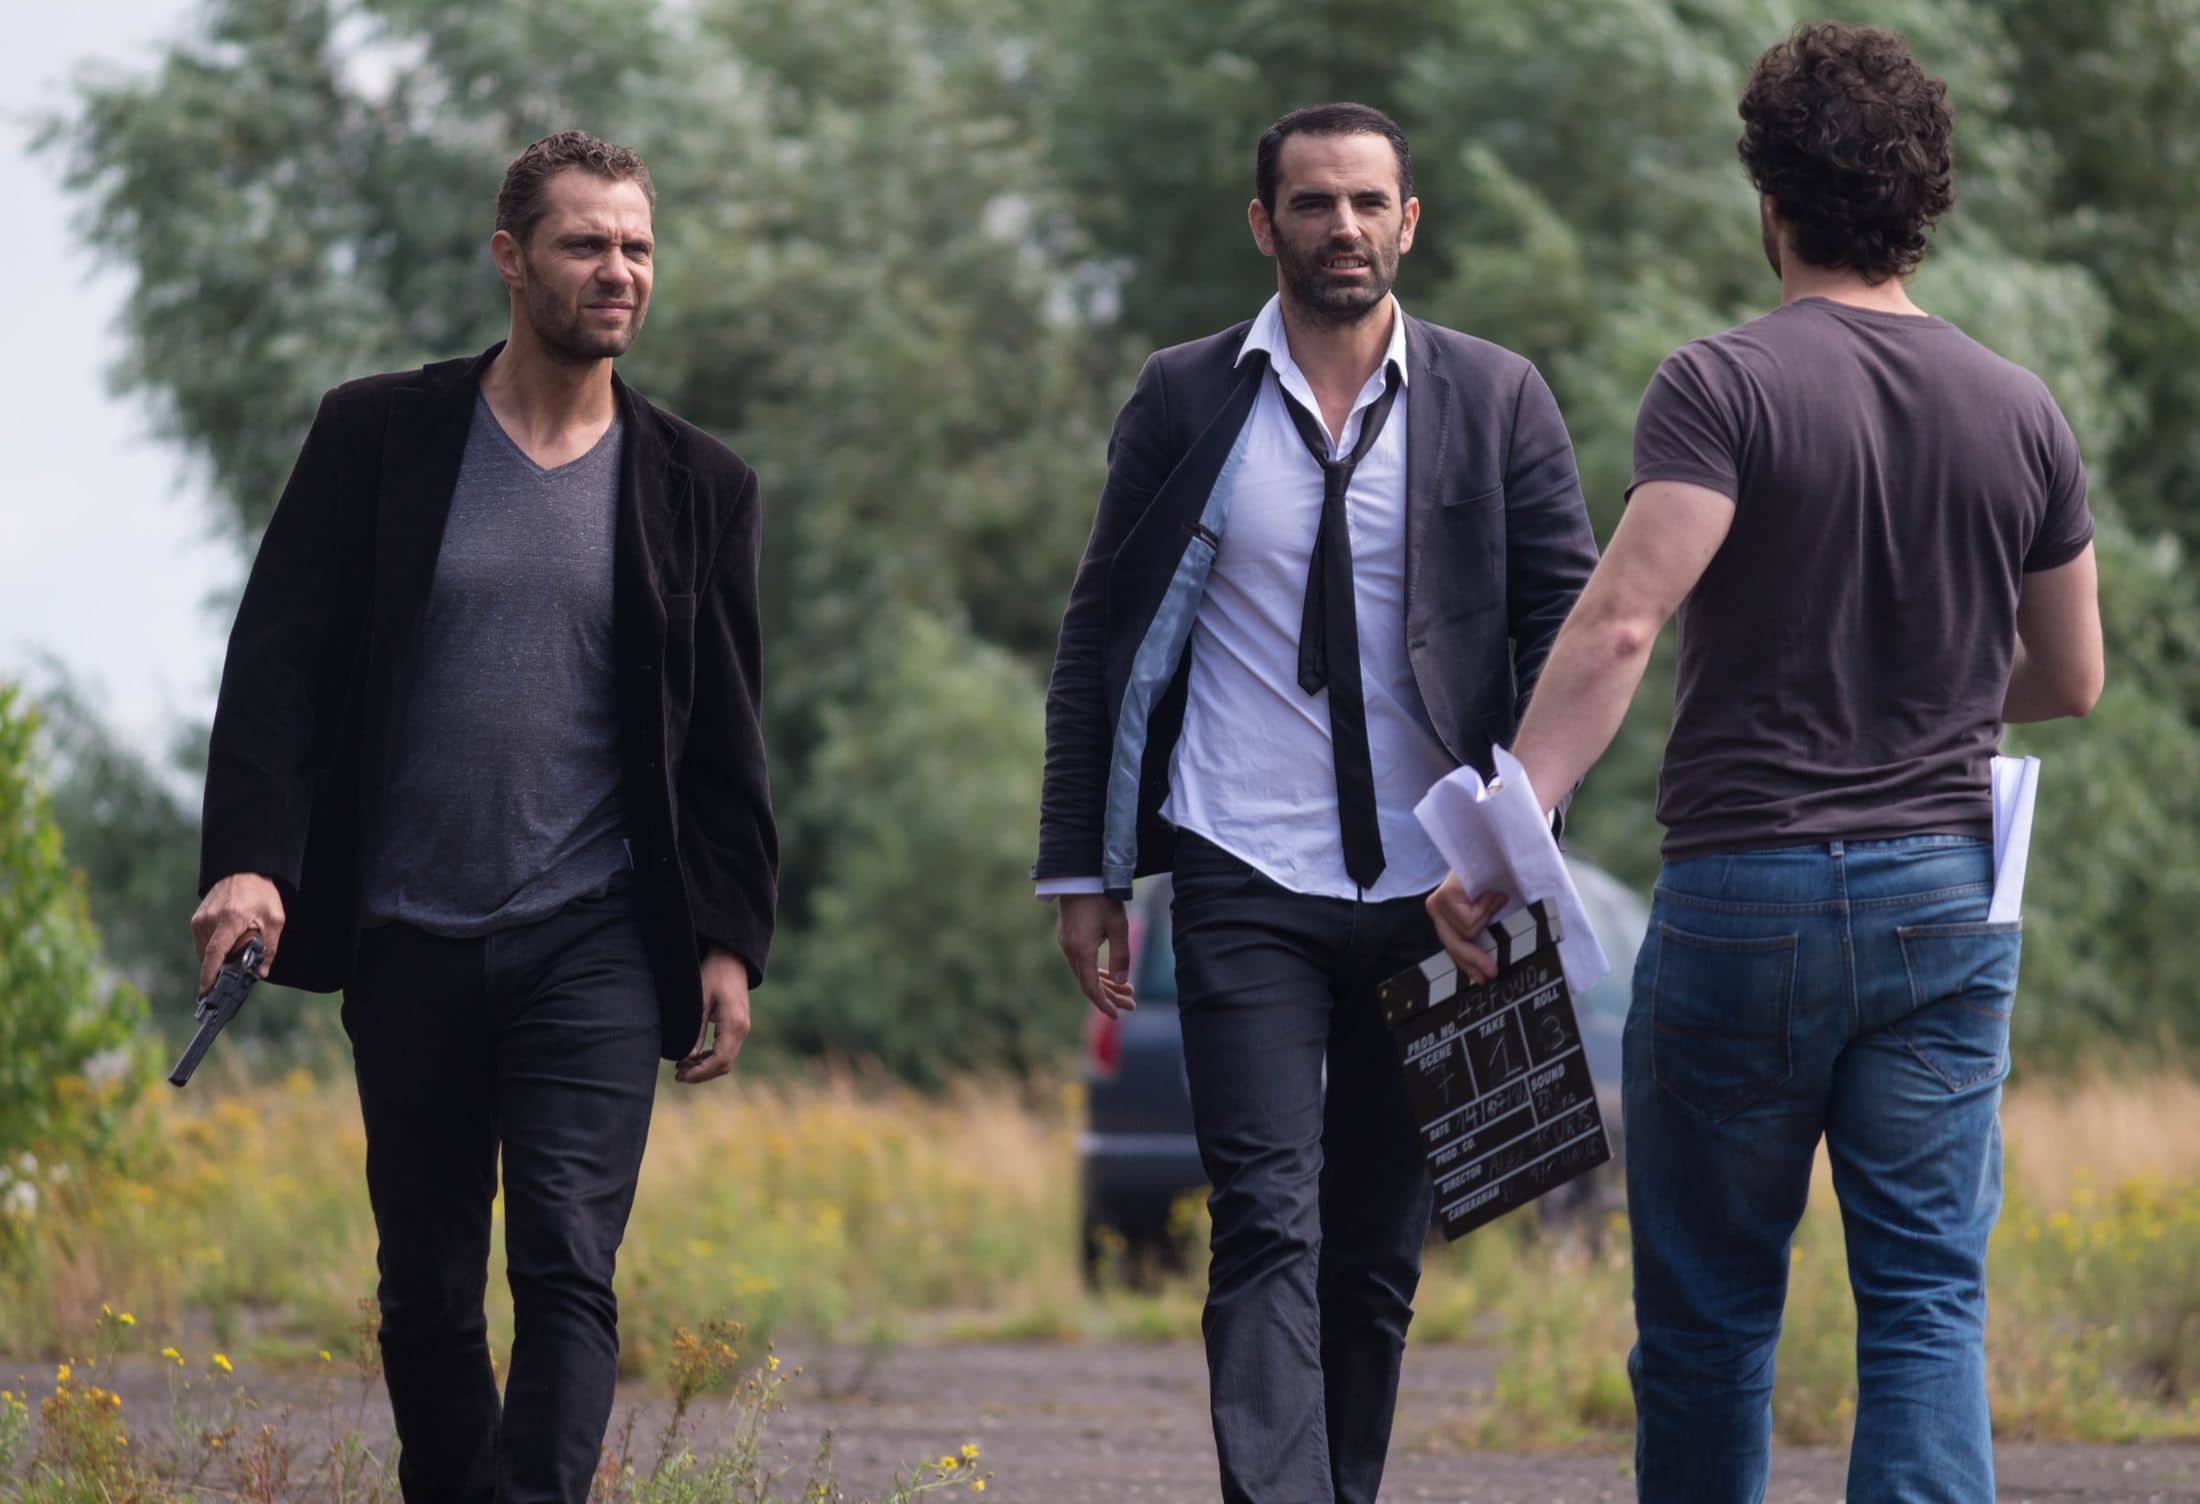
Next, decide on what type of actors you will need for your video based on the roles in your script and whether or not you want to find professionals.
Schedule the shoot
Your plan is all done. All that’s left now are the logistics to make a schedule for the day of your shoot, which should be organized around how much you need to capture and talent availability on set. Locations, crew members, and equipment will already have been locked in by then if this video has turned into something big with many personnel involved or needs lots of these things – otherwise, prepare well ahead!

Production
The moment you begin filming is the production phase of your video. Since you have a schedule in place, it should be easier to estimate how long this part will take. Your job as a producer or stakeholder is to ensure things stay on track.
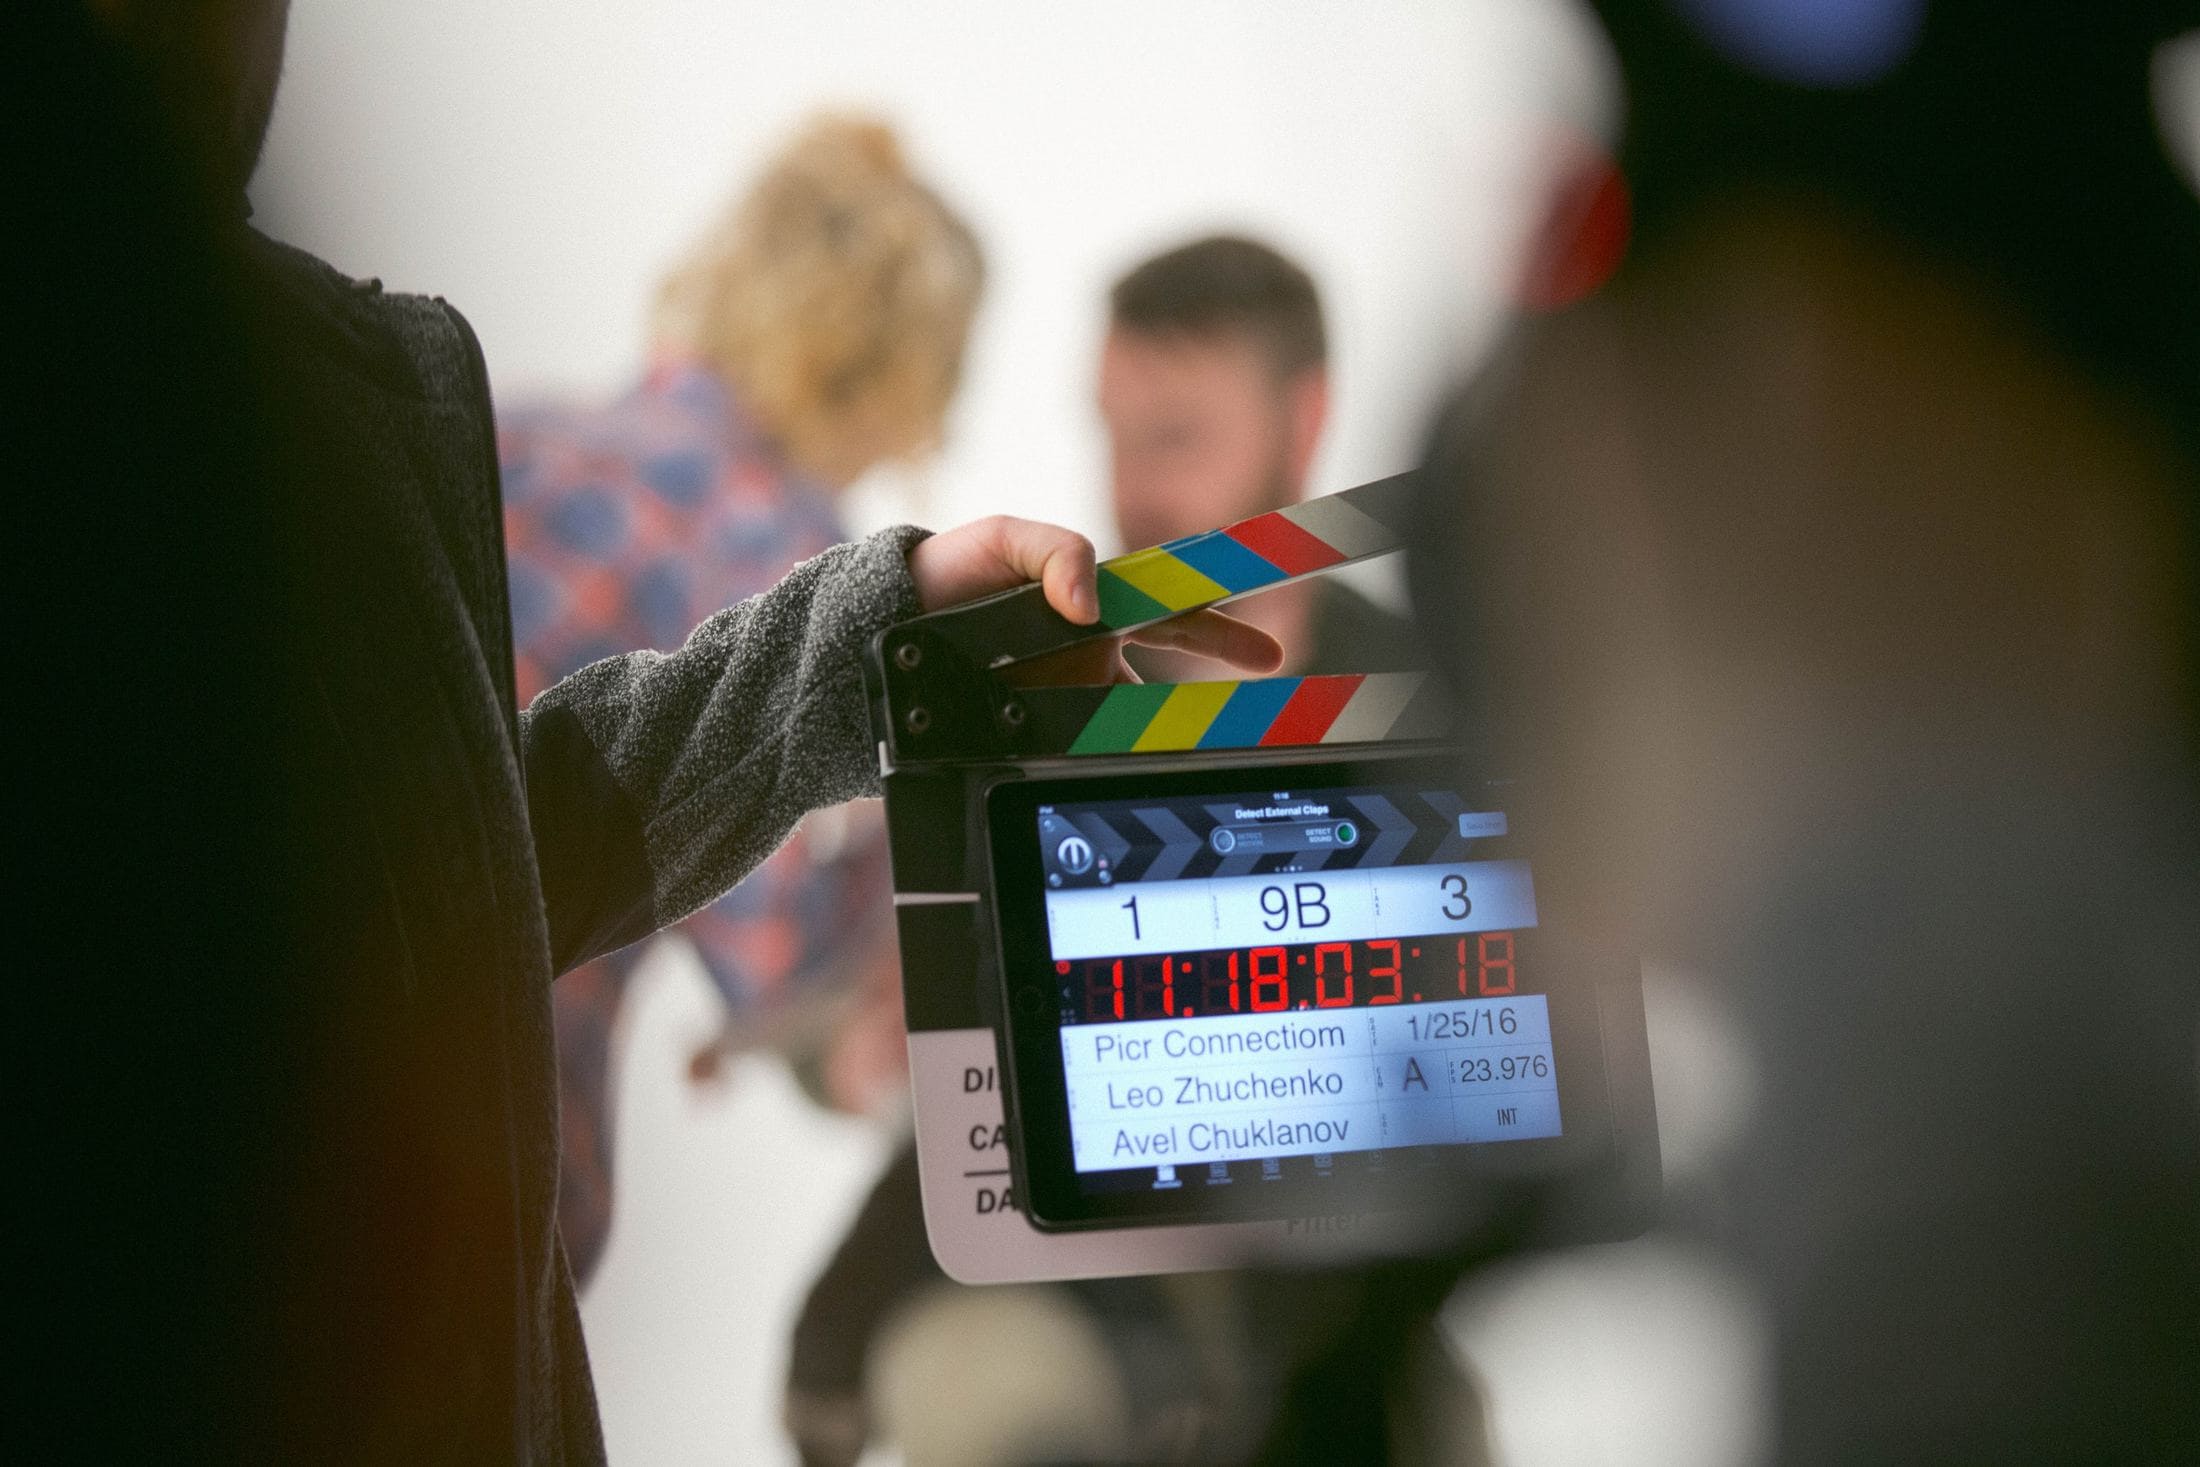
Unless you’re an experienced director, it’s often best to hire a professional and provide them with a storyboard for the desired performance. Providing directors with a written script is also important in order to avoid conflict while capturing the footage. Directors are key to ensuring that your talent delivers great performances, shots get properly taken, and the script is followed.
Lights & Sound
Lights: Lighting is a filmmaking must-have and one of the most important aspects to get right. Be mindful that some lights can be expensive, so make sure you have enough budget for this filmmaking equipment when running through your pre-production checklist. Also, keep in mind how much power each light might need; if they are too far away from an outlet, measure again with extension cords or battery packs which will work best for the shoot location(s).
Lighting affects everything about filmmaking — mood, tone, color… it’s all there! Consider what your desired outcome looks like before choosing gear, and always start with key lighting first – not just any old light because then it becomes difficult to edit later on down the line without the proper lighting effects!
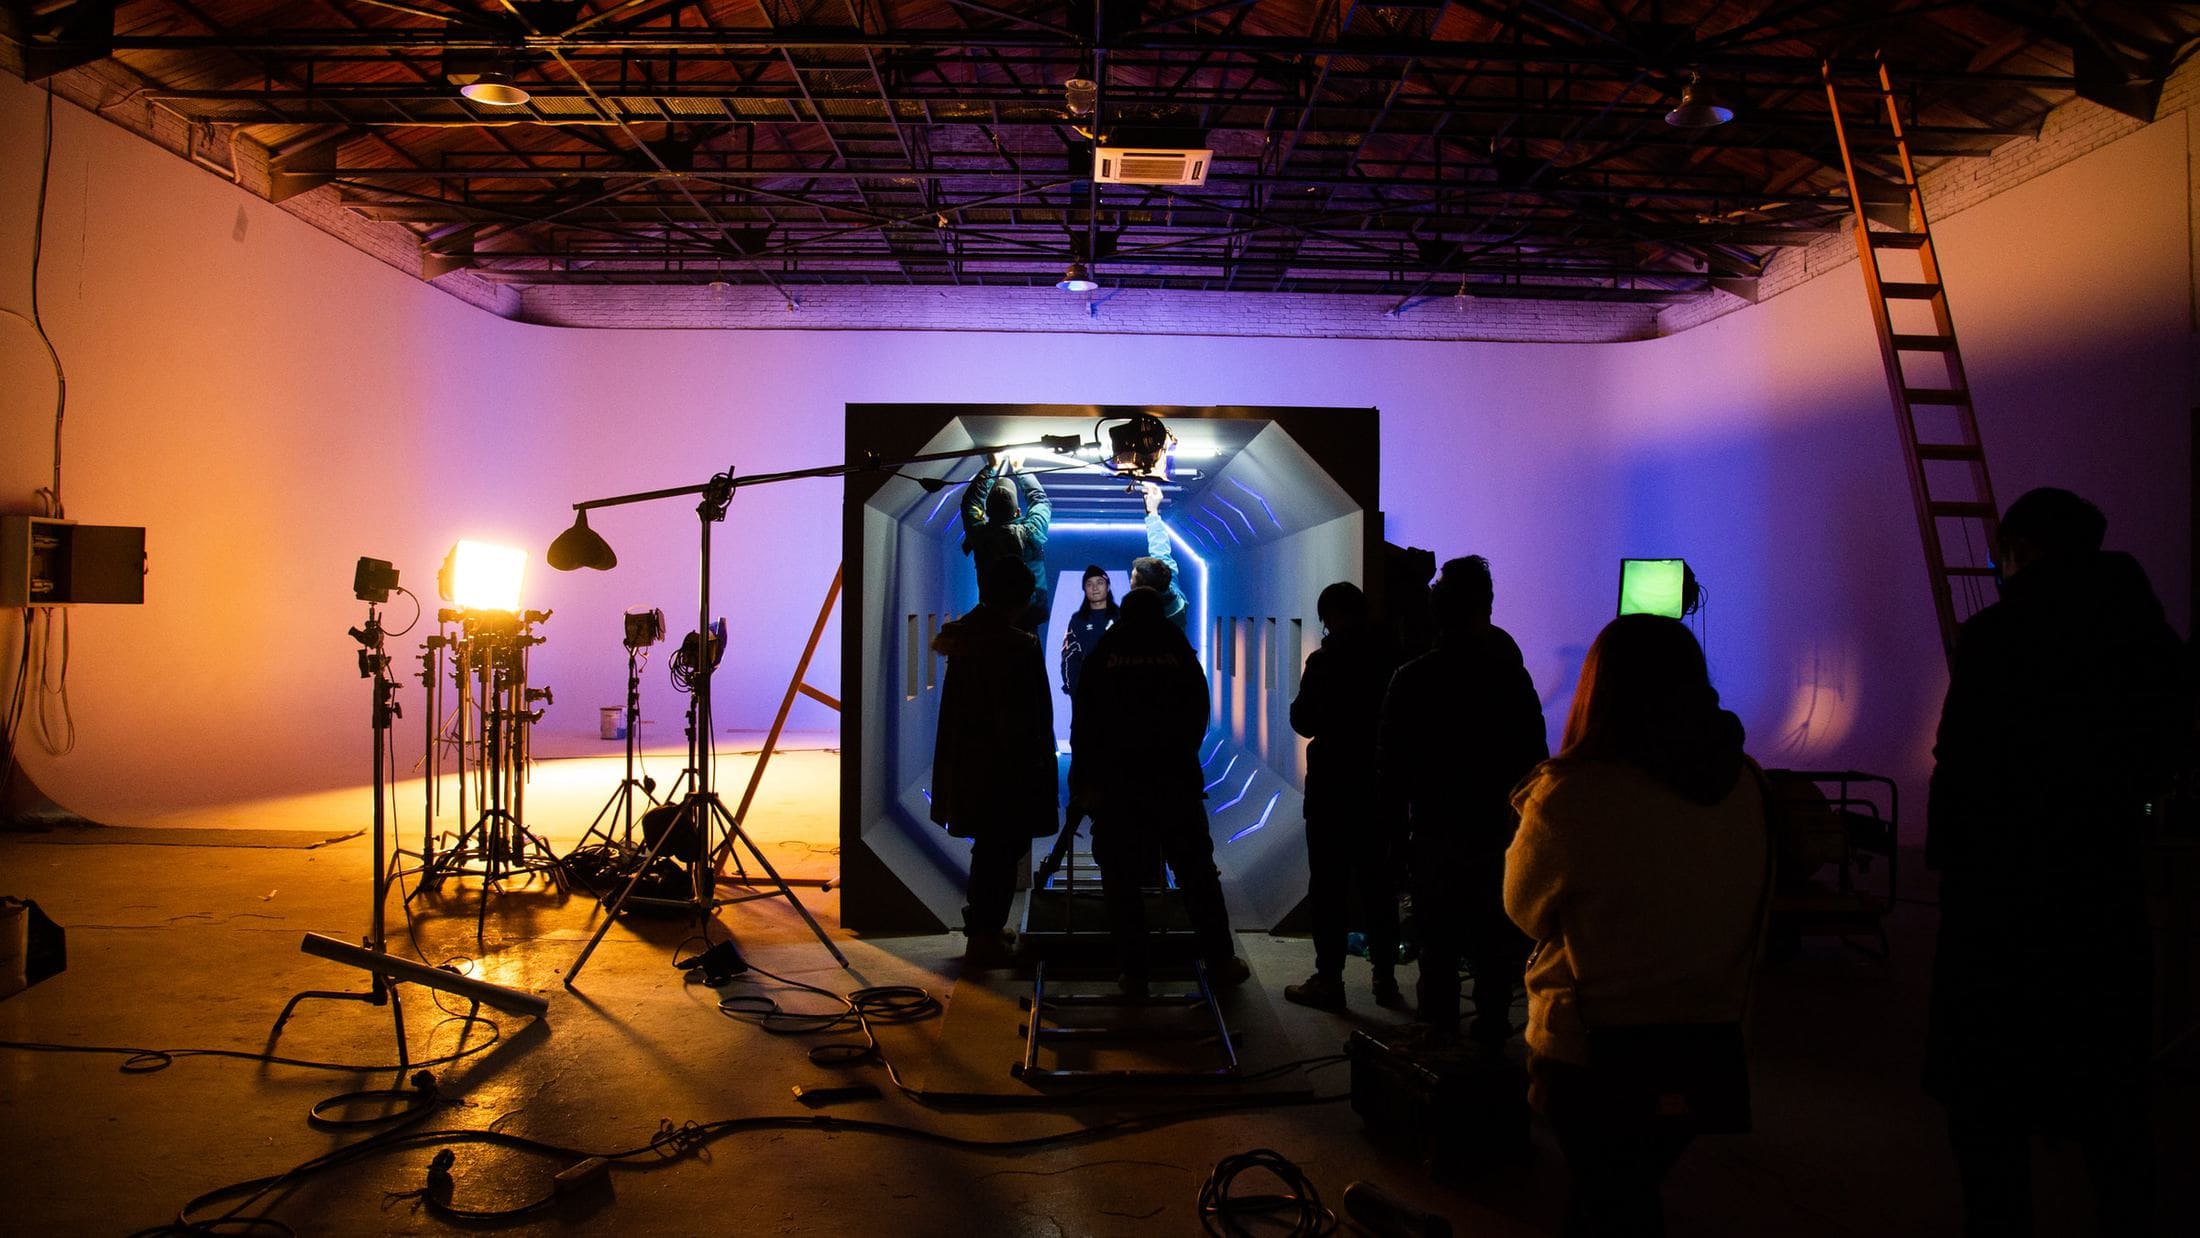
Lighting Equipment: filmmaking equipment checklist template, filmmaking supply list templates, filmmaking crew member questionnaire template.
– Lights are a filmmaking must-have and one of the most important aspects to get right – keep track of what each person has been given responsibility for too; they may forget or leave something behind at some point which then needs to be quickly remedied when nobody can find it… orderliness goes a long way here! Plan ahead with these filmmaking tools: filmmaking equipment checklist template, filmmaking supply list templates, filmmaking crew member questionnaire template.
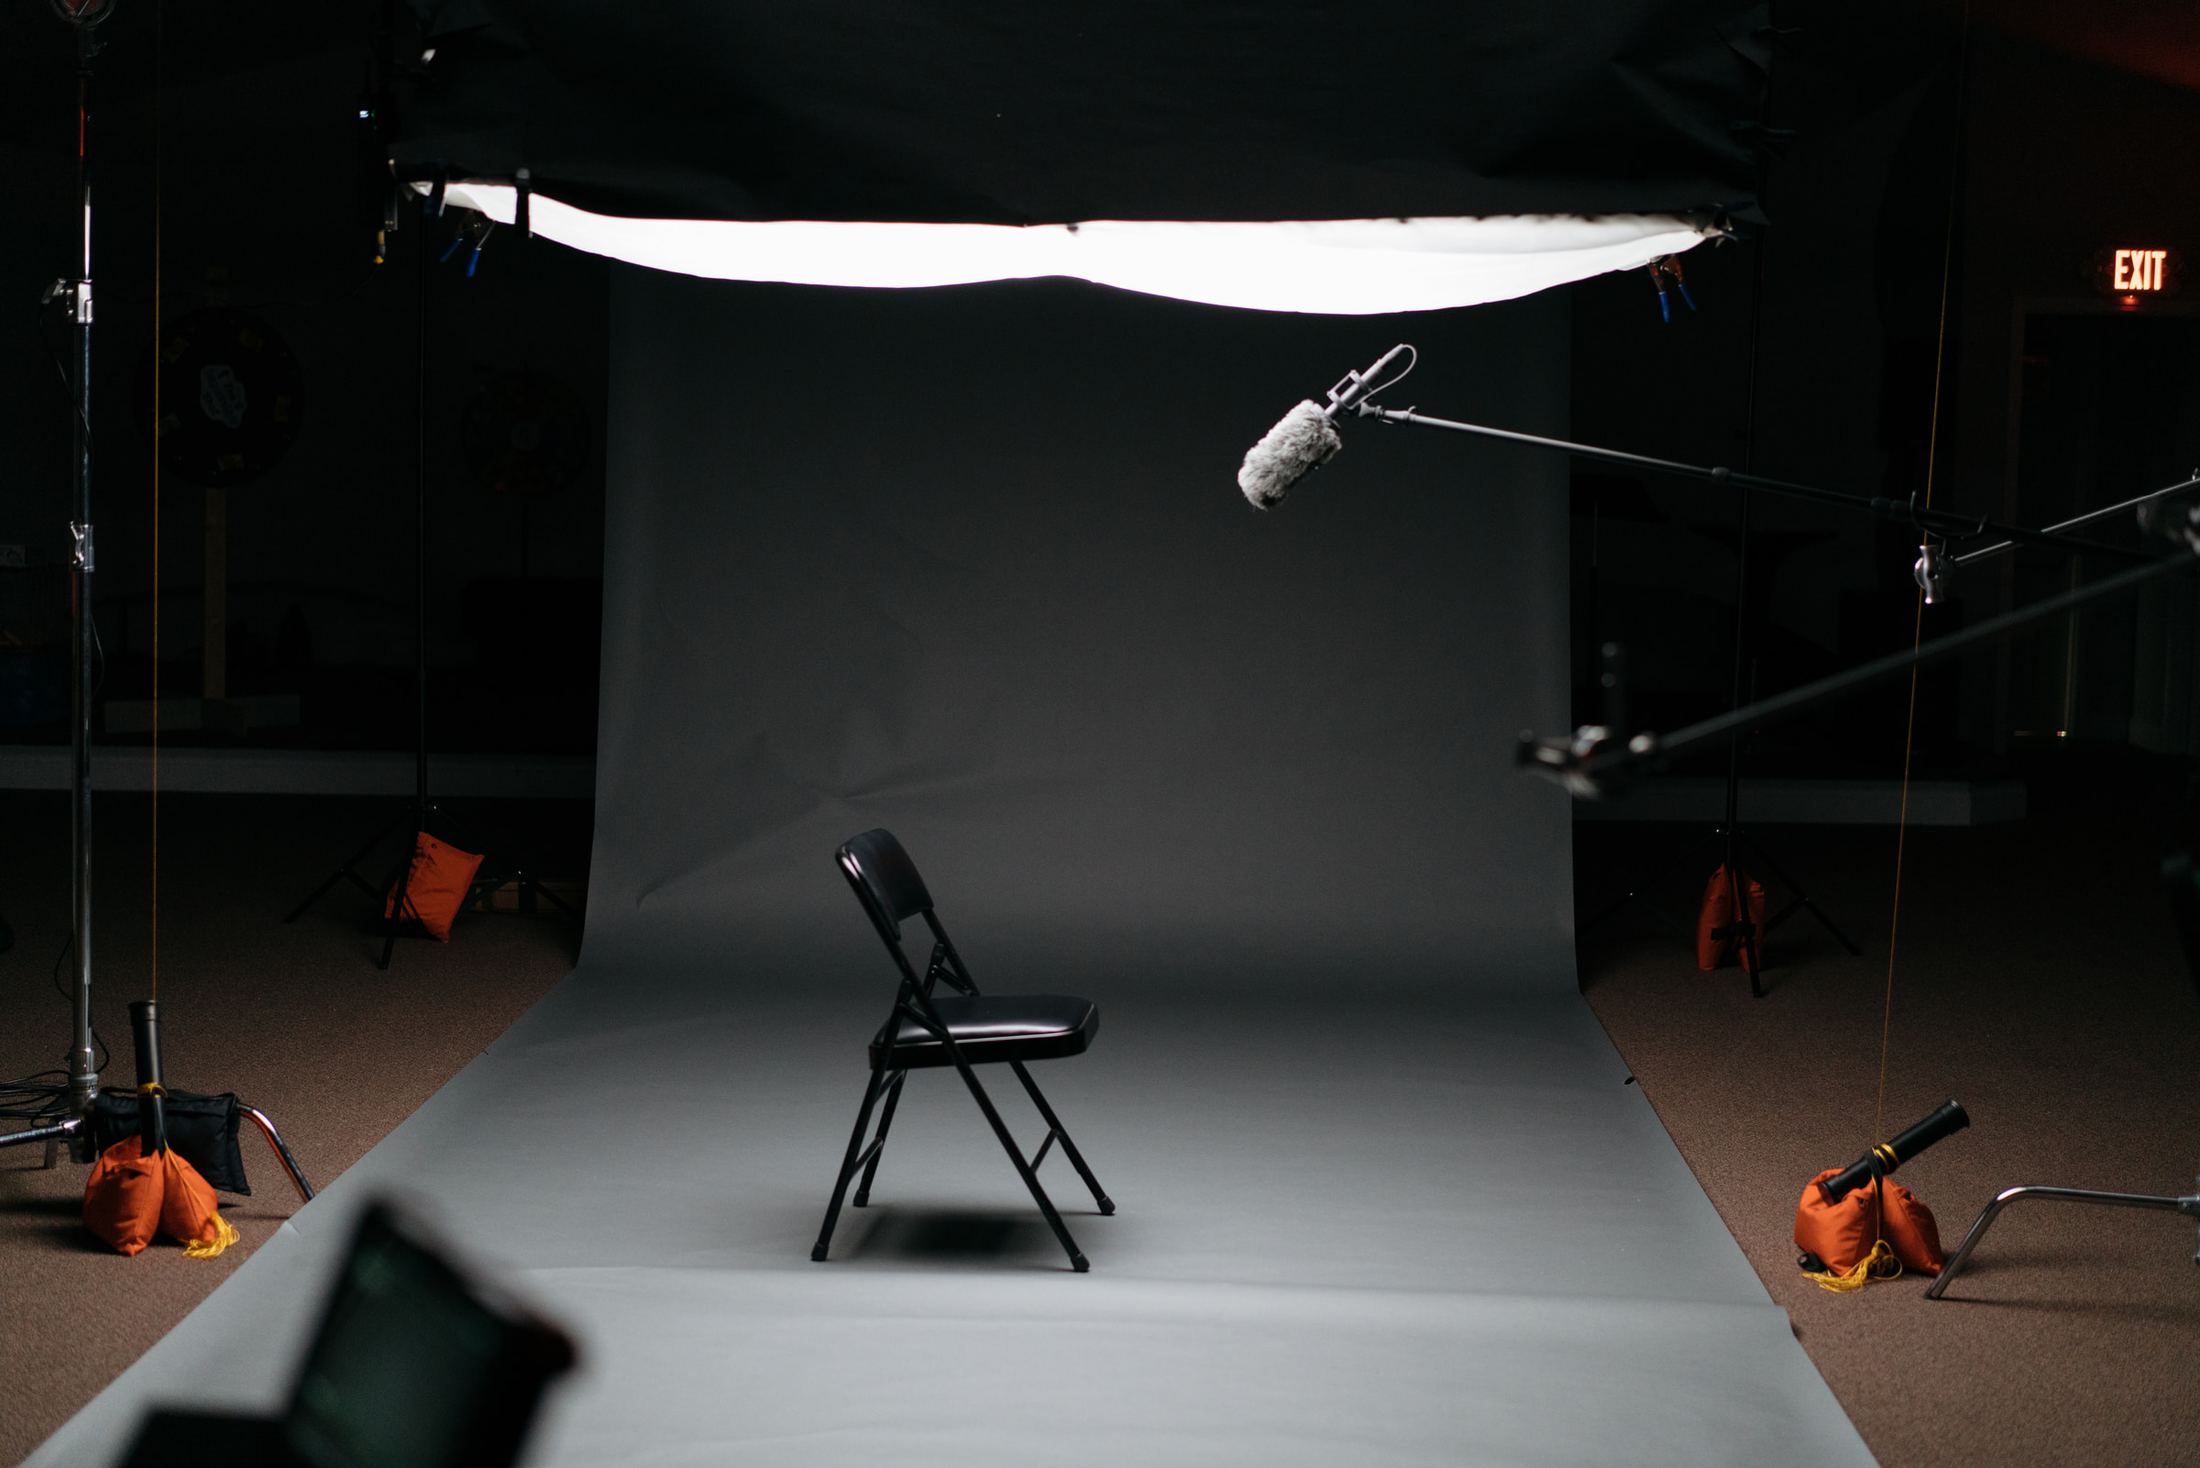
– Consider what your desired outcome looks like before choosing gear – remember that filmmaking and photography are art forms, so be mindful of lighting! And always start with key lighting first, not just any old light, because then it becomes difficult to edit later on down the line without proper lighting effects.
Get your camera-ready
The camera setup is an important consideration when it comes to video production. The type of camera you use largely dictates the camera work required for your shoot, such as professional cinematography or simply a tripod. Ensure that you allot enough prep time for either case in order to capture the best images possible. Cameras and filmmaking equipment can be tricky to navigate, so check out these filmmaking resources: filmmaking camera basics template; filmmaking shooting techniques templates.
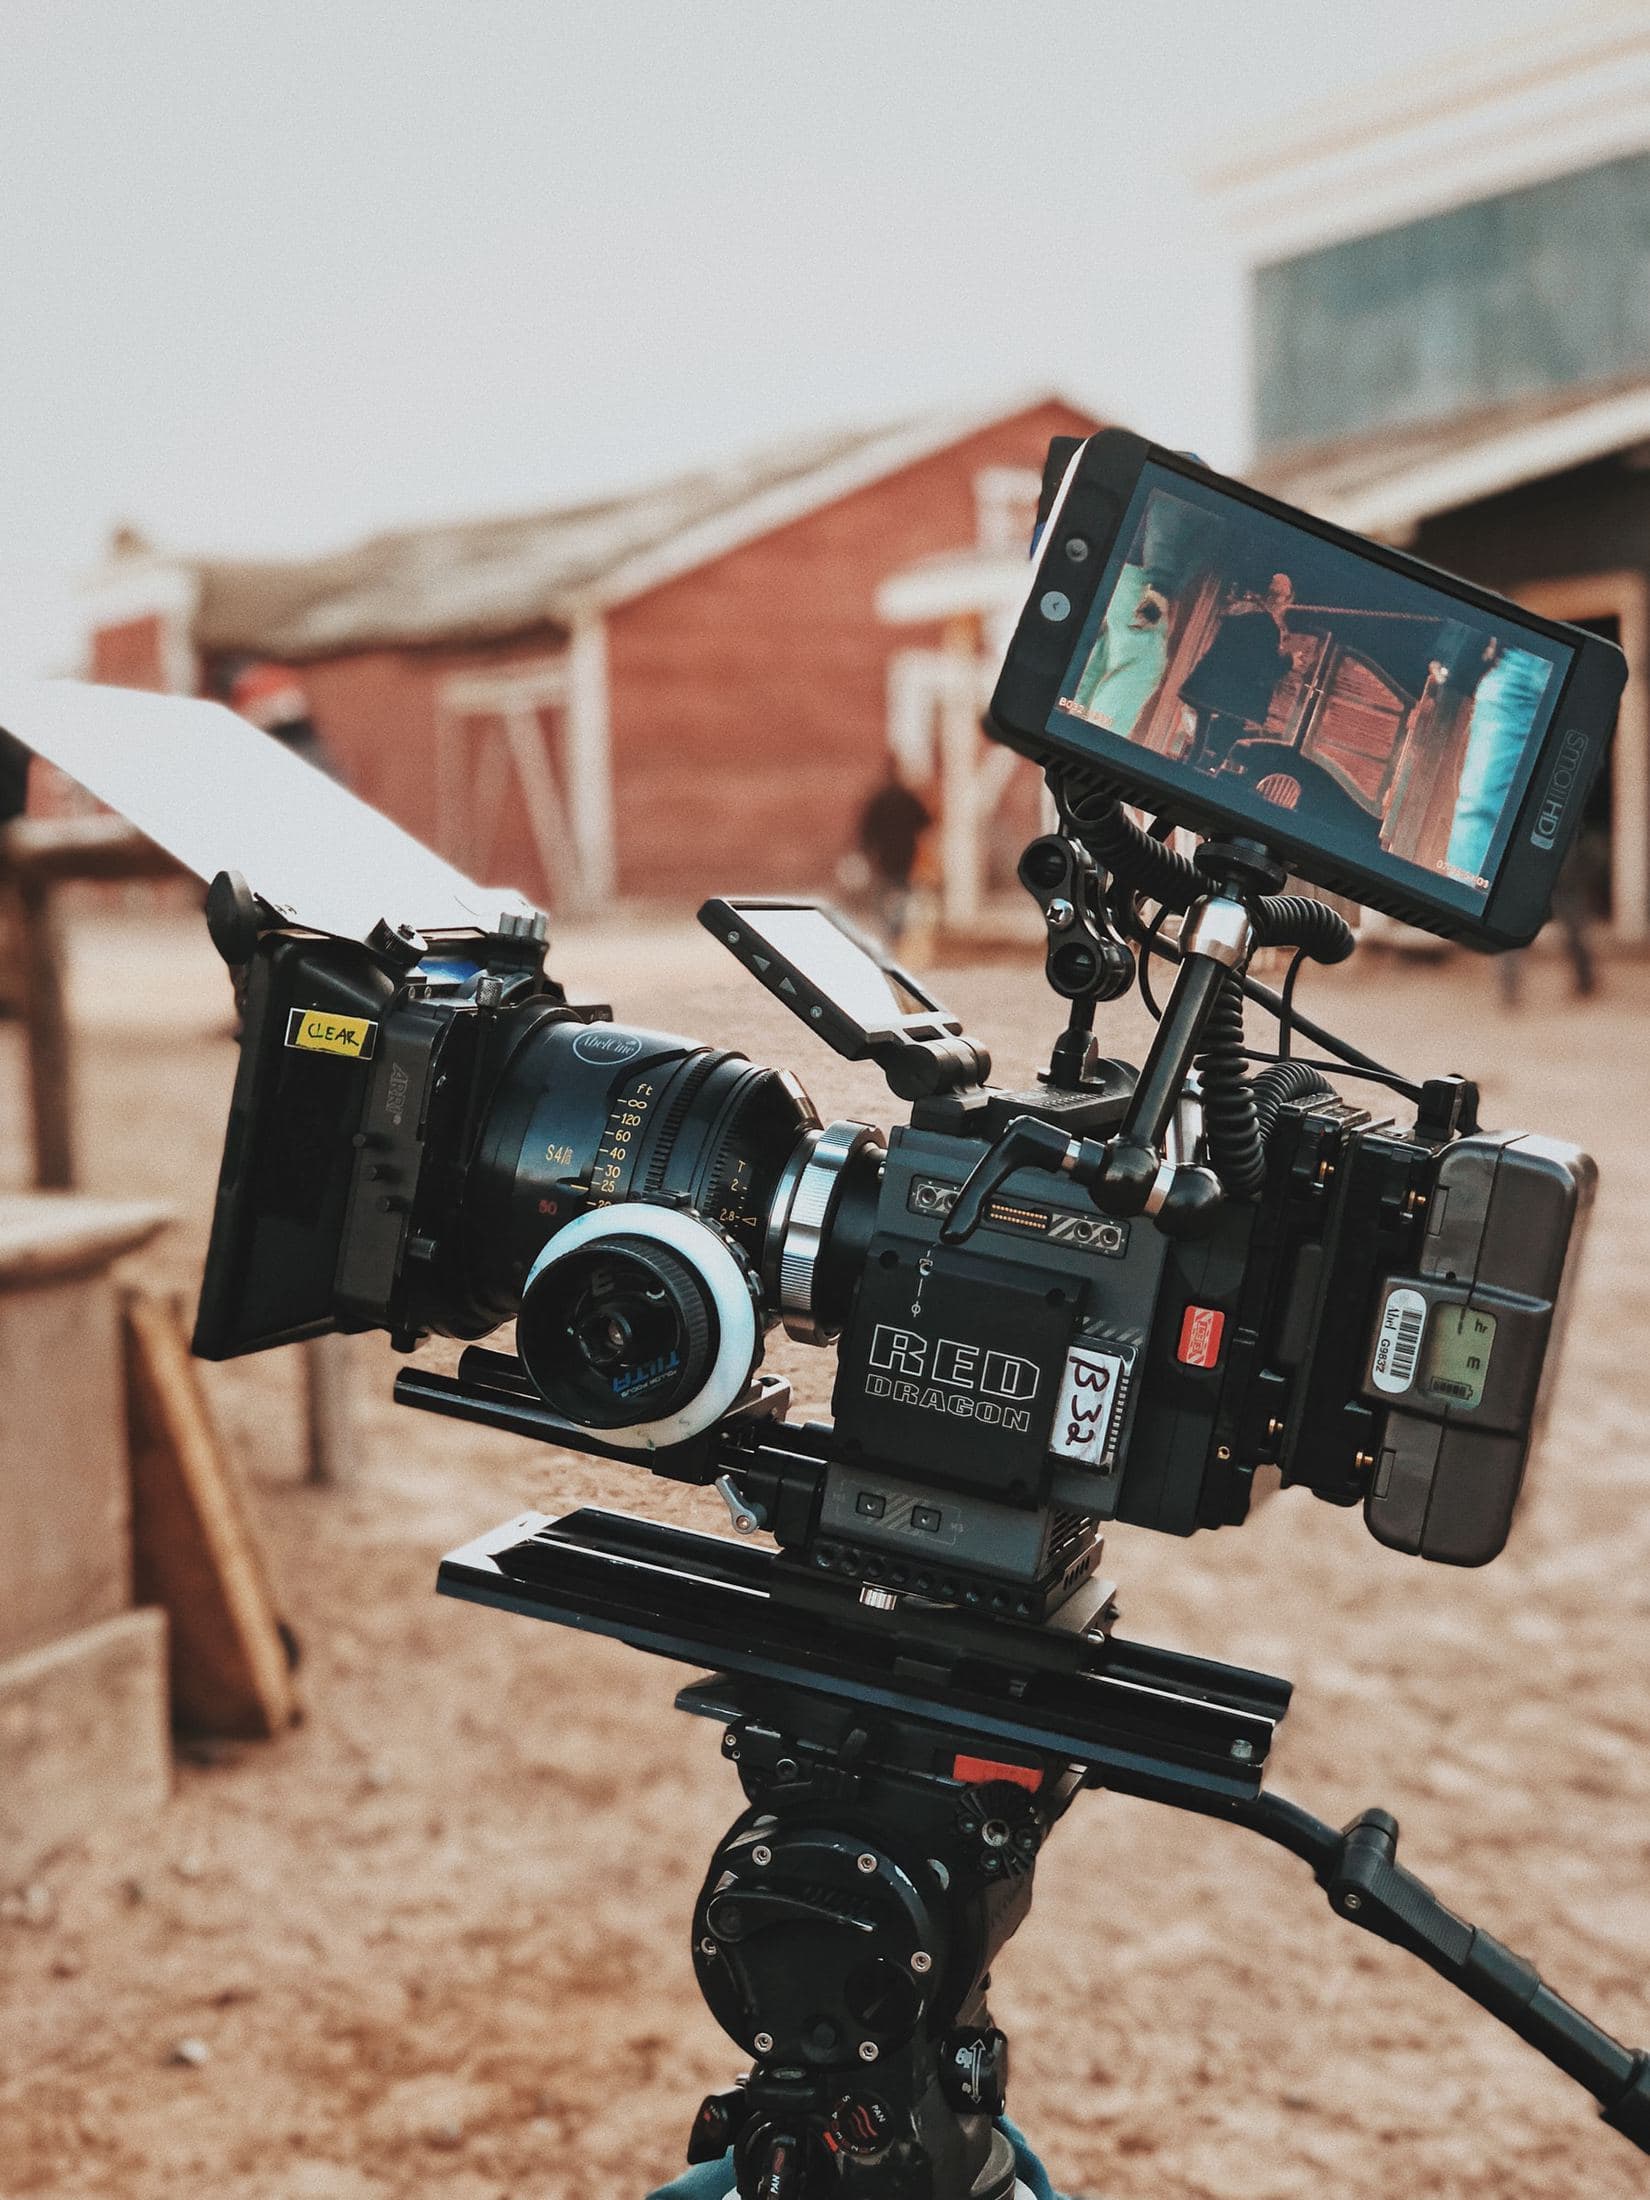
Cameras are an integral aspect of any production process, so don’t overlook this step – make sure you have enough budget for cameras on your filmmaking equipment checklist. Make a note of who will need access to them as well, even if it’s just one person; there may come a time where someone asks whether or not they should shoot on set, outside, or somewhere else entirely because they feel more comfortable in their element. You’ll want to have a filmmaking equipment checklist template, filmmaking supply list templates, and filmmaking crew member questionnaire template to ensure that every camera is in working order during the production process.
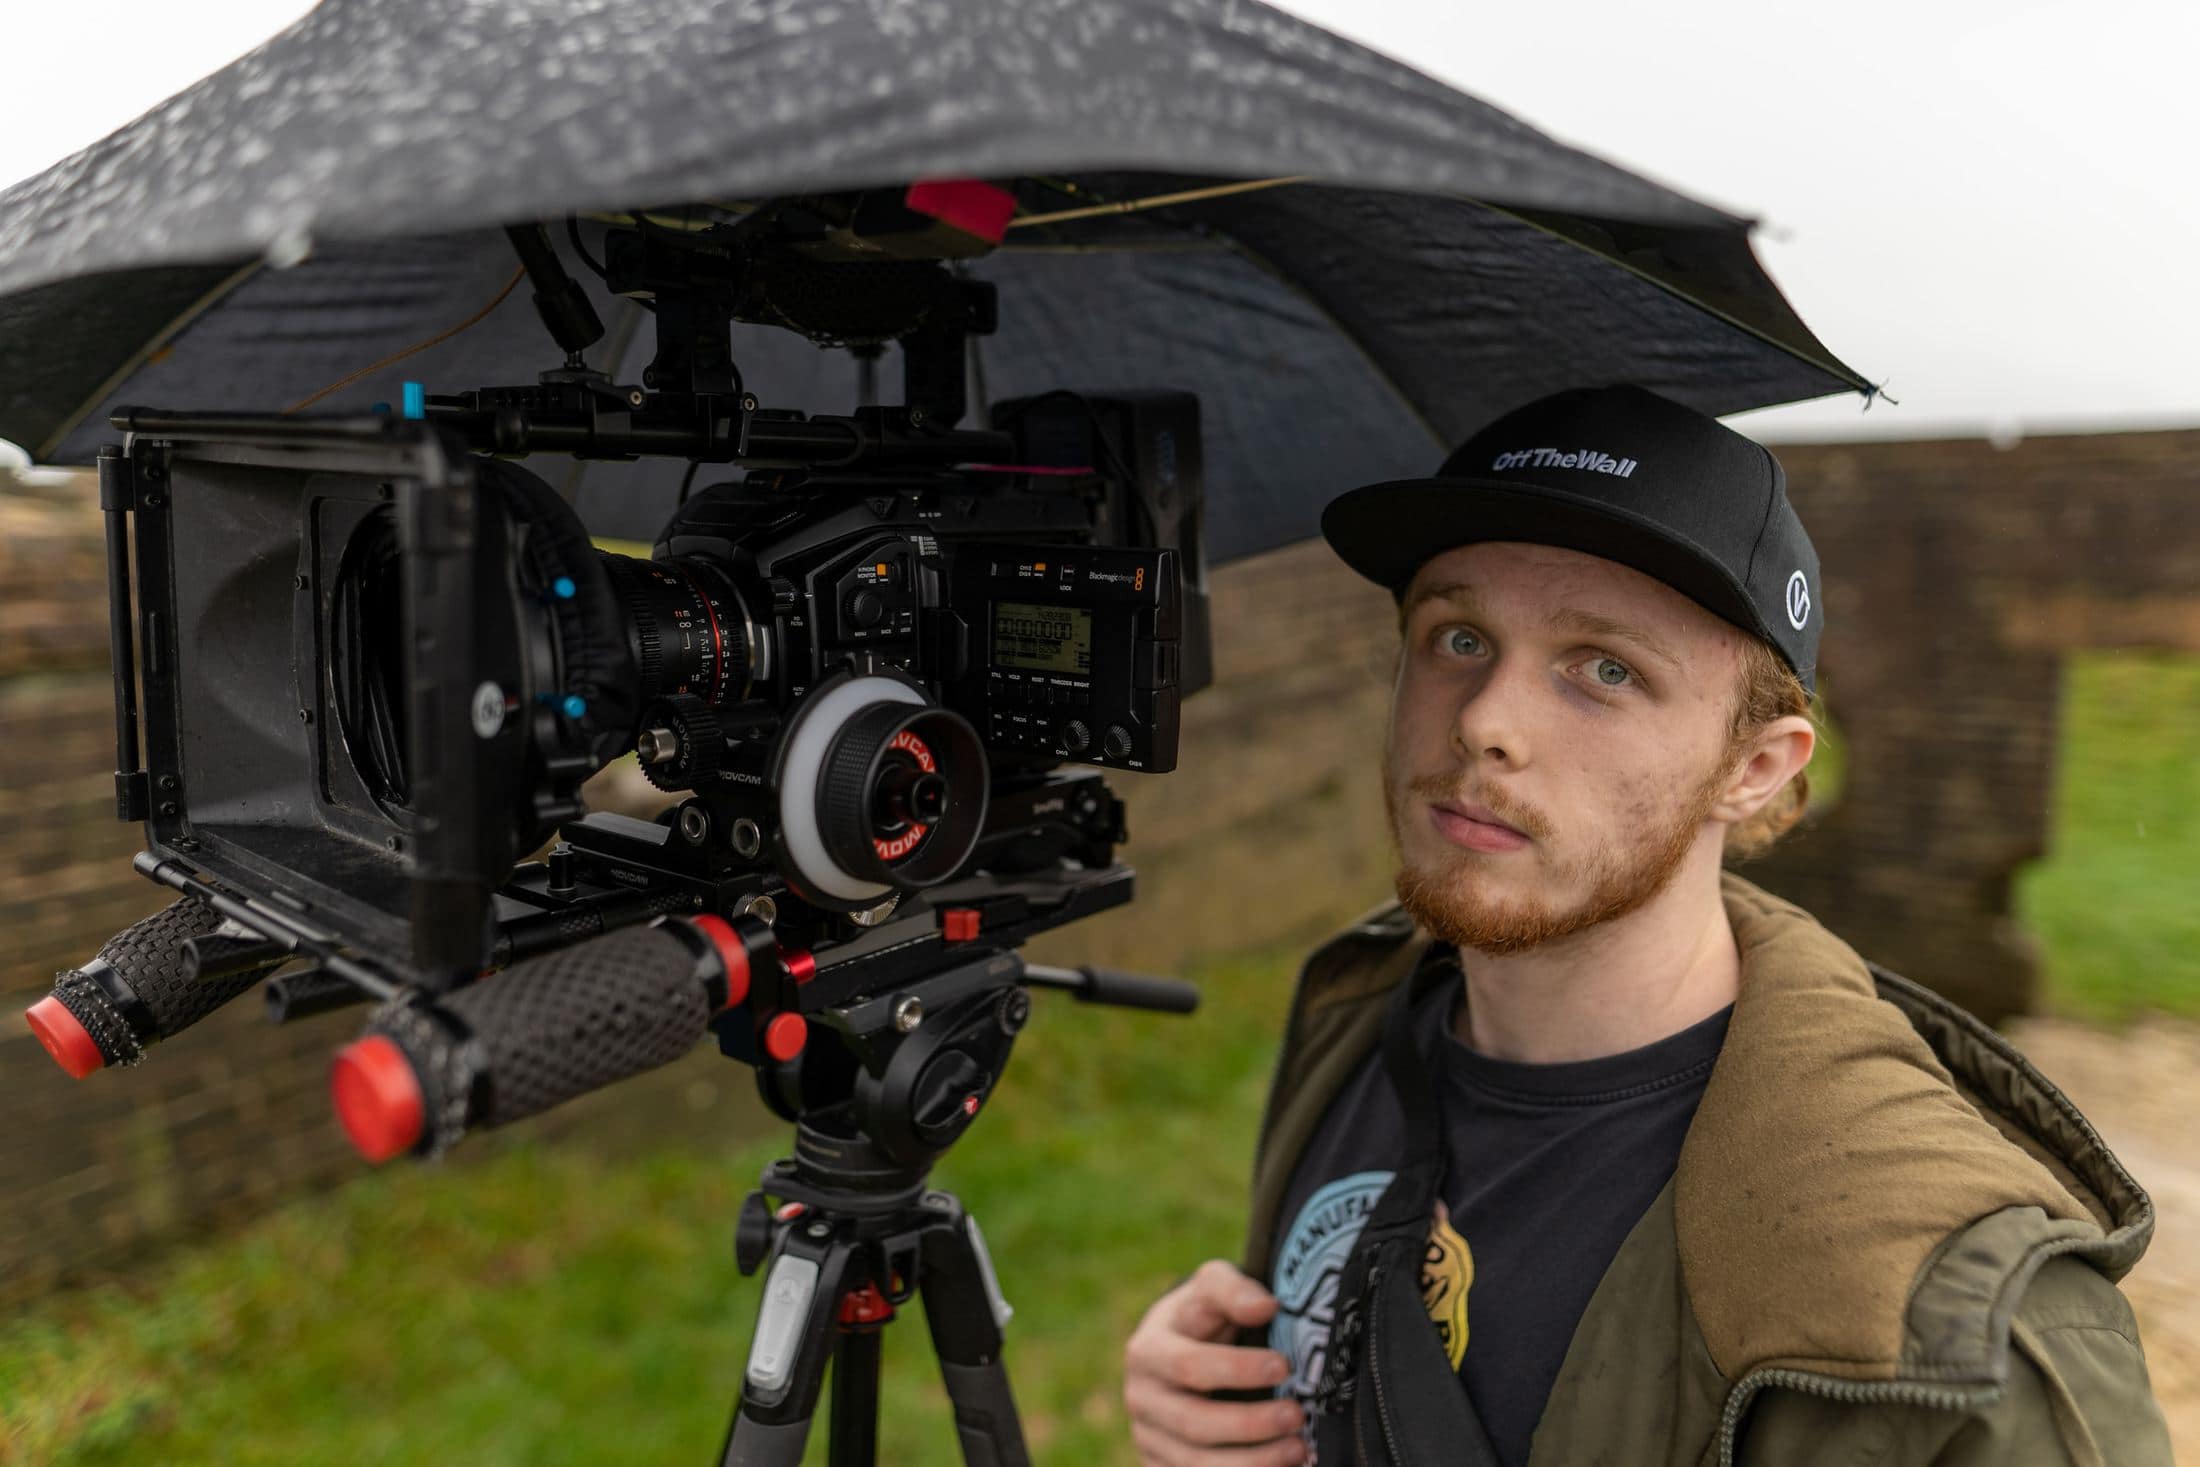
A filmmaking checklist template will help you plan for the entire filmmaking process – from production to post-production; it’s also much easier than trying to do this all by yourself! Filmmaking gear checklist templates provide excellent tools, including filmmaking equipment checklists with extensive lists of what goes well together – including your filming needs too!
B-roll footage
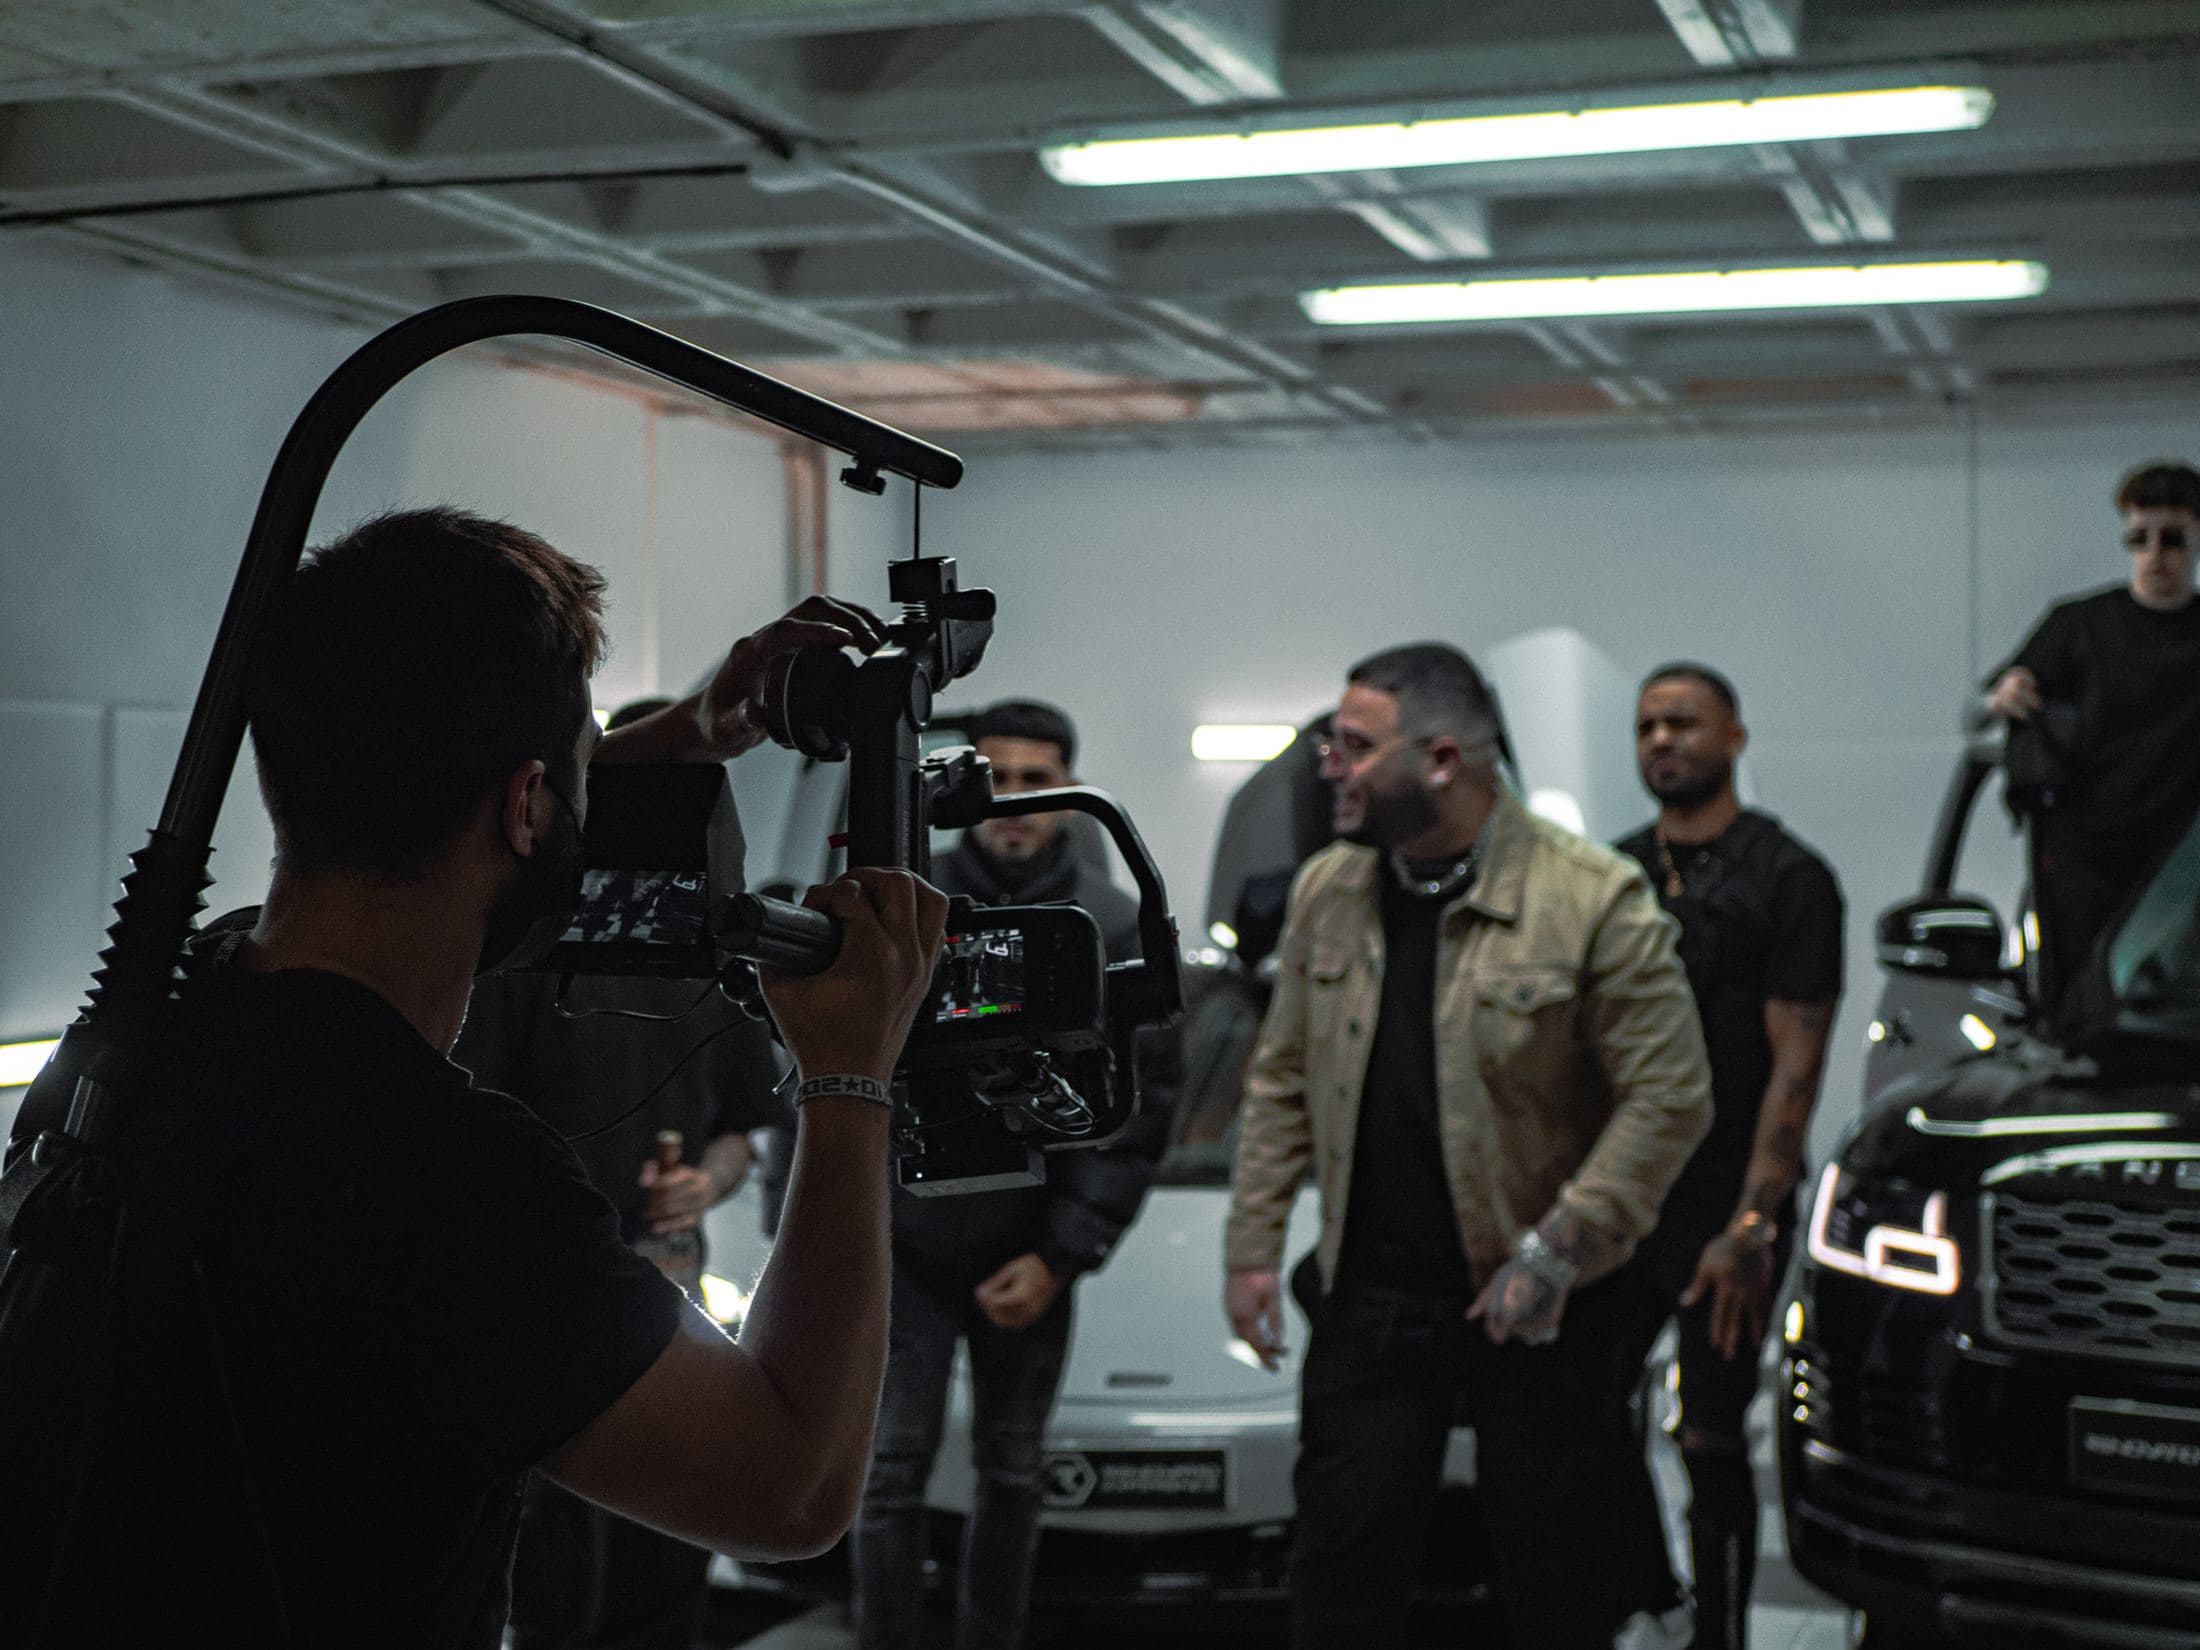
Always remember to shoot footage for your video that you can cut away to. This doesn’t necessarily need to be on the list of shots, but any interesting moments (good or bad) offer the opportunity for “B-roll,” in which advertisers cut back and forth between shots. This usually includes footage of the location(s) and crew from different angles. Sometimes it’s good to capture shots of the talent as they walk onto set, etc.
Post Production
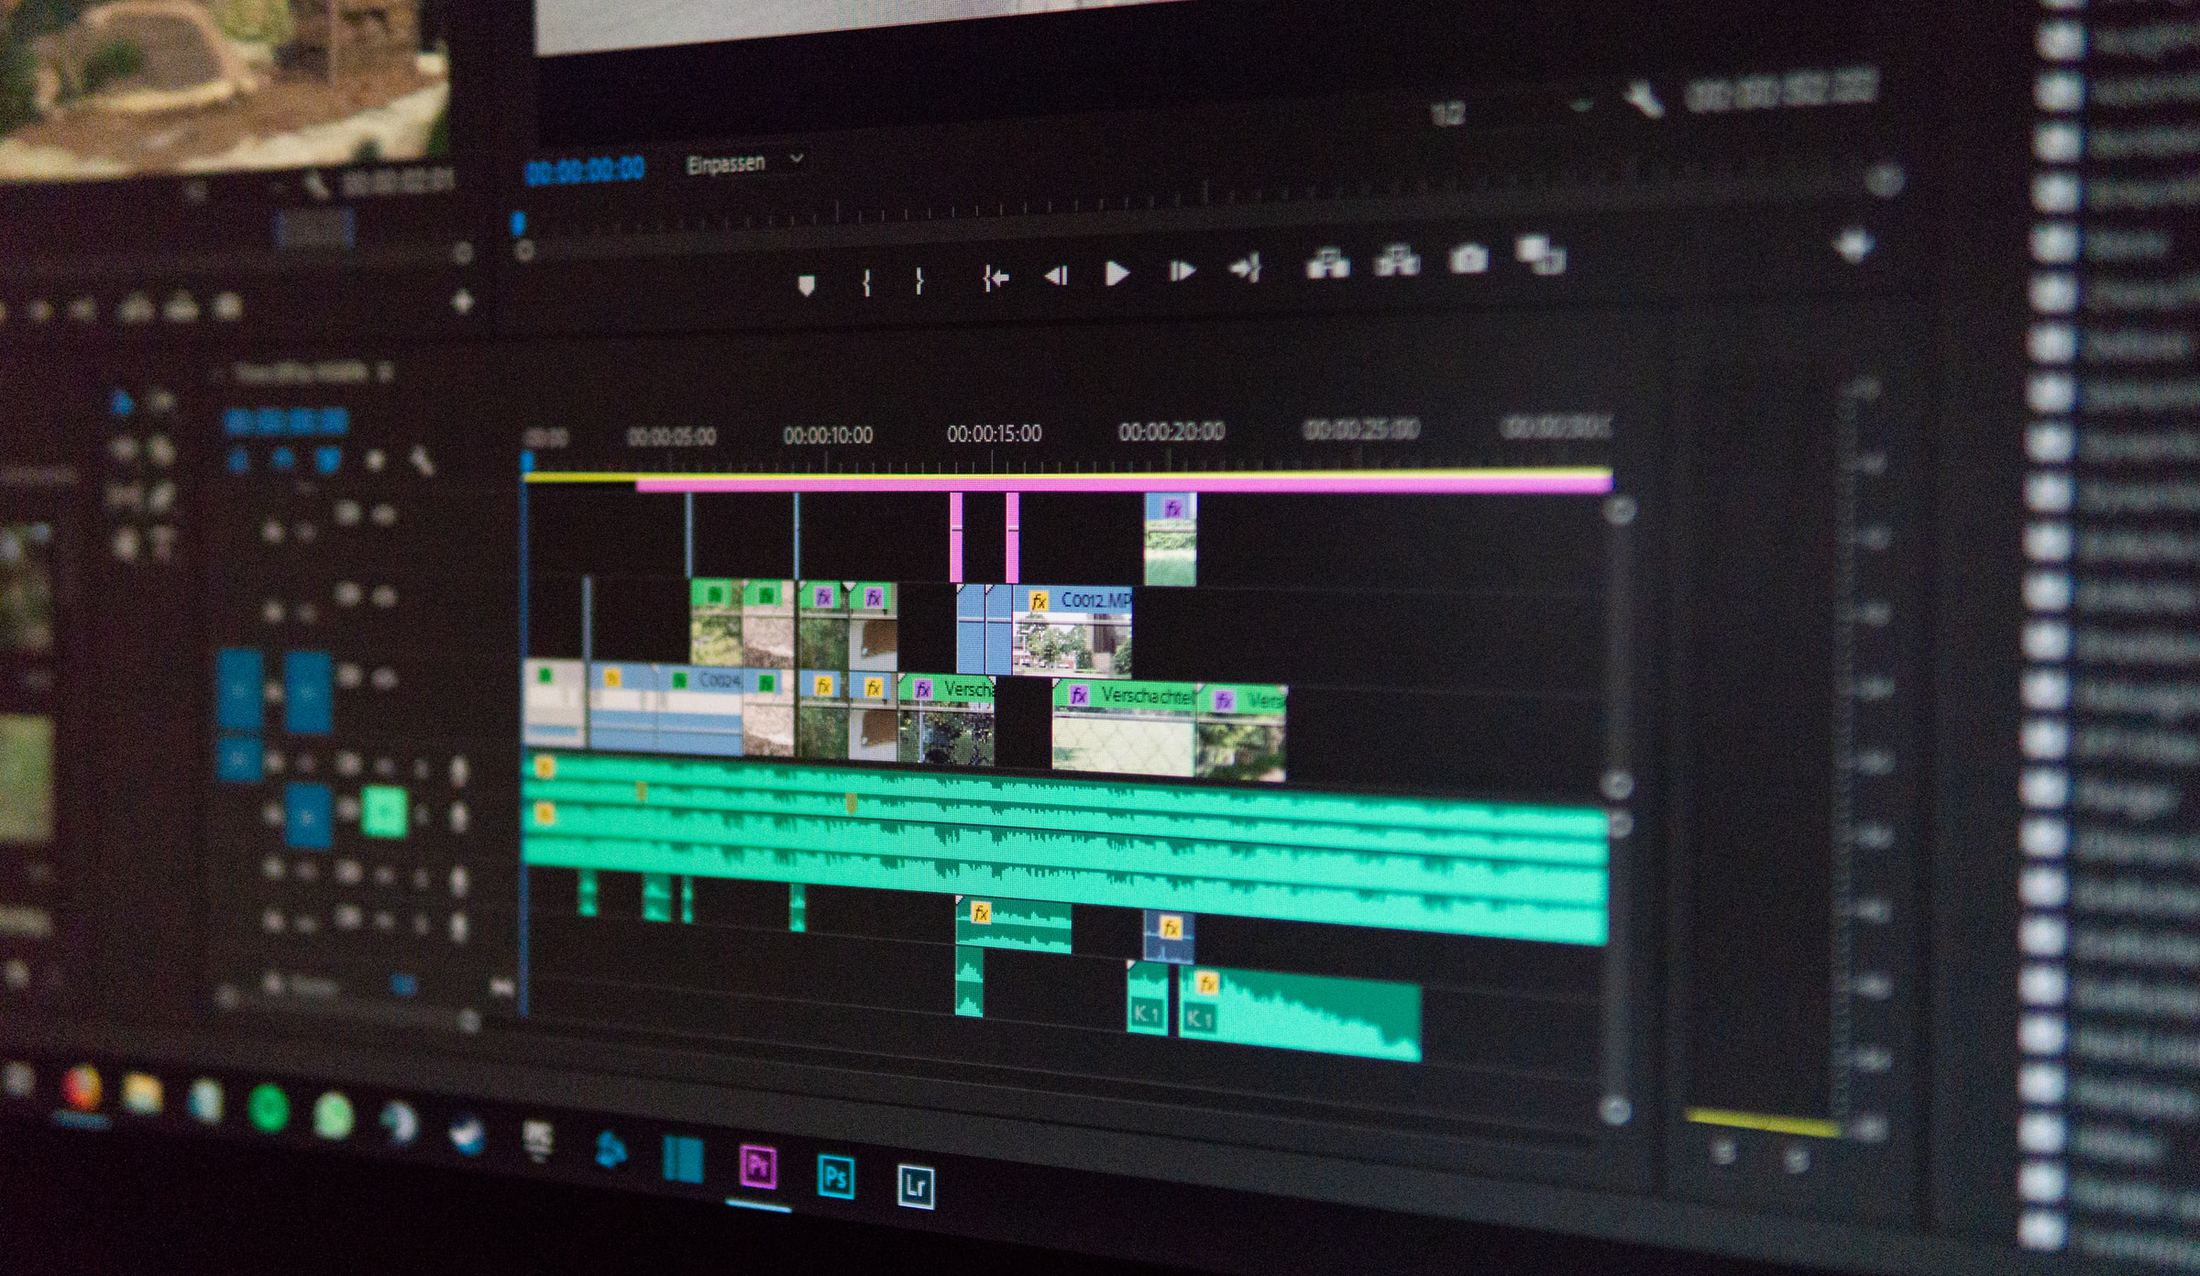
What’s post-production? This includes all those steps not taken while shooting where scenes are cut down into smaller clips, the sound is added, music and text are placed. Video editing software like Adobe Premiere Pro or Final Cut Pro can be used to create a video that takes people on an emotional journey. The truth is, editing videos can take more time than any other task related to filmmaking, and it’s easy for creators who start out with good intentions but bad habits (AKA haphazardously filming raw footage) to get stuck during post-production. Here I’ll break down what video editors do and how they can help make your work look amazing even when there isn’t much material on hand.
Post Production Types
There are many different types of editing and filmmaking techniques to choose from, but the most common ones are listed below:
Storytelling Editing – This technique is used to focus on a particular story or event by manipulating shots for natural suspense. It’s also possible to edit in such a way that does not show certain details in order to build up anticipation. For example, there might be an explosion happening off-screen while someone narrates what they see happening without actually showing it.
Montage Editing – The process involves taking small portions of footage and cutting them together into one scene with music playing underneath (or over) top of it all. A montage can range anywhere from just two seconds long up until 20 minutes or more! In this case, we may have five different clips from a wedding day cut together to show the bride and groom’s emotions at different points of their big day.
Nonlinear Editing – filmmaking that utilizes an editing style in which footage is played back out of order; it may be used for flashbacks or as part of a dream sequence where time doesn’t pass chronologically. It also might work when there are multiple storylines happening simultaneously, and they need to jump around between them without cutting away too much (i.e., single shots).
This type can sometimes help get creative juices flowing by allowing you to explore more possibilities with each scene before committing your final choices.
The basic idea behind filmmaking is: don’t limit yourself!
Record a voiceover
Voiceovers are a powerful tool for video producers. They’re necessary if you want your viewers to hear what’s being said on the screen but don’t necessarily have an actor who can speak with good inflection and articulate words properly, like this voiceover talent from BizVoice:
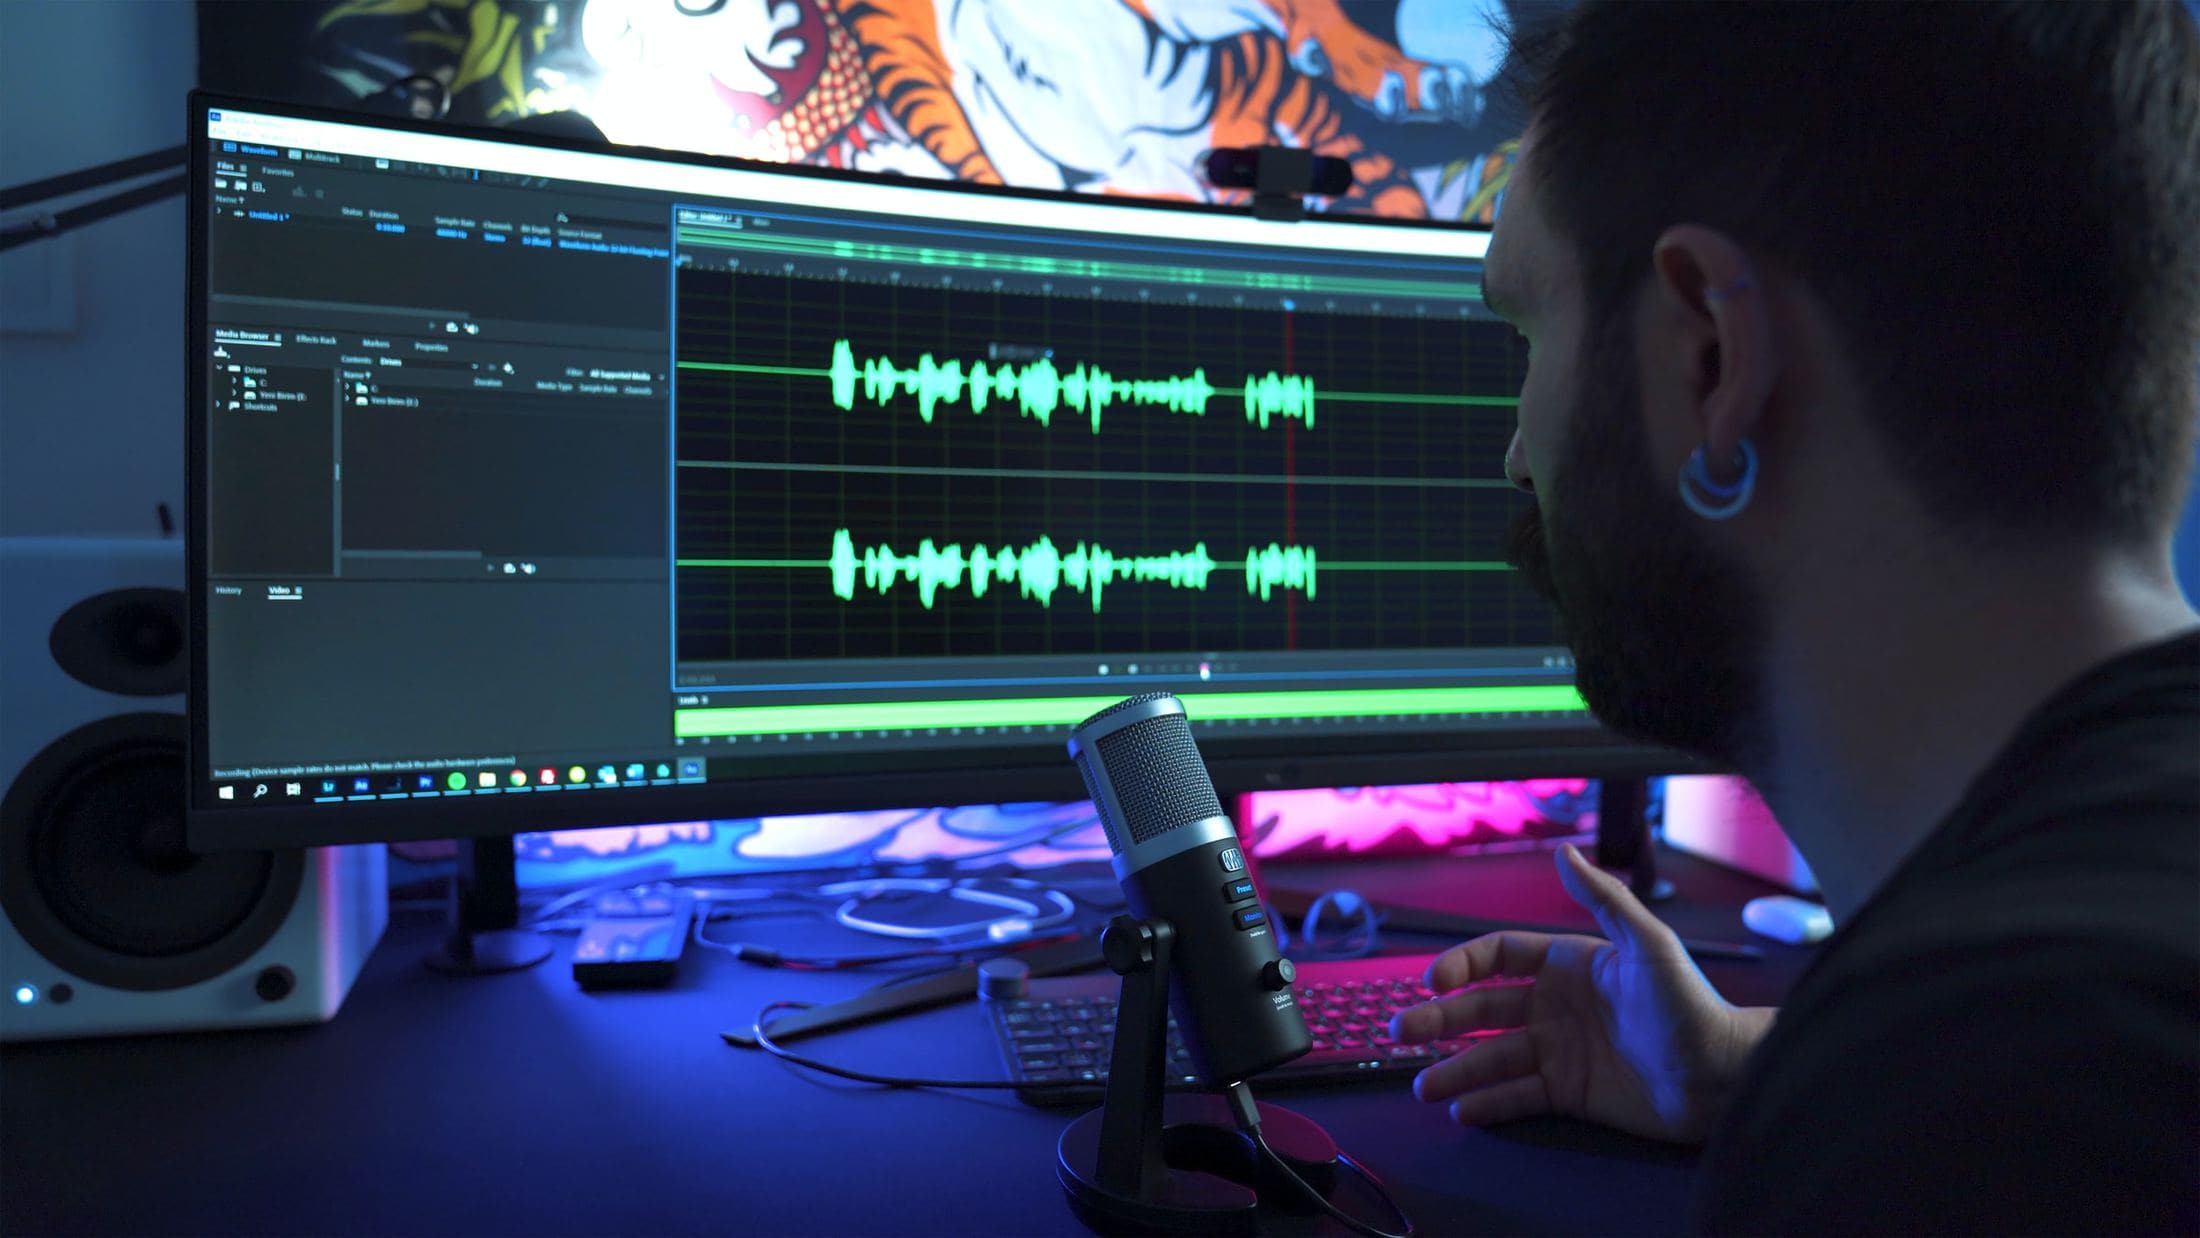
“It really is important that any script be written in such a way as it makes sense when read out loud because otherwise people might not understand or grasp onto it,” says Johnathan Radcliffe of BizVoice. This means there should never be long sentences without breaks – every sentence should end in punctuation, so listeners know where one idea stops and another starts; they also need pauses between lines (to show changes of direction)”.
Graphics, animated text, and special effects
Adding graphics, animation, and animated text to your video can make it more engaging and convey tricky concepts easier. For example, you might want to show an animated graph to illustrate a key figure. Or you might want to show an animated mockup of a product or service that you’re explaining. Maybe you just want a screen-recording of your walk through the app on your phone while talking about it?
Color grading
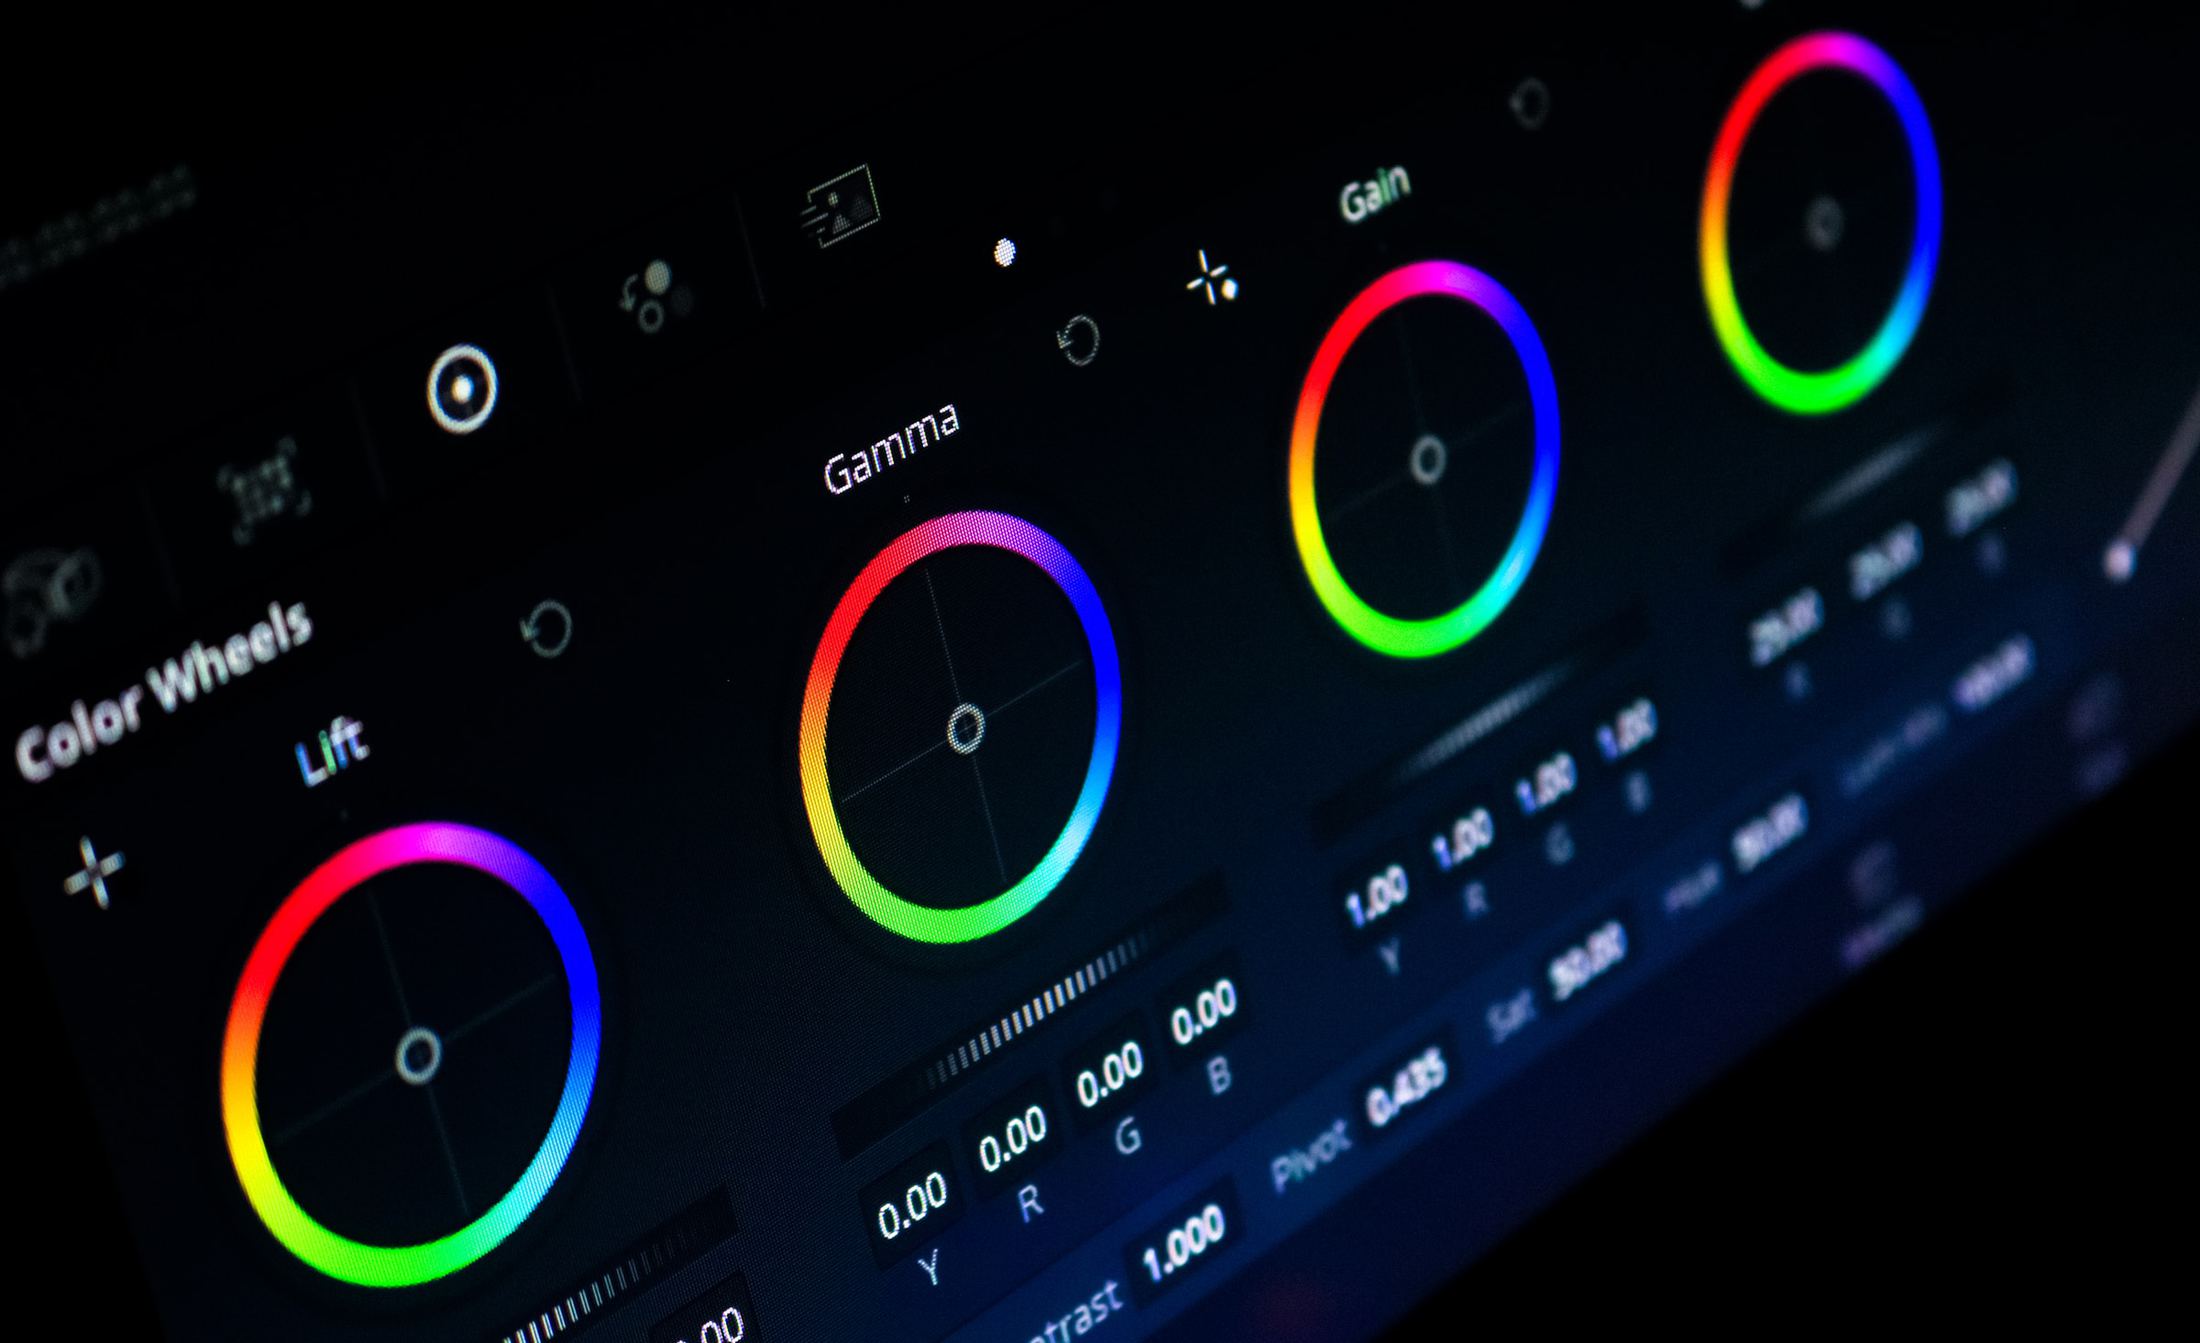
Professional color grading can be as simple or complicated as you want it to be. One way is by using auto-coloring on Adobe Premiere Pro, which allows the user to change the tint and saturation of their footage with just a few clicks. This technique is great for beginners who are looking for an easy fix without any professional help required – but even then, don’t forget that coloring your shots has its own set of benefits! No matter how sophisticated you make your video look now, consider keeping them all consistent in order not only to give off a more unified brand image across each video piece; this will also save time later when trying different effects down the line.
Find the right music
Music can be the final element that turns your video into an experience. Not every video needs music running all of the ways through it, but the background music is essential to filling up space and covering any audio snips while keeping people engaged in what they are watching. Using different tracks at various points throughout a longer clip helps make viewers feel like they’re progressing through content as opposed to hearing one track on repeat, which can become distracting over time or may not create such a strong emotional response for them because each segment will only have a half-a-second worth of their attention span before cutting away again.
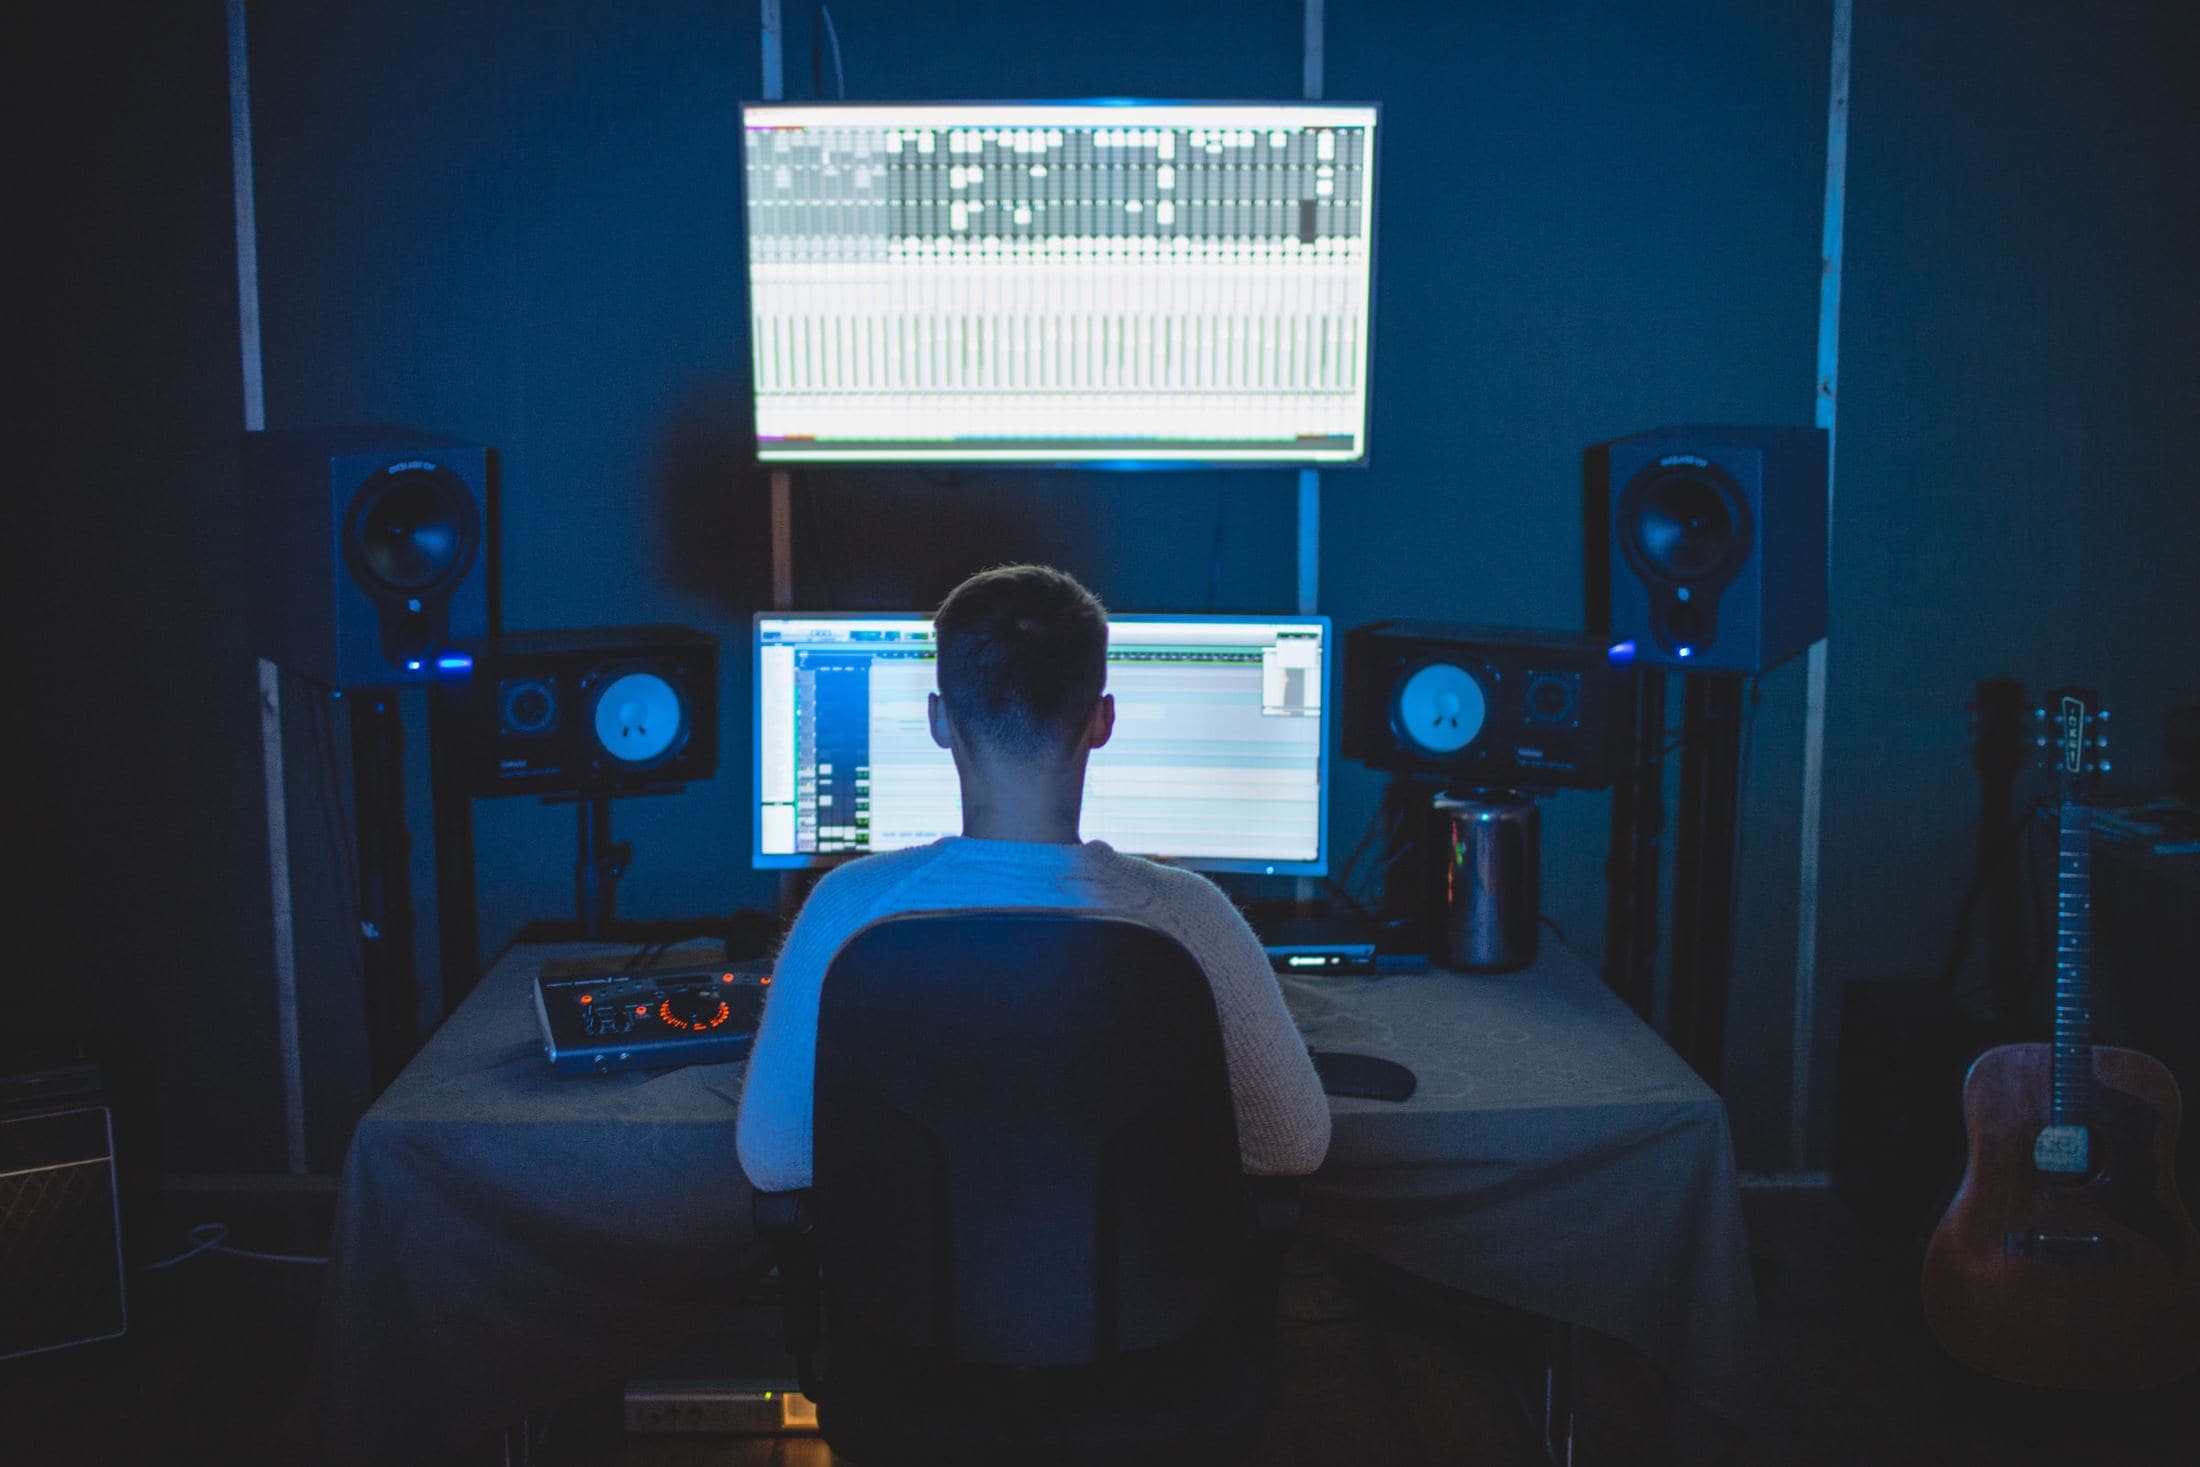
A lot of stock music sites are available to you, and some suggestions for where you can find them may be found in our article.
Optimize and distribute the video
Once your video has been edited, it’s time to export the video in the appropriate format. Most platforms (ex: YouTube, Facebook, LinkedIn, and Twitter) require mp4 files. For Instagram posts, you may want to include cropped square or vertical videos; for Snapchat/Instastory stories, you need a vertical aspect ratio; for Facebook, you will need a square aspect ratio; and finally, YouTube needs either a 16:09 or 17.25:11 video depending on the desired height of the frame (most people prefer to use 16:09).
At this point, you can also optimize your videos with free tools like TubeBuddy, which offers many features, including one-touch uploads to social media platforms so that even if you’re busy elsewhere in life – someone else doesn’t have to!
However, it is important not just to share them once but at least three times throughout different periods of time. For example, as soon as they are uploaded, make sure they’re shared again within 24 hours, as well as sharing every Saturday morning when most traffic on social media channels is the lowest.
It’s important to note that once you have finished editing your video, it will need time to render before uploading anywhere. This process can take up a few hours depending on how long and complex your video is, so be sure to give yourself plenty of lead-time!
Measure analytics

To measure the success of your video, you’ll want to find a way to track it and feed it into your analytics platform. It is important to measure your performance and determine the ROI. For instance, measuring things like how long people watched the video can be a good indication of success. Paid platforms like Wistia have tracking capabilities built-in. With platforms such as YouTube or Facebook, you may need to track them separately or try something like Google Analytics if they do not provide an inbuilt function for this purpose – make sure that whatever system is used can be integrated with at least one free service!
Distribution and promotion
Distribution may include advertising your video heavily to reach the most people possible, sharing it with industry outlets to get picked up by other websites, asking influencers in your field to share it on social media, or spreading links through email newsletters or via YouTube channel.

Regardless of how you do this, it should fit into your previously planned strategy focused on reaching your targeted audience in the most effective way possible. The goal is to get the best bang for your buck and generate positive ROI, so don’t go too crazy buying ads or promoting a video if it’ll leave you significantly over budget with no return.
The Conclusion
Video production can be an arduous process, but it’s definitely worth it if you want to keep up with today’s most engaging content type and reach more customers. Once you get down all these steps, filmmaking will come easier for you too. For example, using color grading software like Adobe Premiere Pro makes shooting footage simple for beginners who don’t have any professional help required – but even then, remember that coloring your shots comes with its own benefits! And finally, while uploading videos on social media platforms at least three times over different periods of time might seem tedious now – doing so will save time later and can help your videos reach more potential customers.

